A DIY Washi Tape Christmas Tree for Small Spaces
I’ve always believed that creativity blooms best within constraints—and nothing tests that more than decorating a small apartment for Christmas. When you’re working with limited square footage, holiday decorating becomes less about tradition and more about clever problem-solving. I’m talking “how do I fit festive cheer into a corner without losing my couch” levels of ingenuity this time of year.
A few years ago, I found myself in this exact situation. I was living in a two-bedroom apartment that sounded roomy on paper, but between work, projects, and a growing collection of DIY supplies (plus two very curious cats), it started to feel smaller by the day. Still, I couldn’t let the holiday season pass without a Christmas tree. I grew up loving that fresh evergreen smell, the soft twinkle of lights, and the joy of unwrapping presents beneath the branches. But in a small space, a full-sized tree just wasn’t practical.
So I decided to do what every creative renter does—I reimagined the rules. Instead of a traditional artificial tree, I looked up at my blank wall, armed with a few rolls of washi tape, and thought, Why not use this space instead?
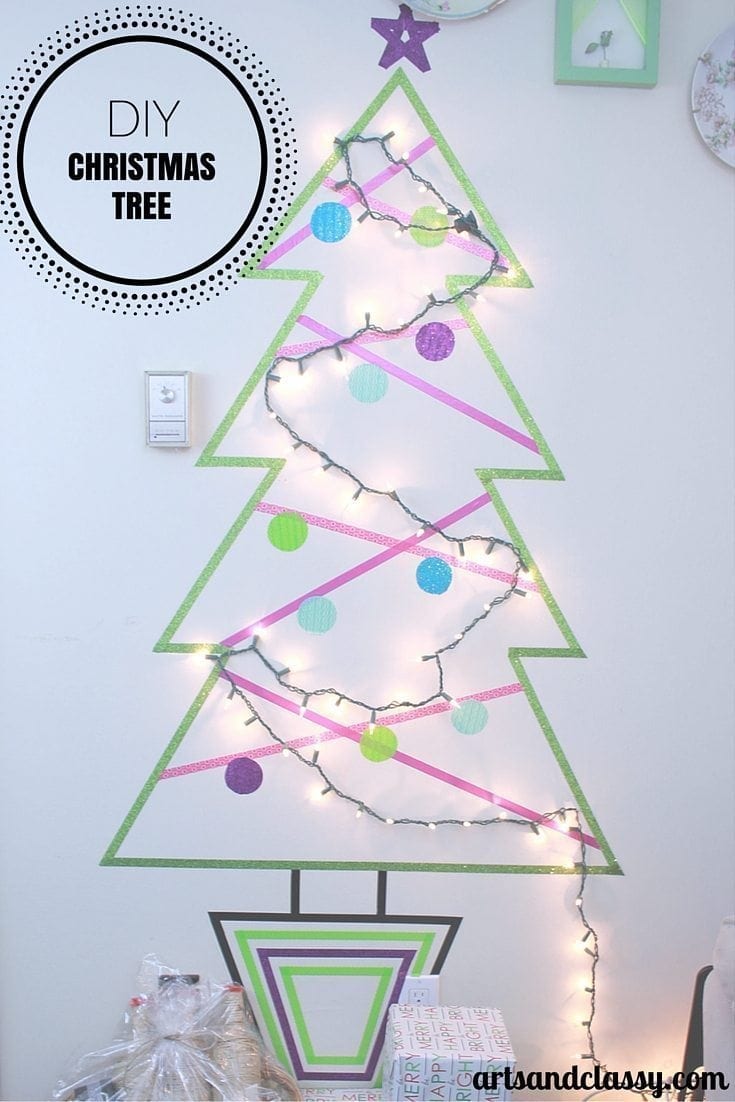
That’s how my DIY washi tape Christmas tree for small spaces was born. It’s festive, renter-friendly, zero mess, and budget-conscious. And the best part? It’s completely customizable—you can make it modern and minimal, vintage and colorful, or even monochrome and chic.
Key Takeaways
- If you’re short on square footage for the Christmas season, but still craving that festive glow, this renter-friendly washi tape Christmas tree is your new holiday BFF. It’s one of many fun ways to save space that’s also budget-friendly, and 100% customizable for any color scheme or vibe.
- Follow a step-by-step tutorial to design and decorate your wall-mounted Christmas tree. This DIY project offers a charming decoration for any room, making it ideal for small living areas.
Creative problem-solving!
This became crucial, and I decided to use my vertical space rather than resort to a tabletop Christmas tree form my small room. My Christmas tree would be made out of Washi Tape and some double-sided tape for a festive touch without taking up precious floor space! Brilliant!
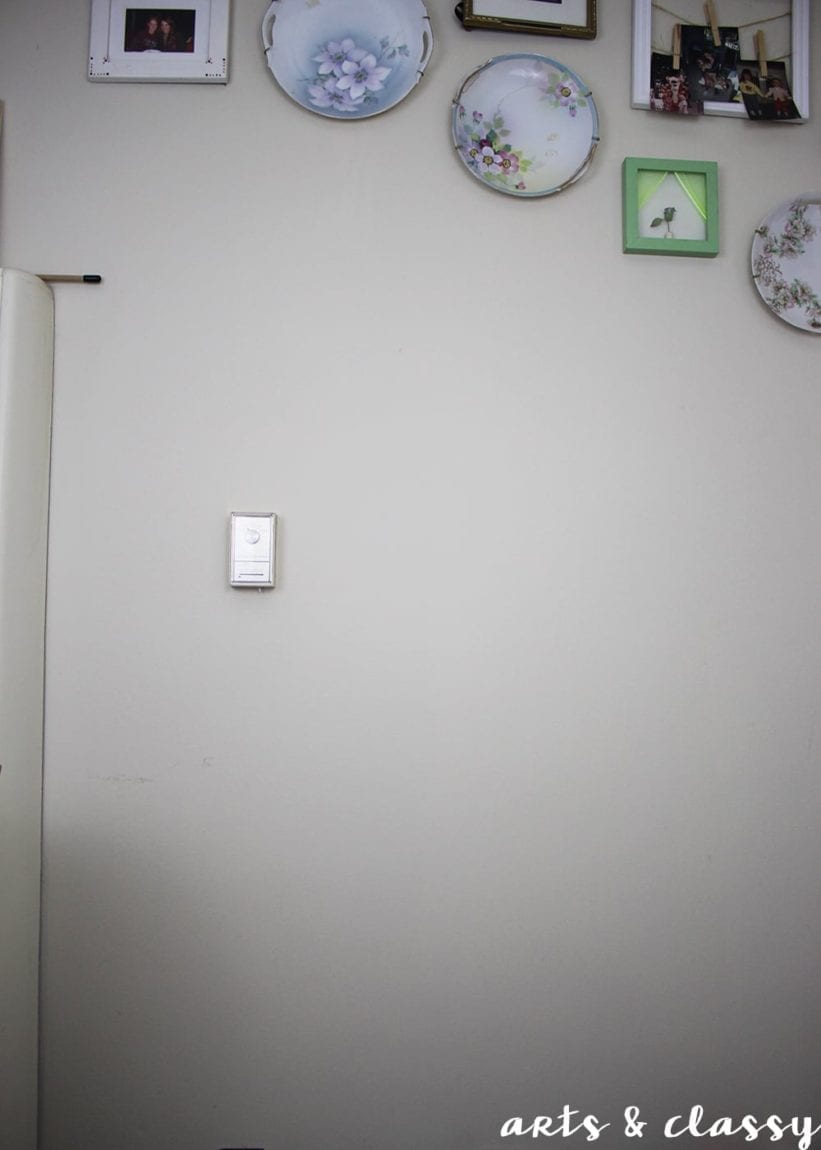
BEFORE PHOTO OF MY SMALL LIVING ROOM SPACE
This post contains some affiliate links. I may earn a small commission if you purchase through one of these links. See more information in my disclosure policy.
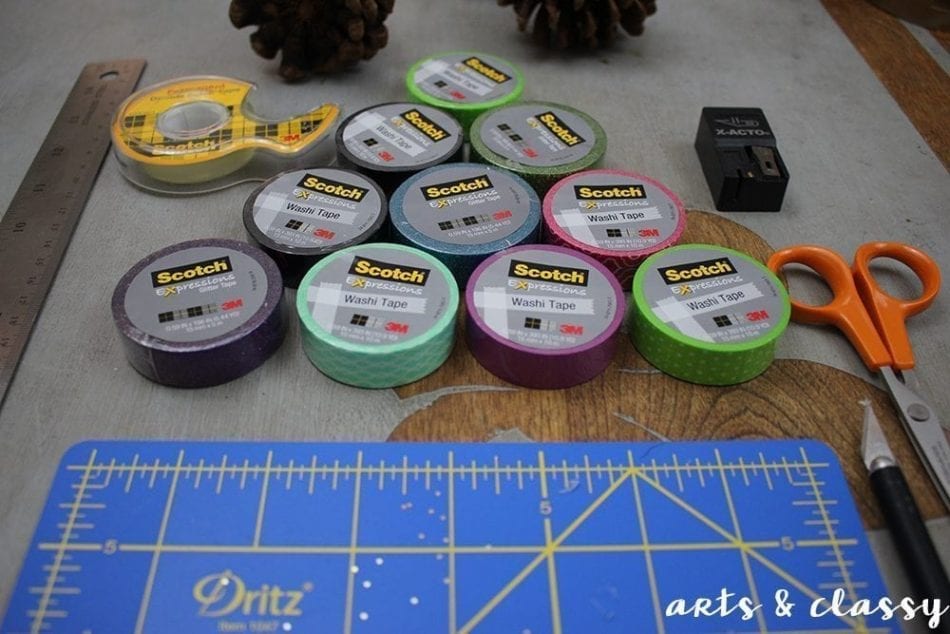
Before you start, grab your materials. You don’t need anything fancy, just a few craft staples you can find at any store or online, and maybe some things you can find in nature:
Step 1: Gather Your Supplies
- Washi Tape (Solid Colors)
- Washi Tape (Glitter Finishes)
- Washi Tape (Festive Patterns)
- Scotch® Create Double-Sided Tape
- Cutting Mat
- Xacto Knife & Extra Blades (they go dull quickly)
- Scissors
- 1 set of Christmas string lights
- Ruler – preferably a metal ruler with a cork back
- Staple gun + 1/2″ staples or removable adhesive hooks
- Circle Stencil (to create ornaments)
- Optional: Christmas Ribbon Bow as a tree topper
- Optional: Christmas Stickers
- Bonus Ideas: You could add sprigs of greenery, tinsel, or pinecones to this vertical tree

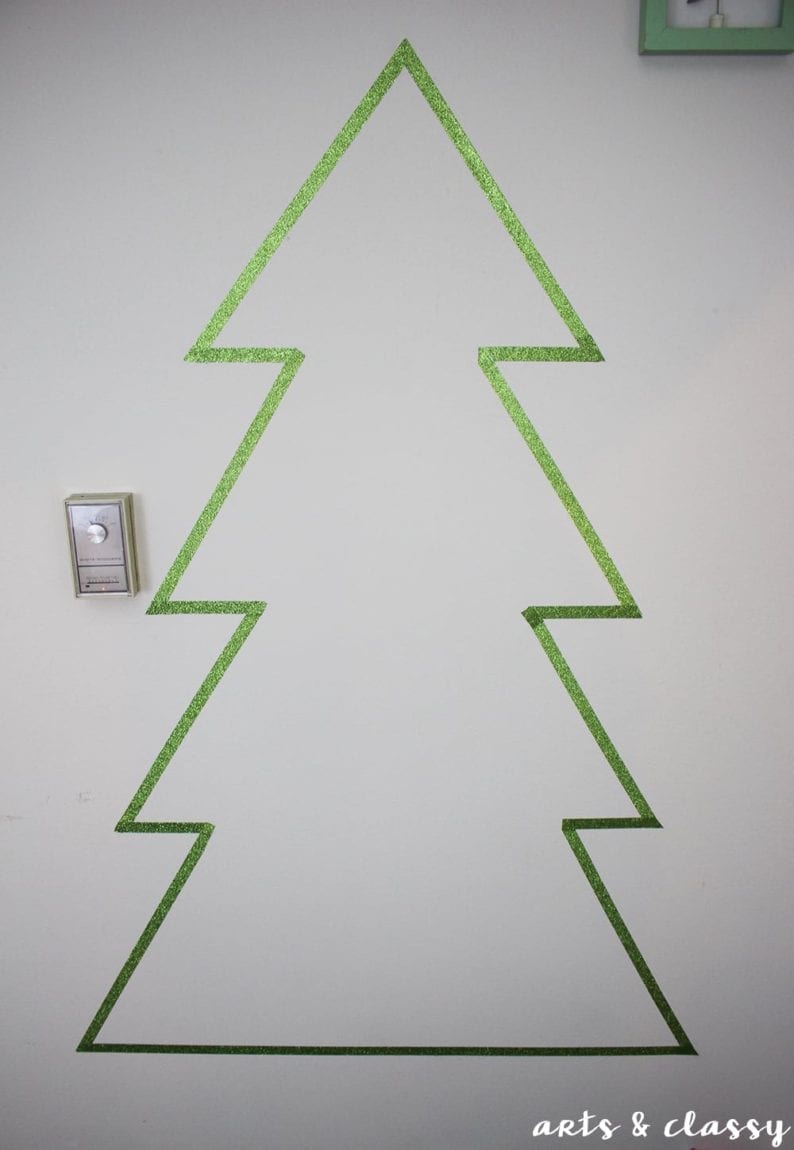
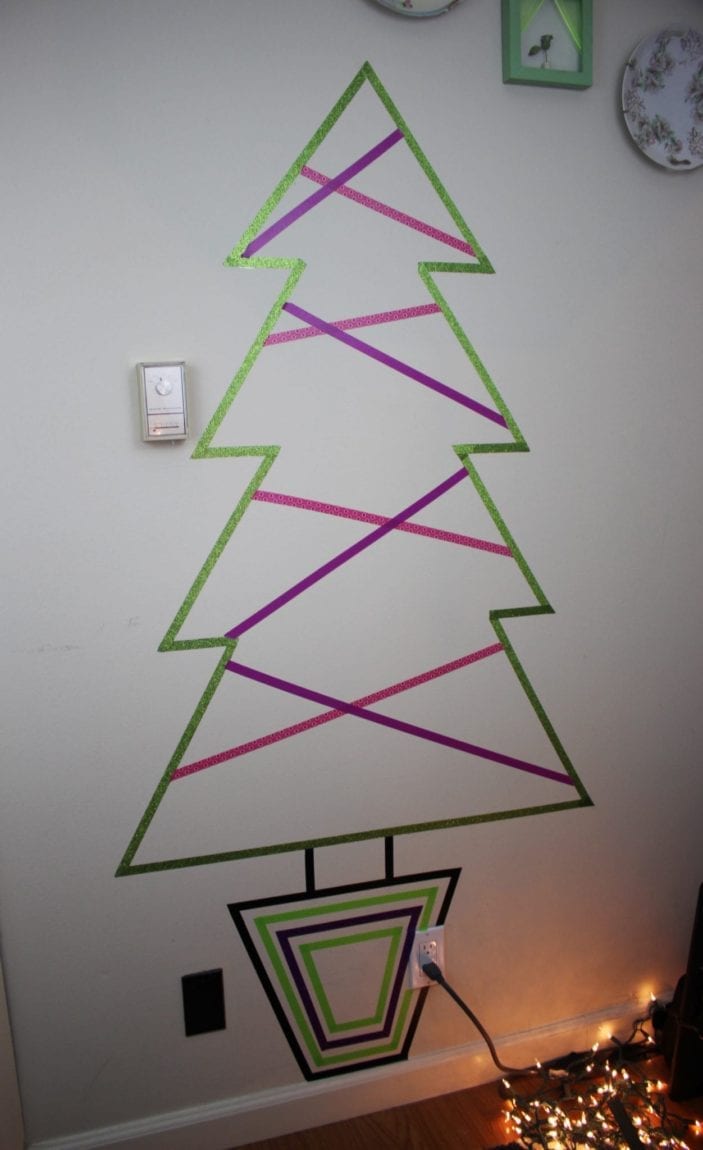
Step 2: Create The Tree Shape
Now it’s time to turn that blank wall into a holiday focal point. Pick your canvas—a clean, open wall is ideal. I used a section of my living room wall, but this DIY works beautifully in entryways, bedrooms, or even kitchens if you want to spread the cheer.
Start by creating a tall center line with washi tape, which will serve as the “trunk.” Then, angle strips outward from the top down, creating the classic Christmas tree triangle. You can make your tree tall and narrow or short and wide, depending on your wall space.
Pro tip: use your ruler and a pencil to lightly mark the points before applying tape. This keeps your lines even and prevents having to re-stick tape (though thankfully, washi tape is super forgiving).
Step 3: Design the Tree Base and Trunk
A tree isn’t complete without a sturdy trunk and base! I used a mix of black, green, and glittery purple washi tape to give mine a whimsical yet grounded look. Layering different textures—matte, metallic, or glitter—adds a subtle depth that feels more dimensional, even though the tree is completely flat.
If you want to go more classic, stick to brown and gold tones for the trunk, or go boho-chic with beige linen-patterned tape and gold accents. The beauty of this DIY is that you can match your existing decor aesthetic.
To make it feel more “real,” create a small tree collar or base with coordinating tape colors. It’s a little detail that adds polish and makes your wall tree feel intentionally styled, not like a quick craft project.
If you are liking this small home friendly blog post, you might also like these:
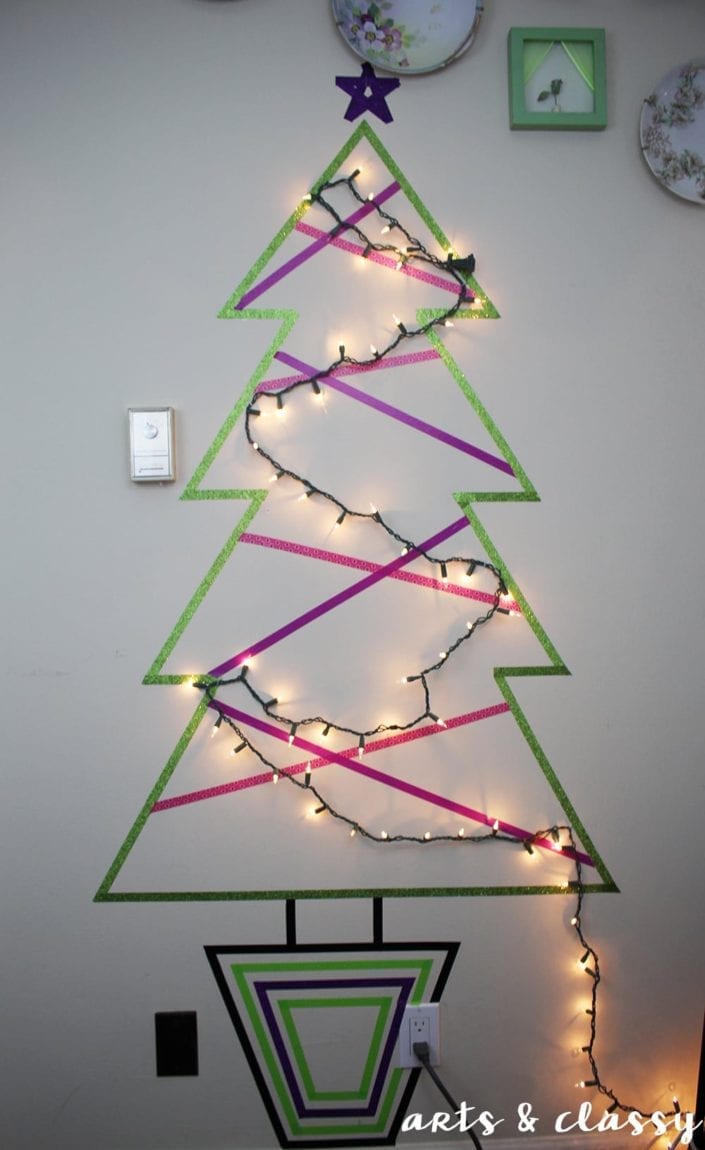
Step 4: Add String Lights
This is where your creativity shines—literally! I decided to string one set of white Christmas lights across the tree, stapling the cord lightly into the wall at each angle of the tree shape. If staples aren’t an option, removable adhesive hooks work perfectly, too.
Don’t be afraid to experiment with light color or type. Battery-operated fairy lights are great for small apartments because you don’t have to worry about finding a nearby outlet. Warm lights create that nostalgic Christmas glow, while cool white gives a more modern vibe.
I also added faux “garlands” by layering thin strips of pink and purple washi tape diagonally across the tree. Mixing colors, patterns, and finishes adds a playful texture that catches the eye from across the room.
Finally, for the star at the top, I layered strips of glitter tape to form a bright, geometric design. It’s the cherry on top of your wall-mounted masterpiece.
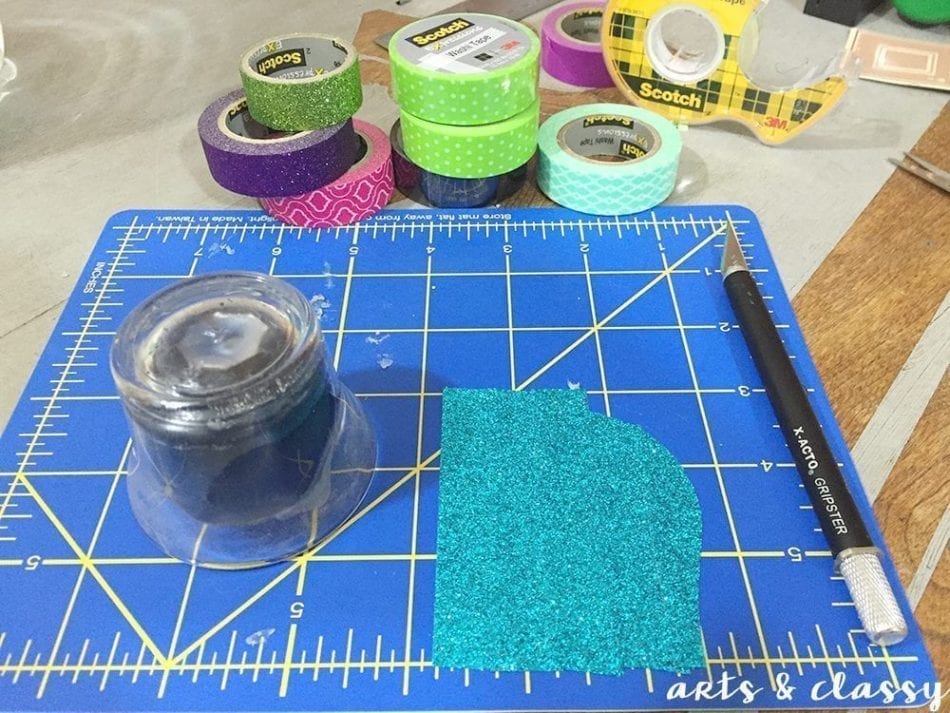
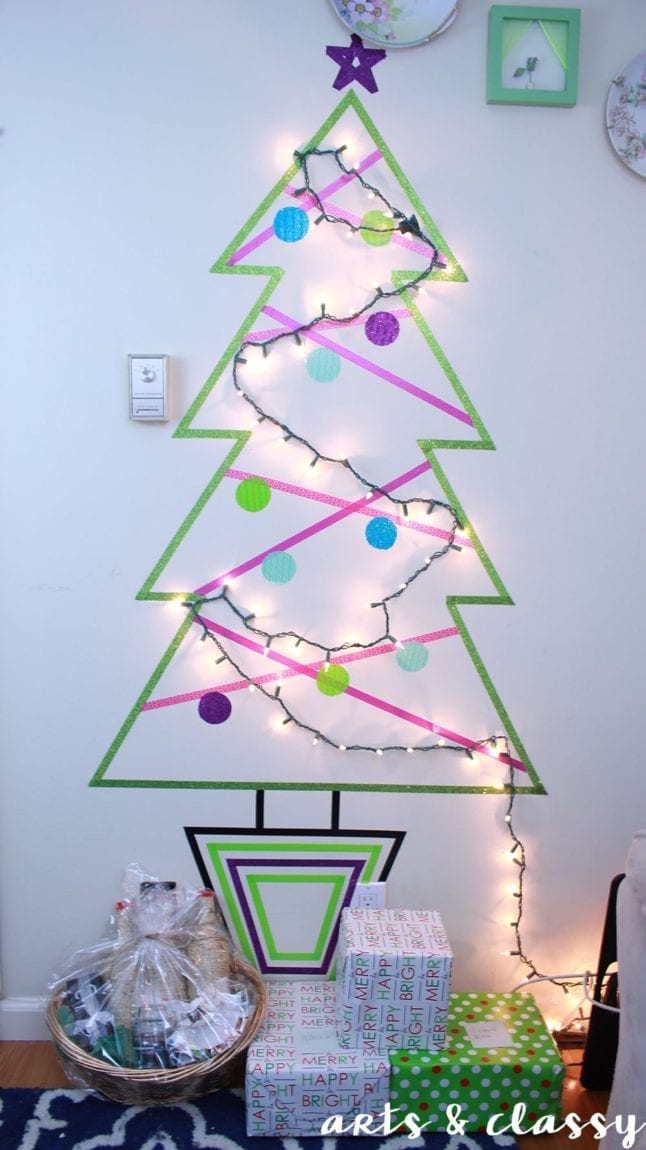
Step 5: DIY Washi Tape Ornaments
Even though the tree was already sparkling, I couldn’t resist adding ornaments. These are so fun to make! Just layer strips of washi tape on your cutting mat, one slightly overlapping the next, until you have a solid block of color or pattern. Then, trace circular shapes using a candle holder or jar lid and cut them out carefully with your knife.
Peel them off and stick them across your tree however you like. You can go minimalist with just a few, or cover your tree with dozens of colorful dots. It’s the easiest ornament DIY ever—and you can make them match your color palette exactly.
If you’re feeling extra creative, cut out other festive shapes like stars, hearts, or snowflakes. The possibilities are endless, and it’s such a satisfying way to personalize your holiday decor.

Step 6: Style the Space Around Your Tree
Once your wall tree is complete, style the area beneath it to create the illusion of a real Christmas decorations setup. I pushed my wrapped gifts right up under the tree, and you could also lean a small stool or basket underneath with a few holiday trinkets or candles.
If you’re hosting guests, this spot makes a perfect backdrop for photos—it’s bright, festive, and totally Instagram-worthy.
And when the season ends? Just peel everything off, and your wall is as good as new. No pine needles, no cleanup, no storage bins filled with artificial branches.
Why This DIY Is Perfect for Renters and Small Spaces
This DIY washi tape Christmas tree idea for small spaces checks all the boxes: it’s affordable, stylish, removable, and customizable. It’s also a great conversation starter—every guest who visits will want to know how you made it.
Beyond aesthetics, it’s a sustainable option, too. You’re using minimal materials, creating zero waste, and skipping the disposable fake trees that often end up in landfills after a few seasons.
Plus, it’s a fun project to make with roommates, kids, or friends. You can even host a “wall tree decorating night” with cocoa, snacks, and holiday tunes.
When it comes to decorating small spaces, it’s all about finding vertical solutions that still feel cozy and intentional. This tree captures the magic of the season while keeping your home clutter-free—and that’s a win in my book.
Final Thoughts: Small Space, Big Holiday Spirit
So, if your apartment feels too tiny for a traditional tree, or you simply want a fresh, modern take on holiday decorating, this washi tape Christmas tree is your answer. It’s proof that creativity and Christmas spirit can thrive in even the smallest spaces.
Whether you live in a studio, a shared home, or just want to save space for guests and gifts, this project brings the joy of the season without the stress—or the mess.
Grab your washi tape, pour some peppermint cocoa, cue up your favorite Christmas playlist, and get crafting. Because sometimes, the most magical decorations come from a roll of tape and a spark of imagination.
If you enjoyed this holiday cheer project, you may also like this inspiration:
Make sure you are following me on Instagram, Pinterest, and TikTok for more ideas on how to decorate your home for the holidays this year!