Chalk Paint Recipe for End Table Set Makeover
I have been on a furniture flipping roll this past week and a half or so! DIY projects make me so happy. I wanted to share one of my DIY tricks, and that is my own chalk paint recipe. I think everyone should be able to DIY on whatever budget works for them. I feel as though I get into a meditative state when I am painting. It turns my mind off and gets that creativity flowing, which has been refreshing.
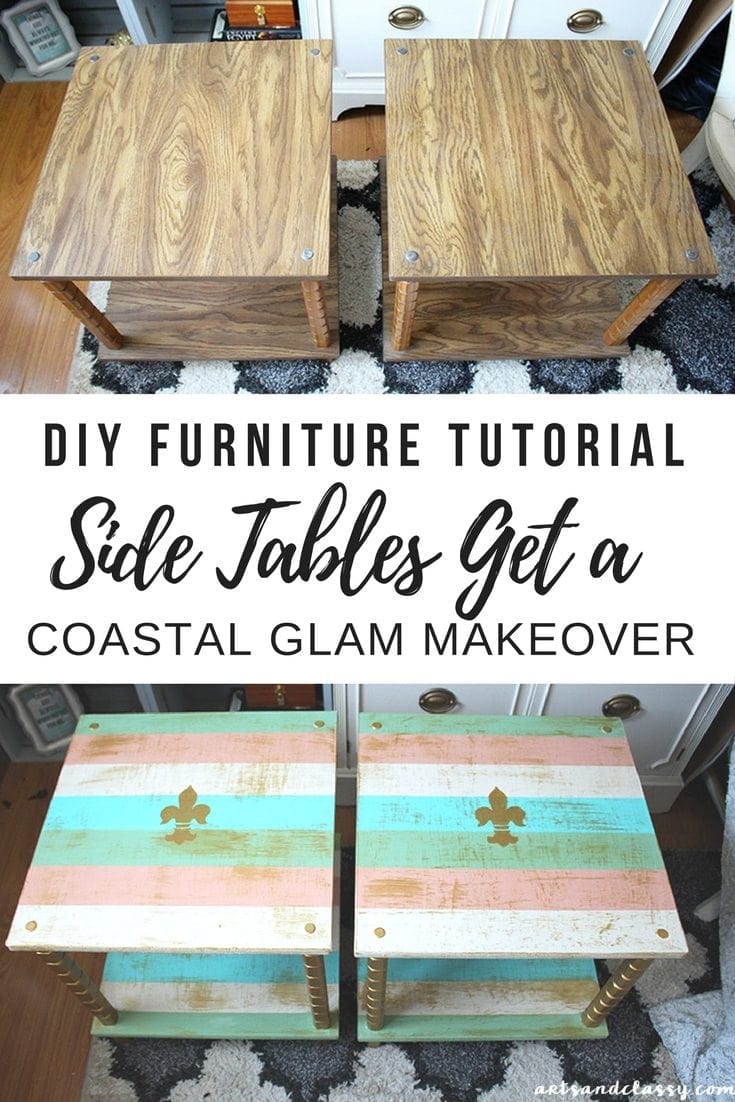
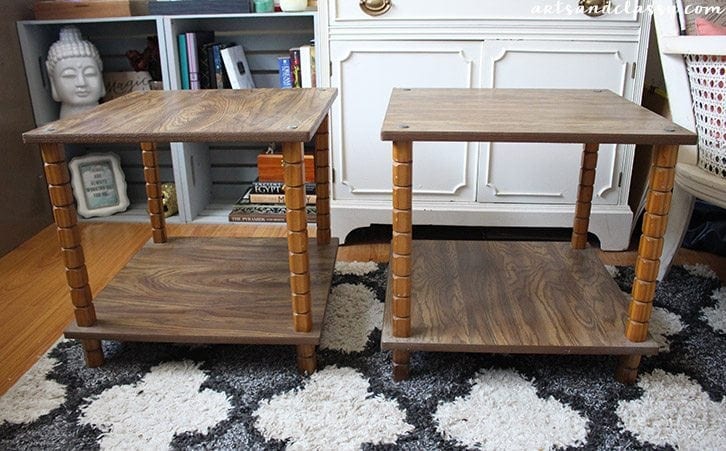
Check out these 2 end tables I found on Facebook Marketplace for $10. Not much to look at now, but I felt they had potential.
*affiliate links included.
I knew I could make these tables a conversation-starter from an eyesore.
The Before photos….
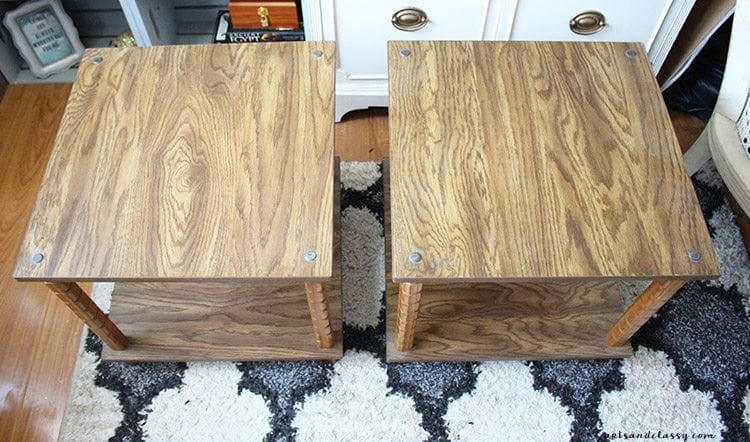
My vision for this project was a simple coastal look with a beautiful fleur-de-lis to complement the tops of each table. What can I say, I love anything with a French influence. It’s in my blood.
First, here was my supply list:
- Behr Paint – Interior Eggshell Enamel – Colors: California Coral, Brookview, Antique White, Hidden Sea Glass (I purchased these at Home Depot)
- Plaster of Paris
- Warm Water
- Modern Masters – Metallic Collection – Olympic Gold
- Paint Brushes – various sizes
- 1″ Painters Tape – I used Scotch Blue and Frog Tape
- Fleur-de-lis Stencil – Cutting Edge Stencils
I started this makeover process by mixing up each paint color I got into chalk paint. You can buy chalk paint, but it is pretty pricey. I ran out of chalk paint from my last couple of projects, so I decided to make my own.
My DIY chalk paint recipe + directions:
- 1/3 Cup Plaster of Paris
- 3 -4 Tbsps of warm Water (add one tablespoon at a time and mix)
- You will want the texture of the mixture to be smooth and have a little thickness to it.
- Stir 2 Cups of Acrylic Latex Paint into the Plaster of Paris mixture.
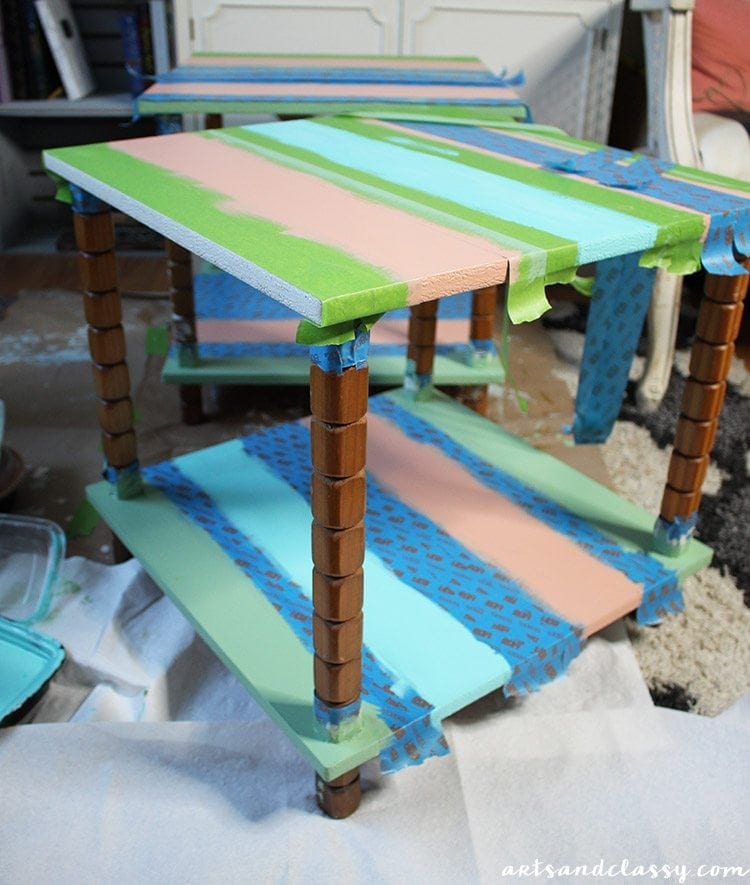
Next, I added painters’ tape to the legs of the tables to mask off for painting.
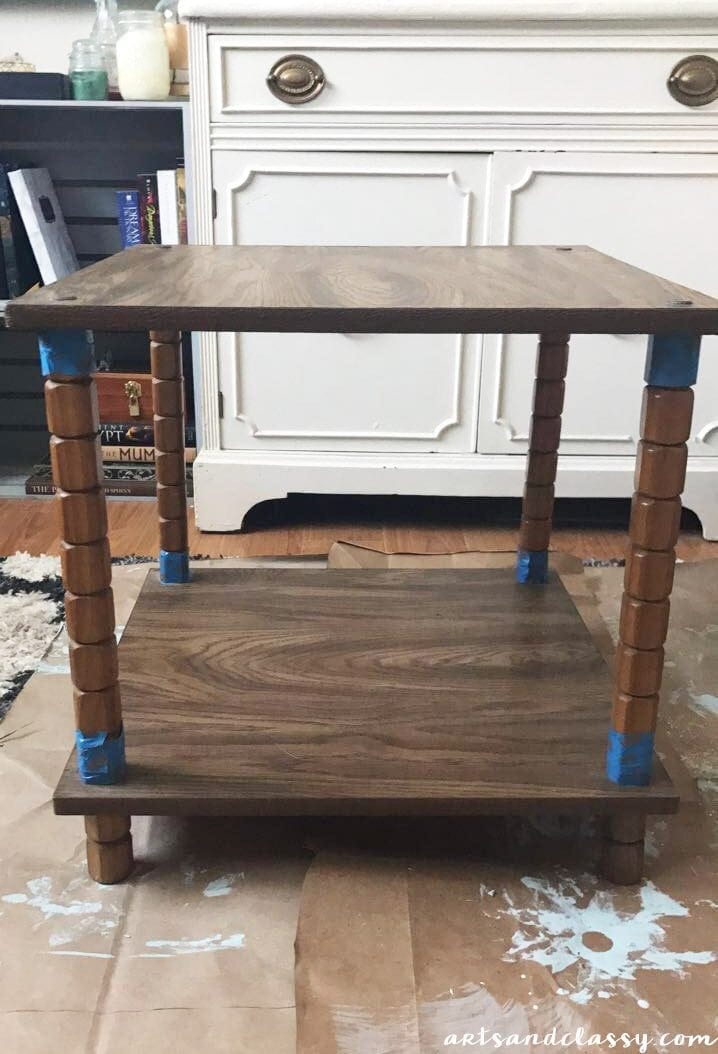
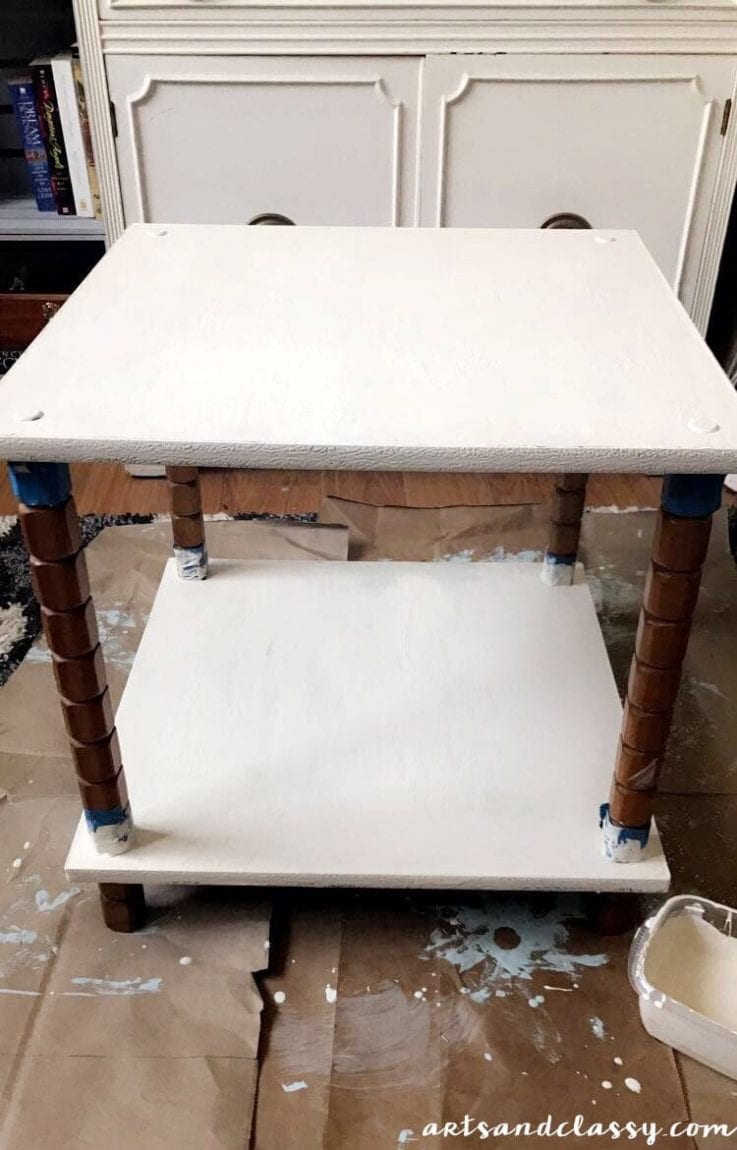
I used my Antique White Chalk paint recipe I created to paint the first color and layer on the top and bottom shelves of these pieces. I painted 2 layers and let them dry for a couple of hours.
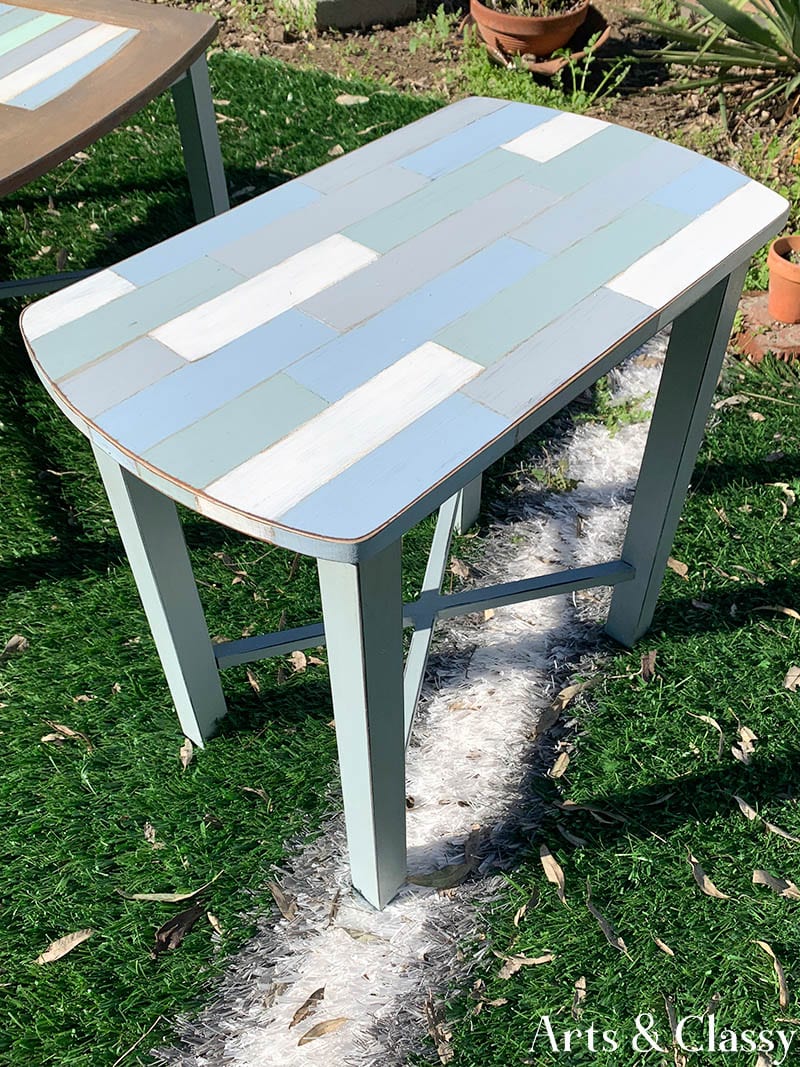
I used my painters’ tape to measure out the coastal stripes that I wanted to include on these end tables. Each stripe ended up being 2 strips of tape wide aka 2″. This made painting stripes so much easier than I thought it would be. I decided on the pattern of colors for the top and bottom shelves. This also took a couple of coats. The key to preventing any paint bleeding under the tape is running your hands on the edges of the tape (to make sure they are pressed down completely).
I decided on the pattern of colors for the top and bottom shelves. This also took a couple of coats. The key to preventing any paint bleeding under the tape is running your hands on the edges of the tape (to make sure they are pressed down completely).
This also took a couple of coats. The key to preventing any paint bleeding under the tape is running your hands on the edges of the tape (to make sure they are pressed down completely).
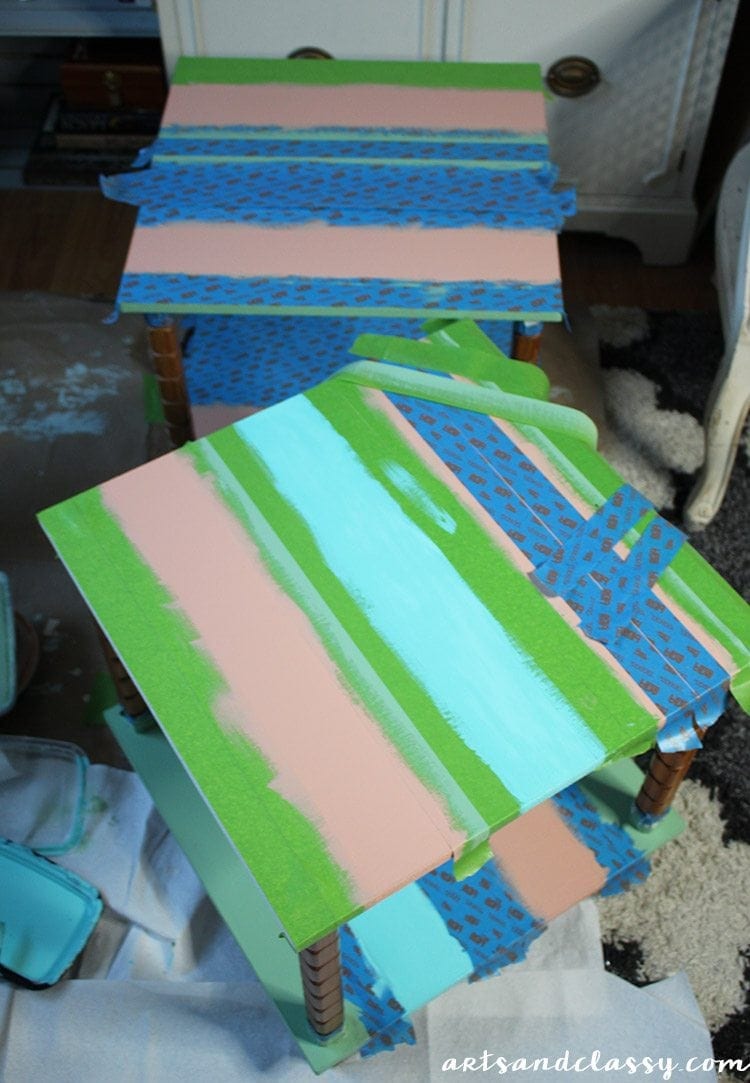
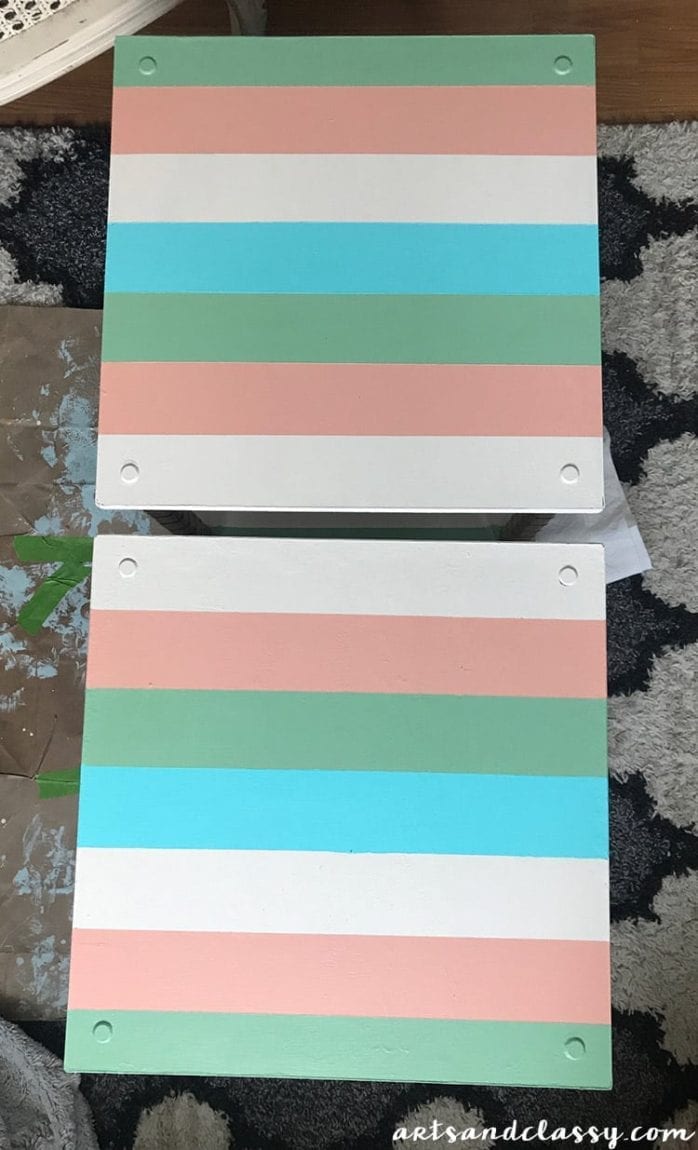
After my paint dried, I removed all the tape on the tops and bottoms of both tables and legs. These stripes turned out pretty great if you ask me. I only measured using the width of the 1″ tape I had on hand to make these stripes even.
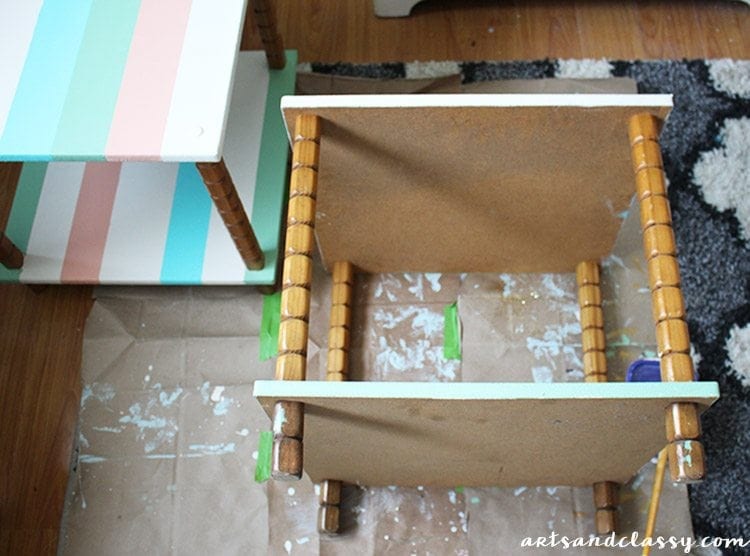
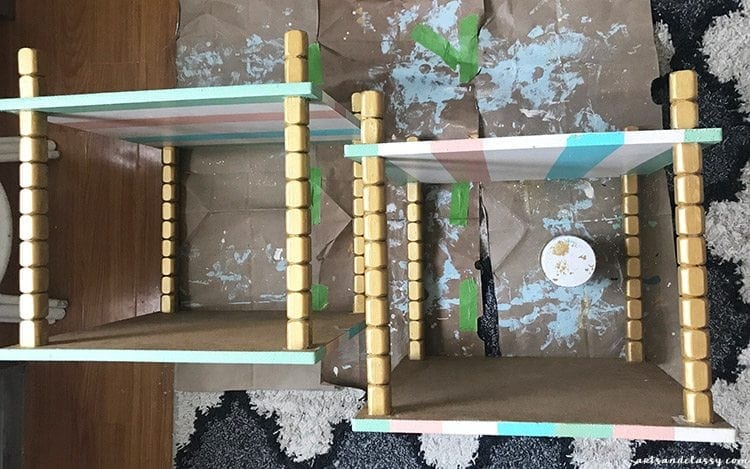
The next operation was to paint the legs of both tables. You all know how much I love gold. So being the predictable girl that I can be, I decided to paint them…. GOLD! If you didn’t know my obsession with gold, check out my last side table & coffee table makeovers I did. You will begin to understand.
A while back, Cutting Edge Stencils sent me a free stencil with the Roses All Over stencil they sent me to review. I thought the simplicity of this stencil in gold would complement these two tables nicely.
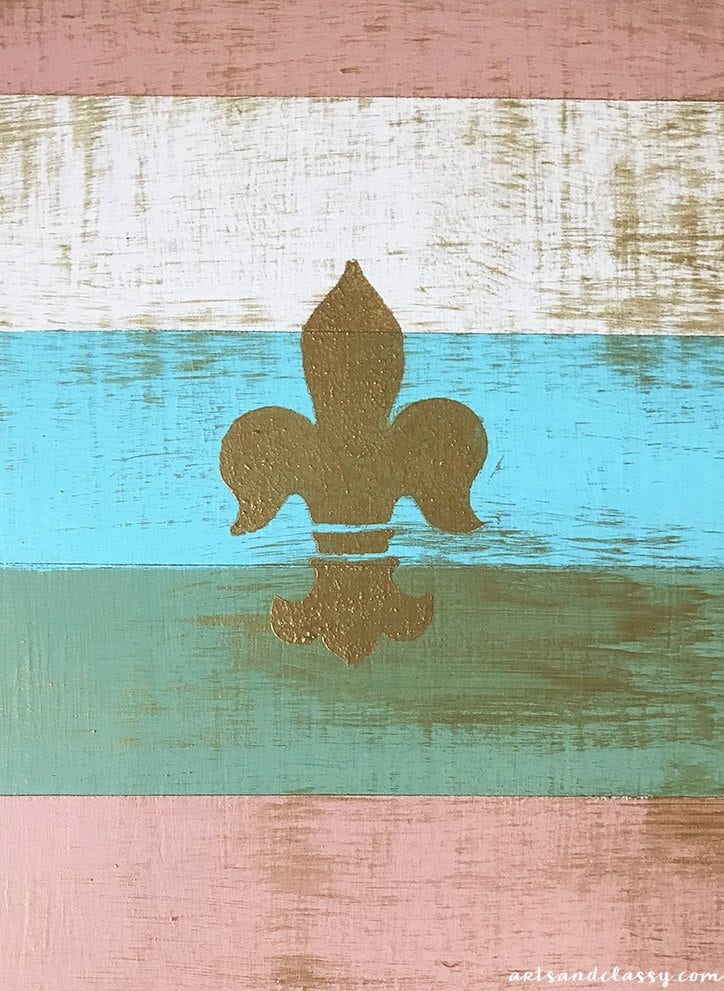
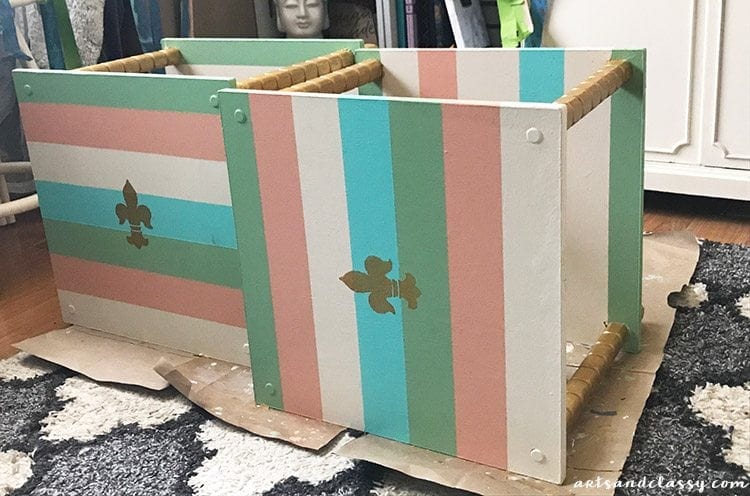
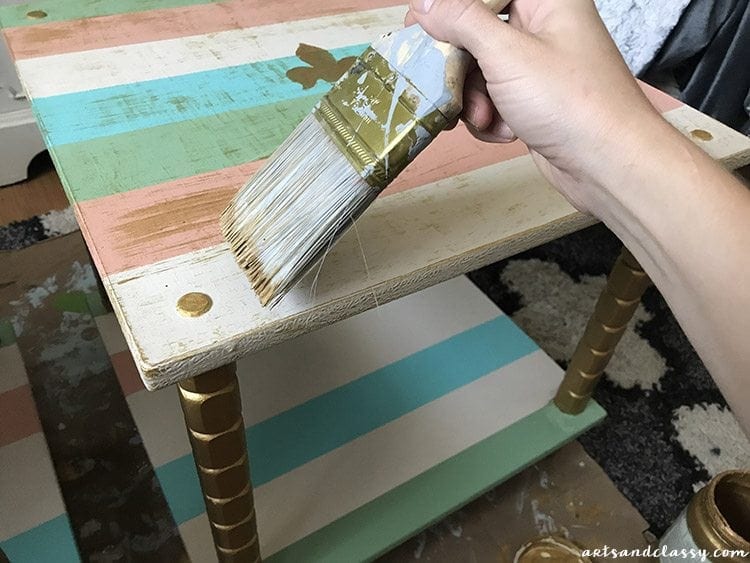
My next step in this DIY project makeover was to add the gold detail to the corners of the tops of the tables + dry brush an aged finish to the stripes I created.
Here are the AFTER photos.
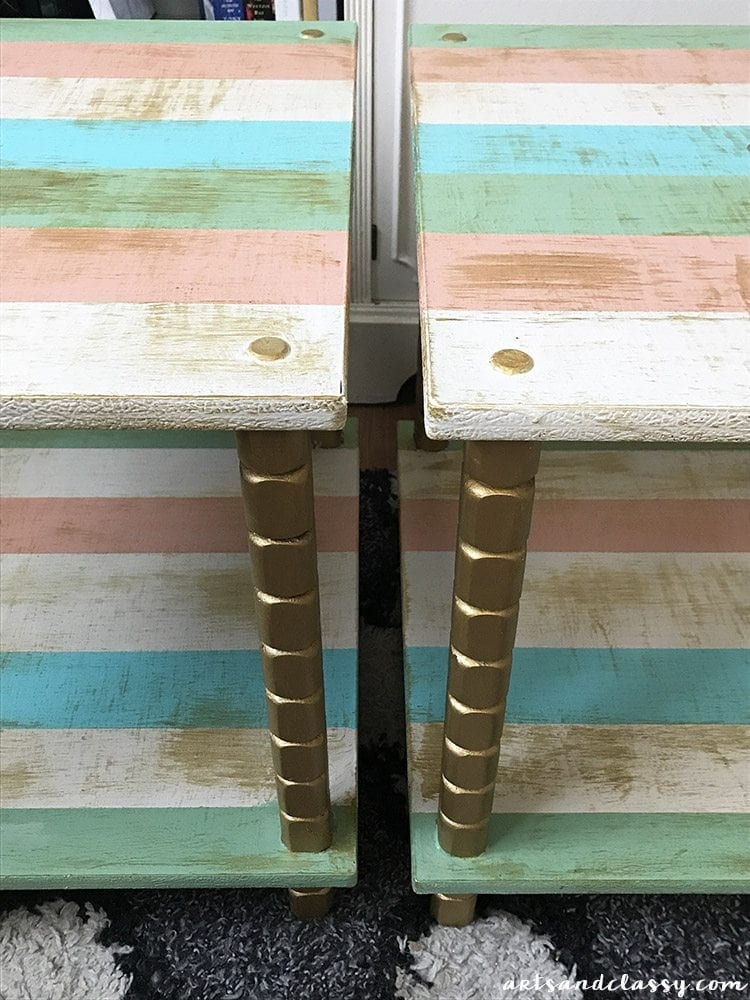
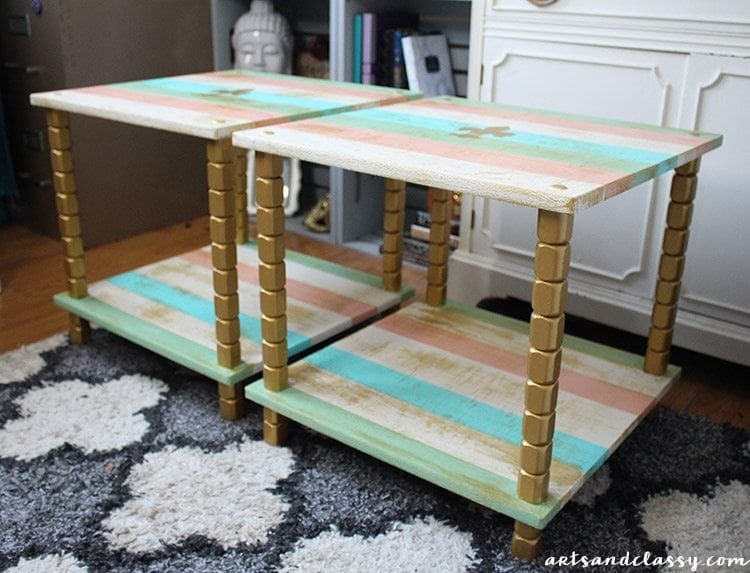
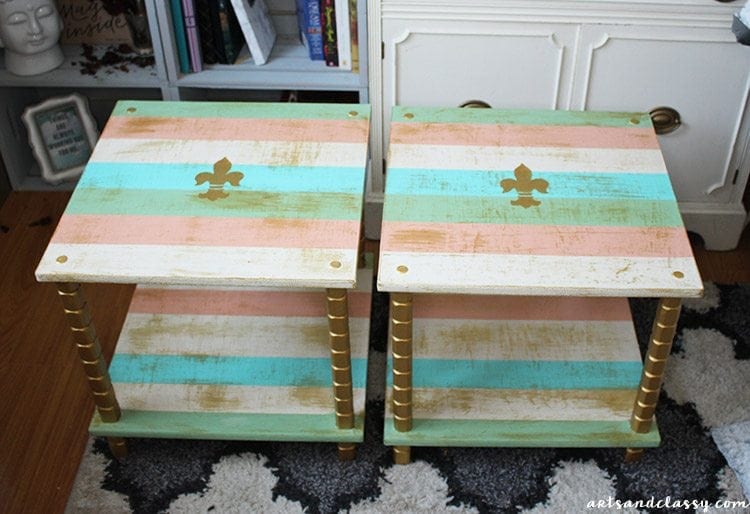
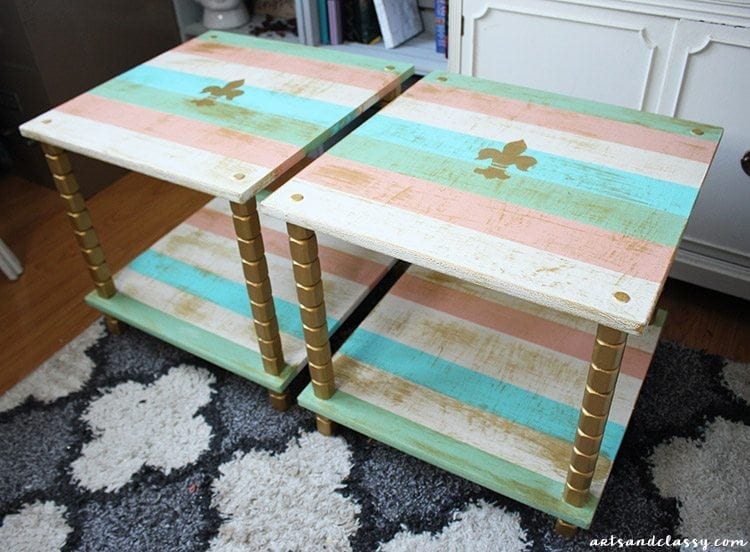
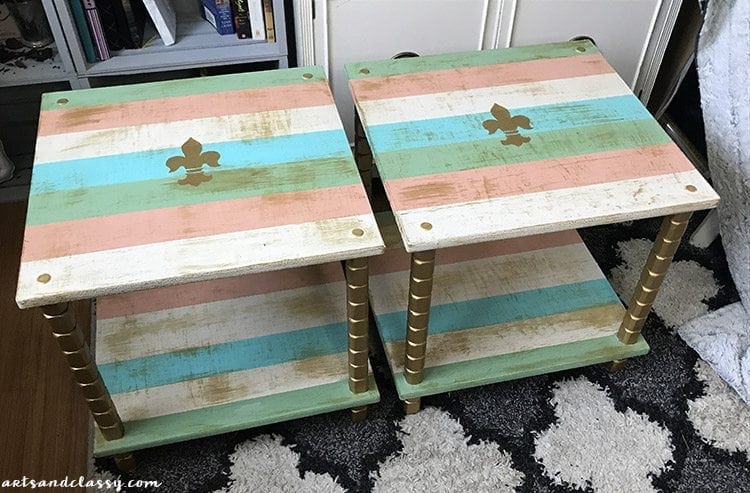
This chalk paint recipe for this end table project turned out great! This project has been one of my favorites so far with the last 2 pieces I have completed. I have been on a creativity kick!! I am going to keep hunting for furniture to flip, share with you and ultimately sell each piece!
How do you like them apples? I am pretty excited about it.
Now I want to know what you think of these tables? Let me know in the comments below.
Do you have a furniture piece that needs reviving? If you live in the Los Angeles area, contact me for more information about my furniture flipping services.


