Create a Charming DIY Serving Tray with Handles and Coaster In Minutes!
Do you want to impress your friends and family with a gorgeous, one-of-a-kind serving tray and faux marble coasters? With this article, you’ll learn how to create a beautiful, eye-catching set in no time. By using some basic materials and a few simple tools, you can make a charming DIY serving tray and faux marble coasters in minutes – and just in time for your next get-together!
With a few easy steps, you’ll be able to create an impressive centerpiece for your table.
In this post, you’ll learn how to make the tray, customize it, finish the faux marble coasters, and present your finished product like a professional. So get ready to impress your guests and start crafting!
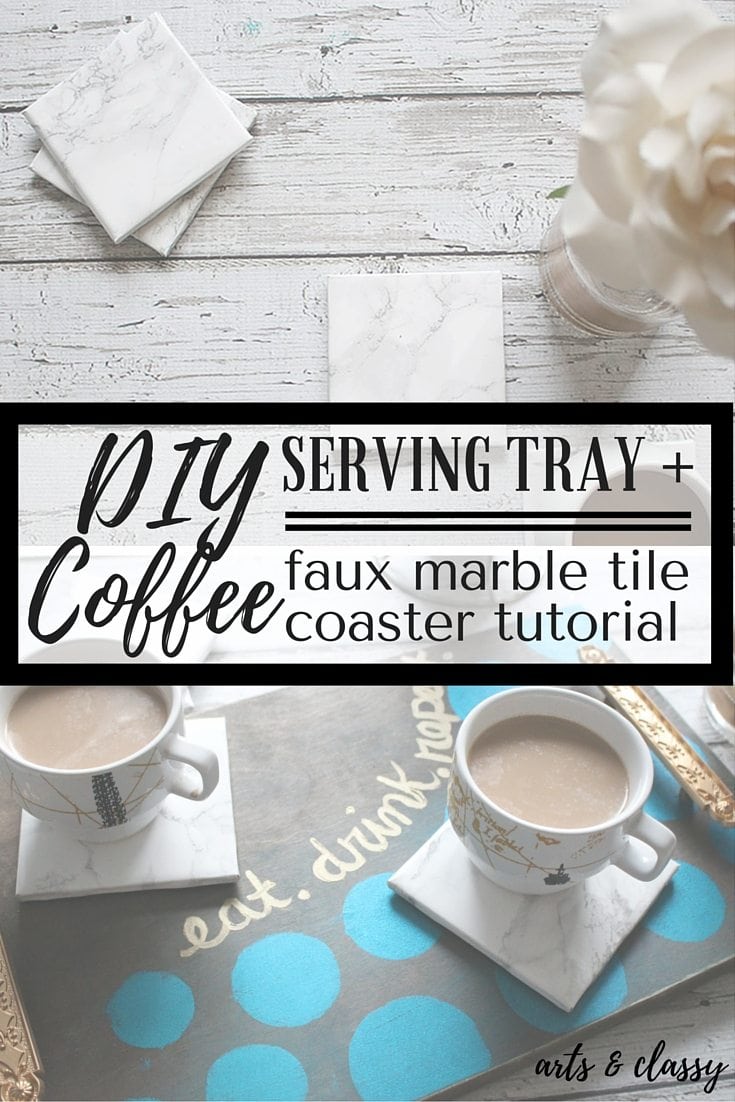
I am so happy that summer is finally here!! The days feel longer because of daylight savings time, and I am staying more inspired regularly! I still can’t believe how many more DIY projects I have around the house.
I am in the process of redecorating my little apartment front patio, and I would love to try and create a quaint little outdoor sitting space. Since that was my inspiration, I decided I needed to create a cute little tray that could be used out on the patio for maybe coffee in the morning. I also decided to create a cute set of faux marble coasters to go with it.
When I am at home working on my projects, I love to set a mood in my home that makes me feel happy and inspired. I love candles and all sorts of scents to use in my home to mask the smell of having cats.
This post contains some affiliate links. I may earn a small commission if you make a purchase through one of these links. See more information in my full disclosure policy.
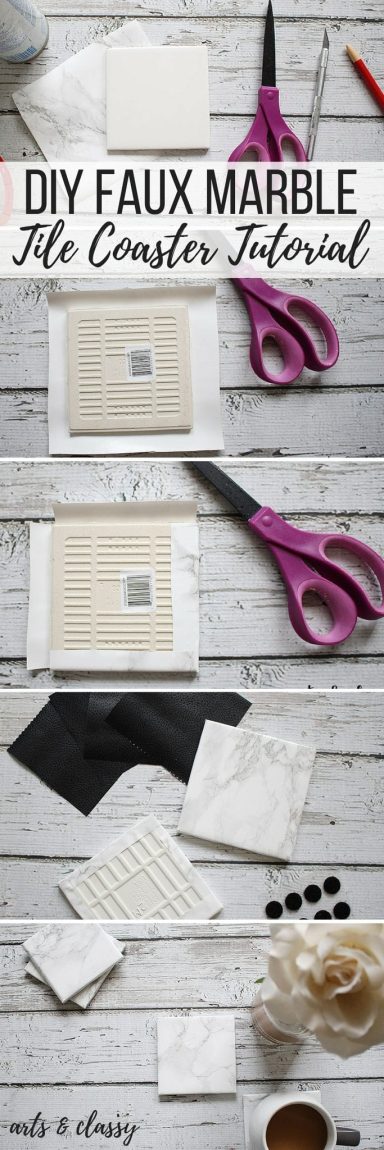
For the first project, I completed my tile coaster faux marble DIY.
Supplies needed for this faux marble coaster project:
- 4”x4” Ceramic tile squares
- Marble contact decorative paper
- Scissors
- Black contact paper
- Felt circle with adhesive on the back
My next inspired project was to create a DIY serving tray with handles.
I decided to use plywood for this project and some vintage art deco furniture drawer pulls to use as handles for the top of the tray.
Supplies needed to make this DIY serving tray with handles:
- Plywood piece. I kept mine small at 18” x 12”
- Miter saw or circular saw
- 2 handles. I chose vintage furniture drawer pulls
- Spray paint – to paint the handles gold.
- Cordless drill
- Drill bits
- 4 Screws for furniture pulls
- Metallic Craft Paint – I used gold and fun peacock green.
- Circle stencil
- Sponges
- Wood stain
- Sand paper
- Paint brush
- Screwdriver
STEP 1
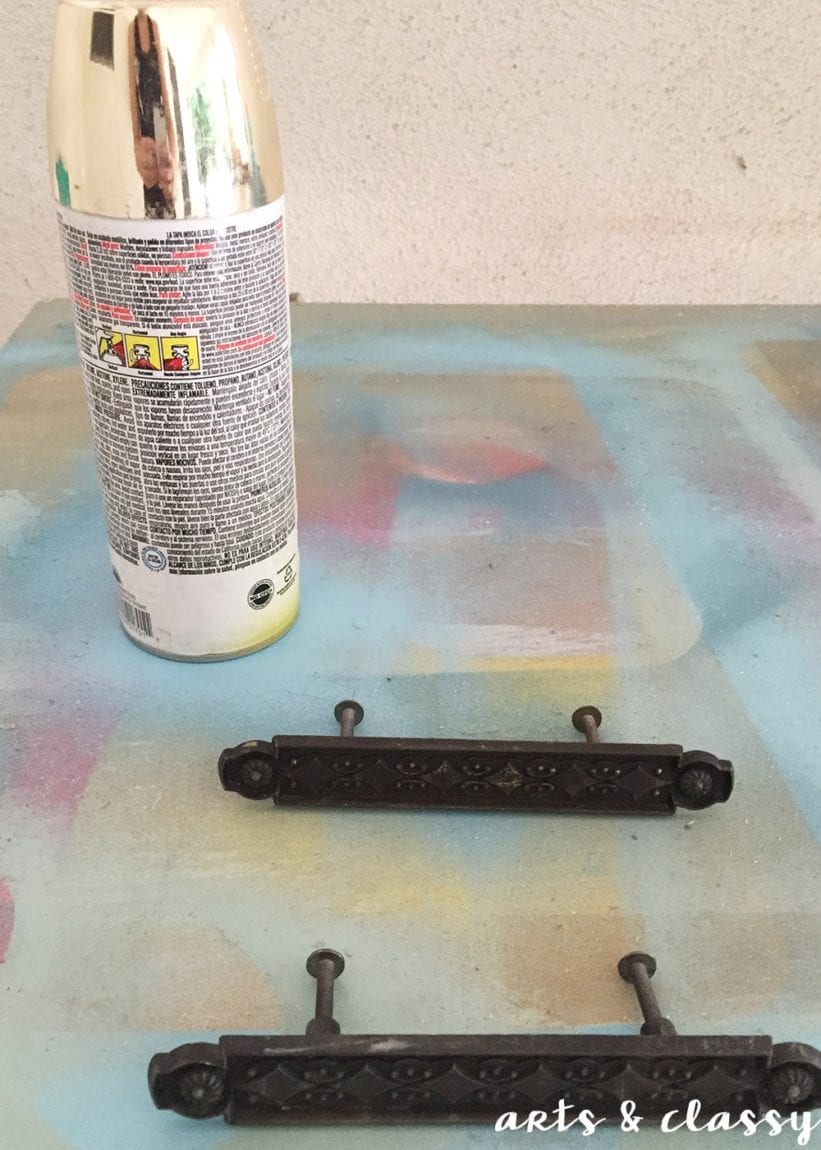
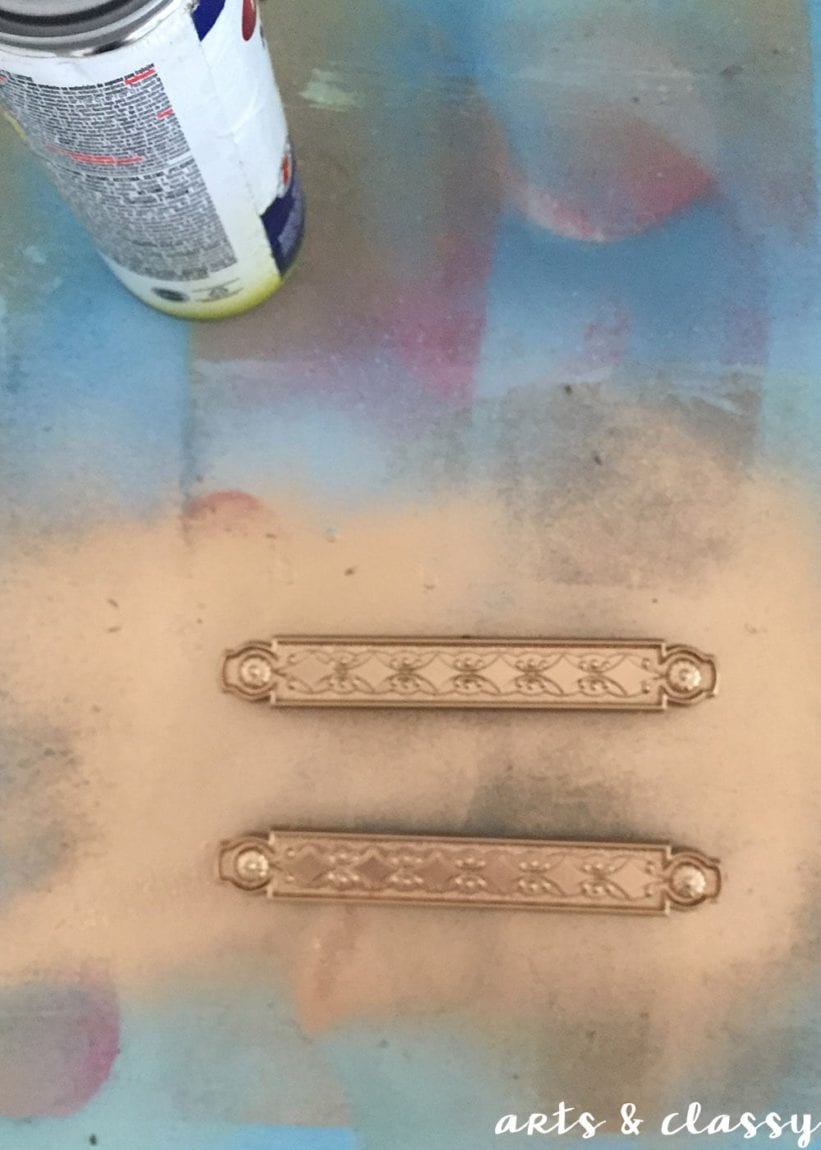
The first step in this DIY wood serving tray is painting the furniture hardware. Go outdoors to spray paint your furniture pulls. You will love how the room smells when you walk back inside.
STEP 2
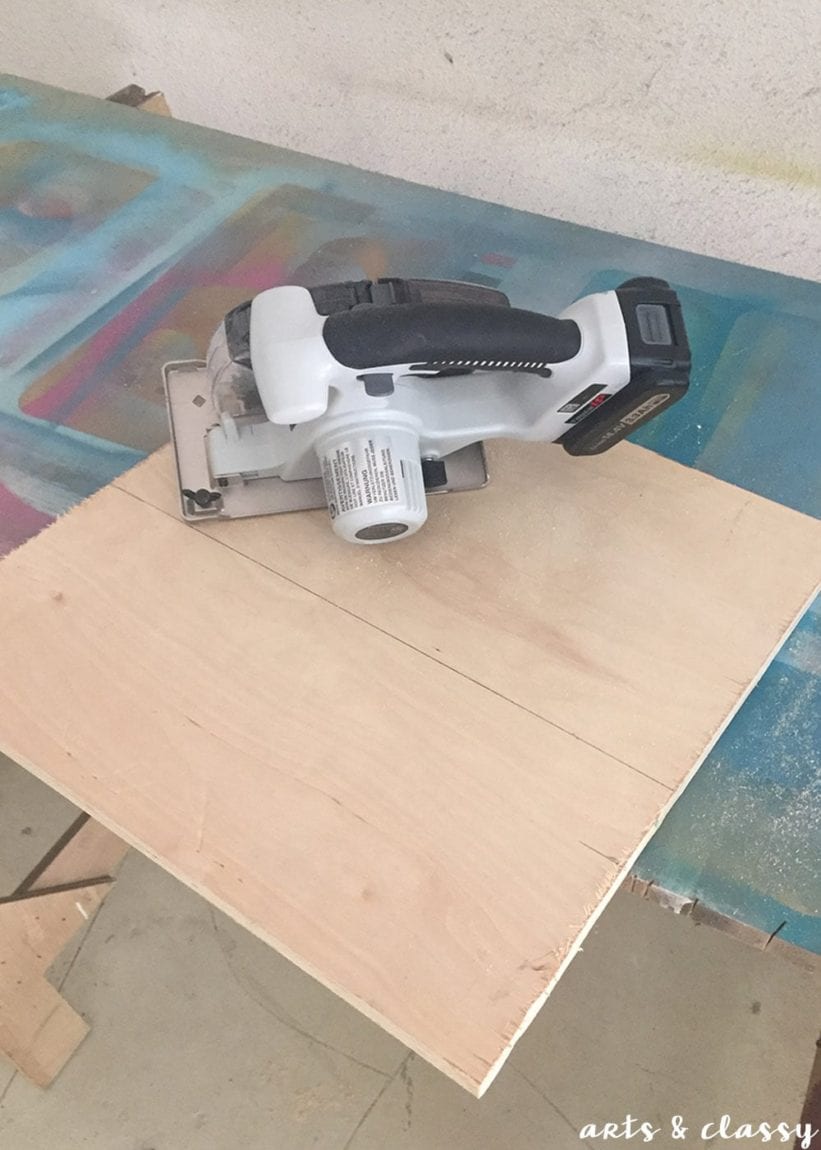
Cut your piece of plywood with a circular saw. You can also have this pre-cut at the hardware/lumber store. I recommend using a sanding block afterward to smooth out rough edges.
STEP 3
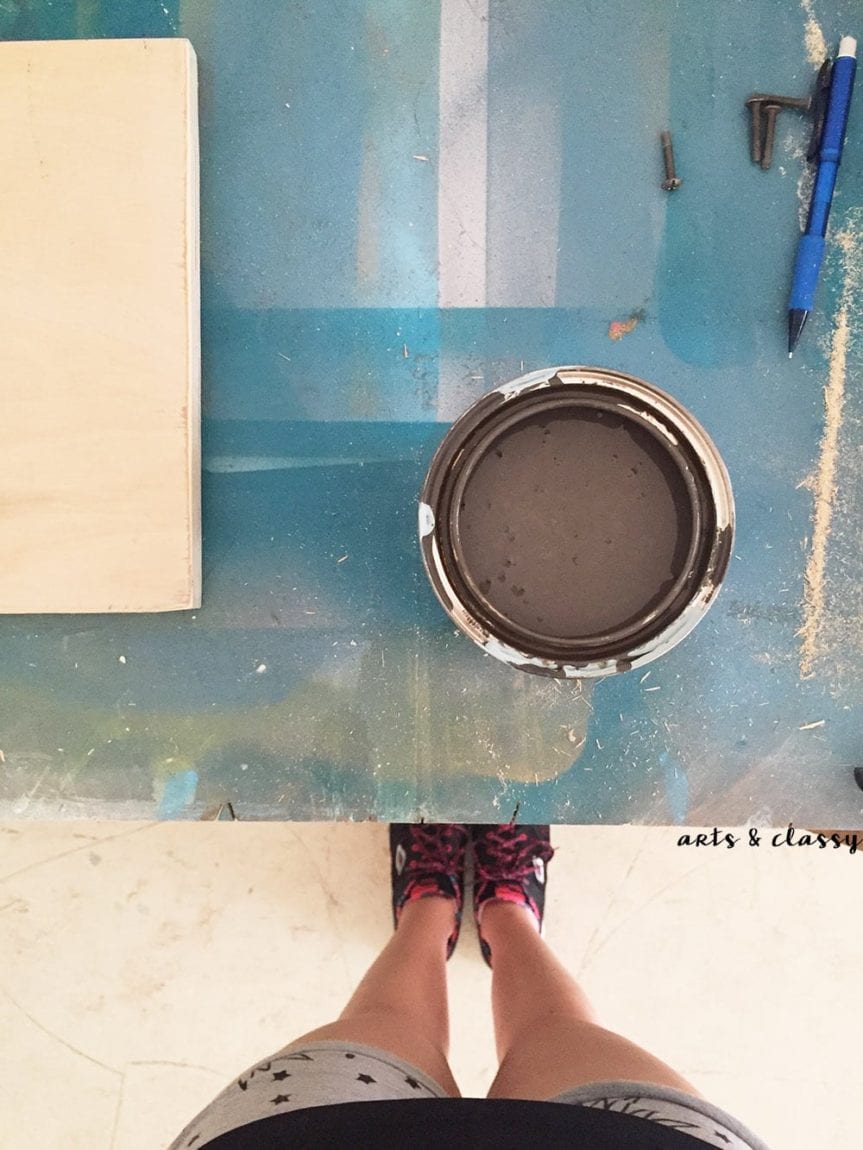
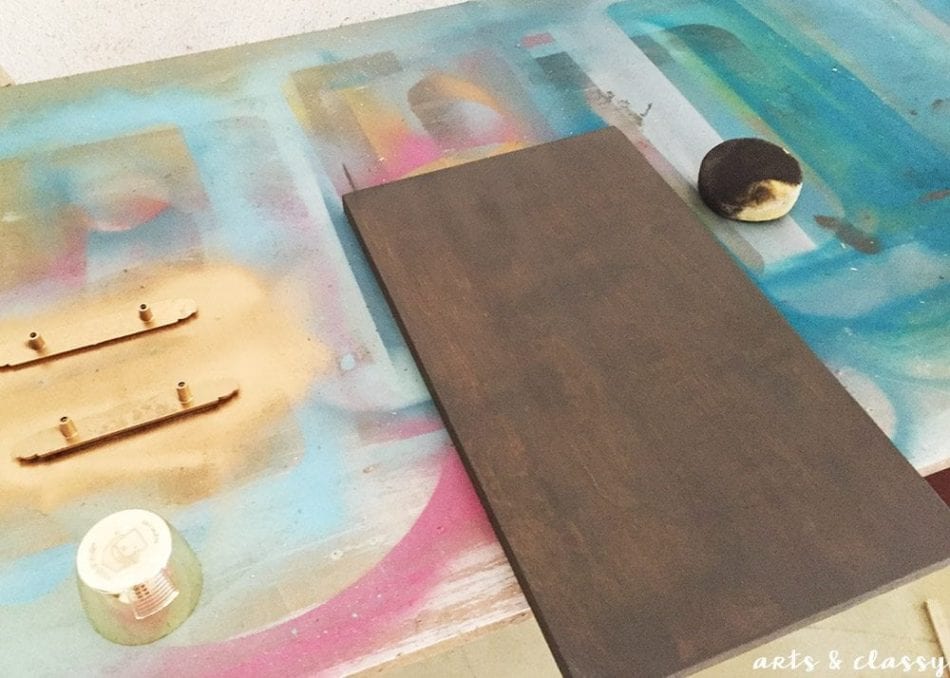
Stain wood with whatever stain you like. I chose a darker oak water-based wood stain.
STEP 4
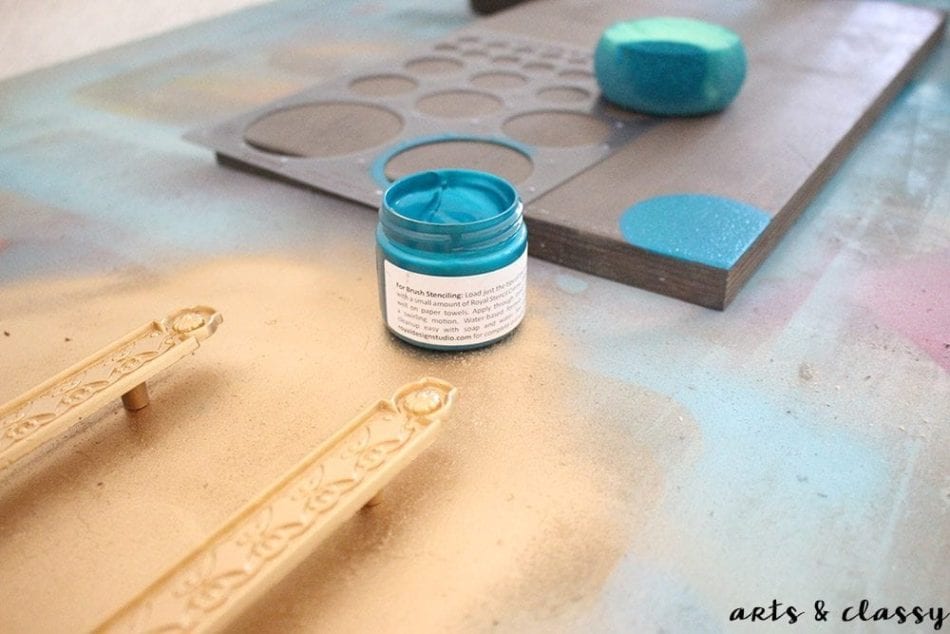
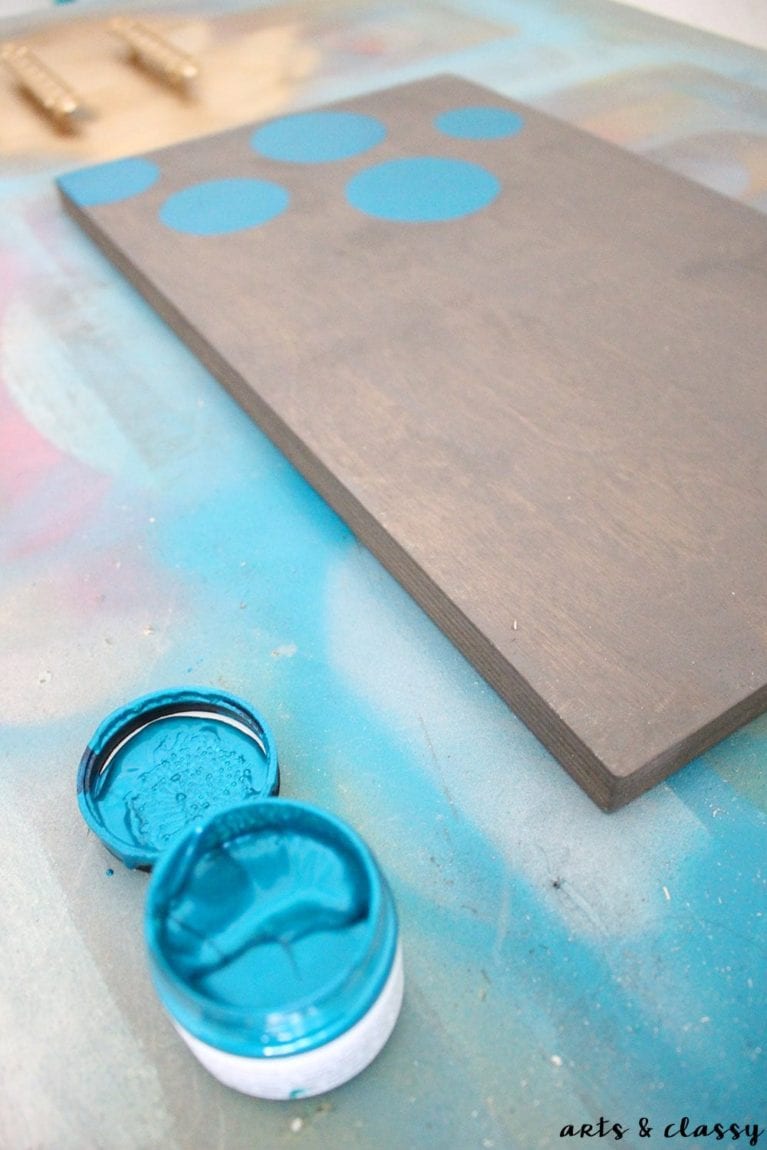
Take the circle stencil, stencil creme, and sponge. Create a polka-dotted pattern with handles for your DIY serving tray.
STEP 5
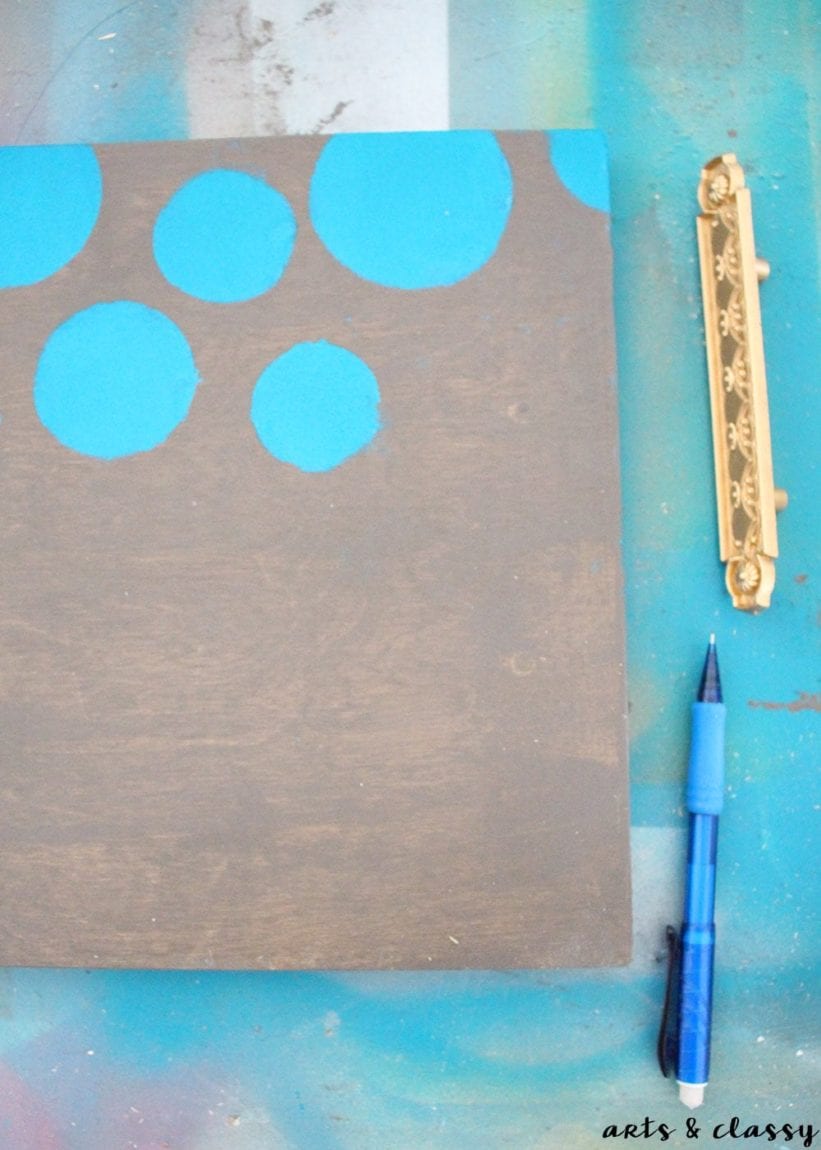
Measure out where you will use a pencil mark the screw holes for the handles will go.
STEP 6
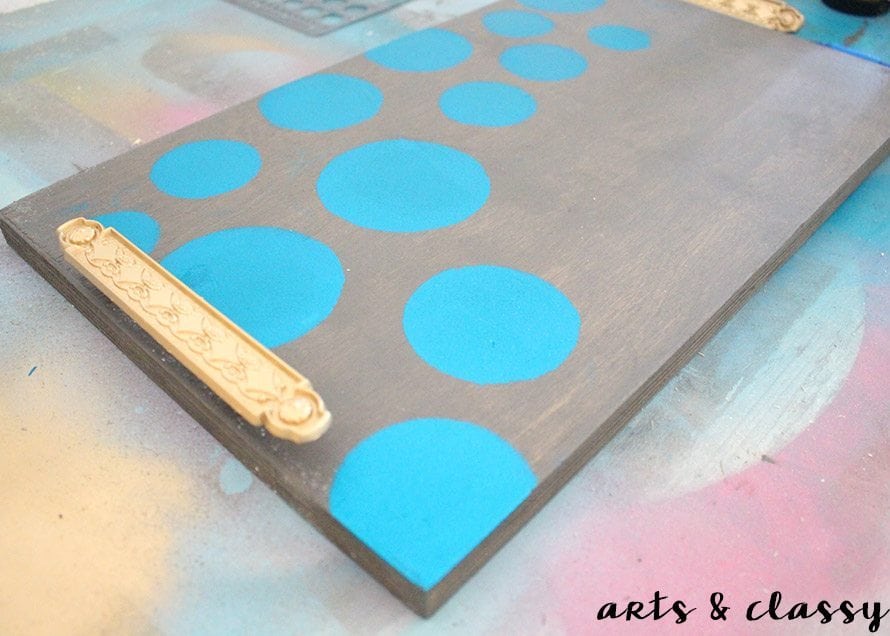
After assembling the handles on both sides of the tray, use a paintbrush with another color to write: Eat. Drink. Repeat. Let it dry. Take sandpaper and age the wood stain, edges, and stencil job to give it a vintage look. Wipe down the tray and make sure all the surfaces are smooth.
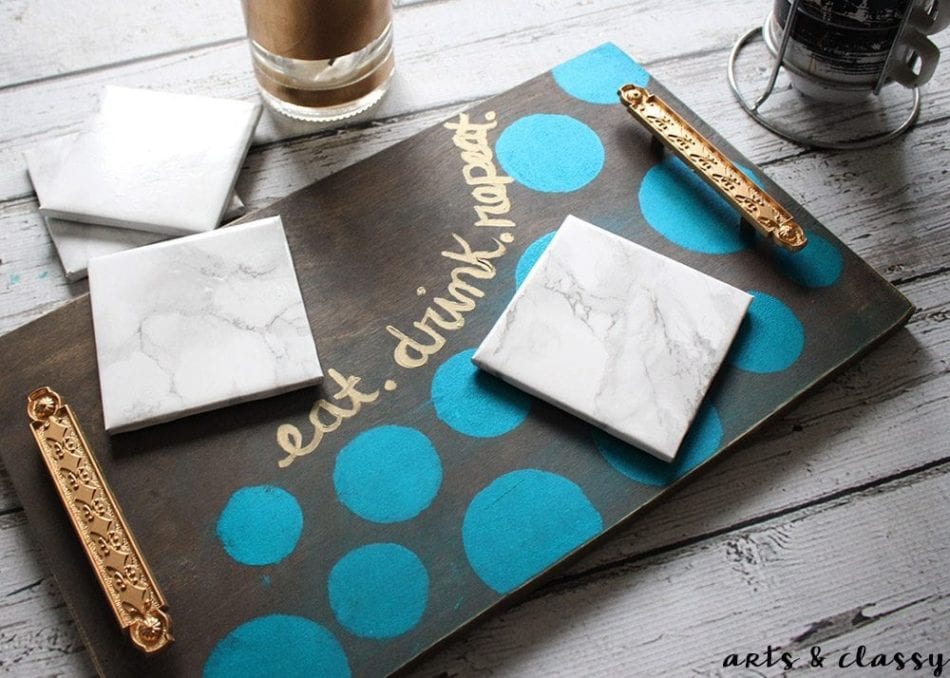
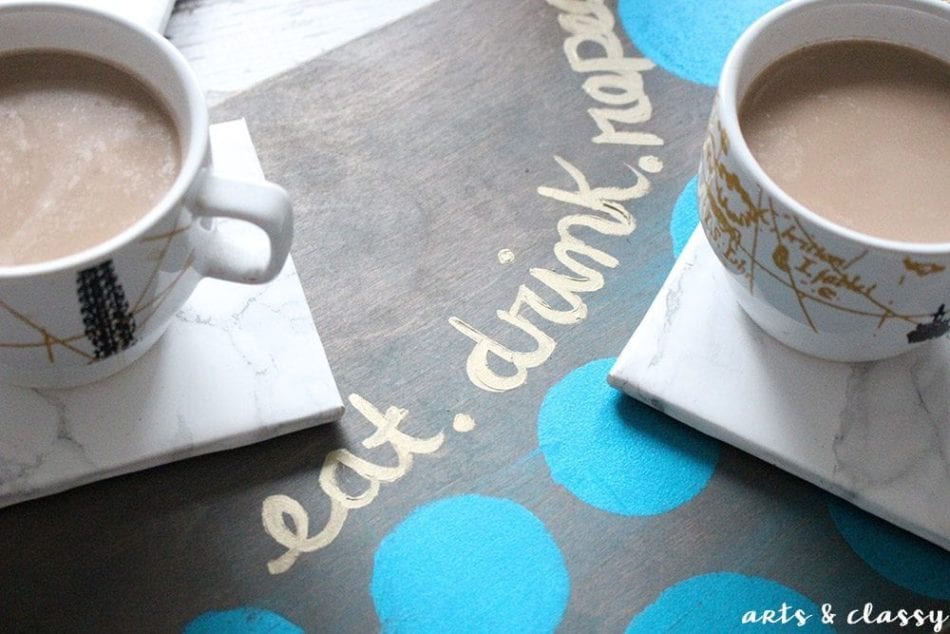
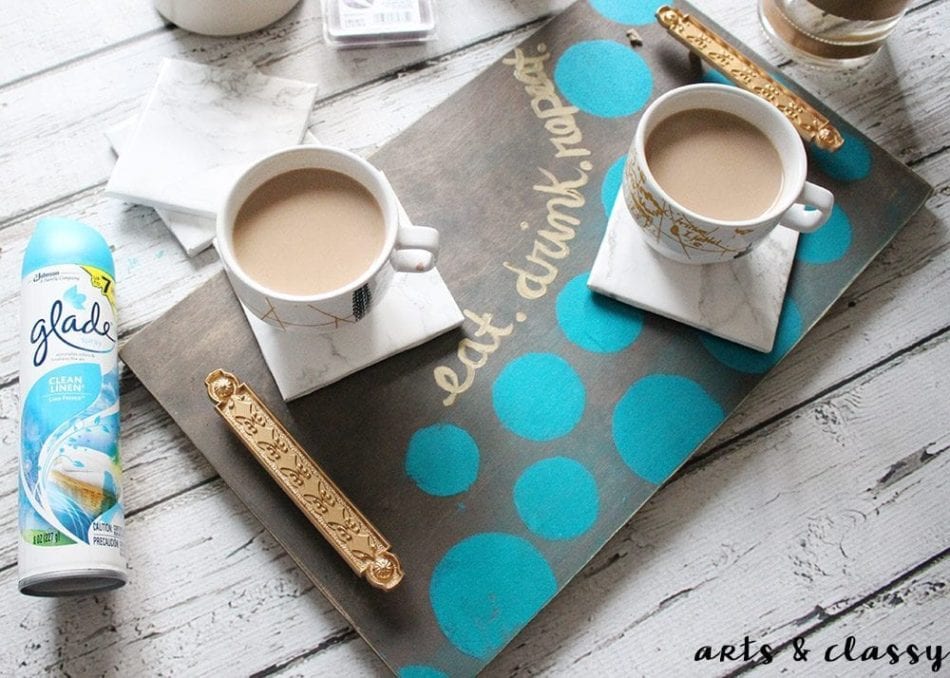
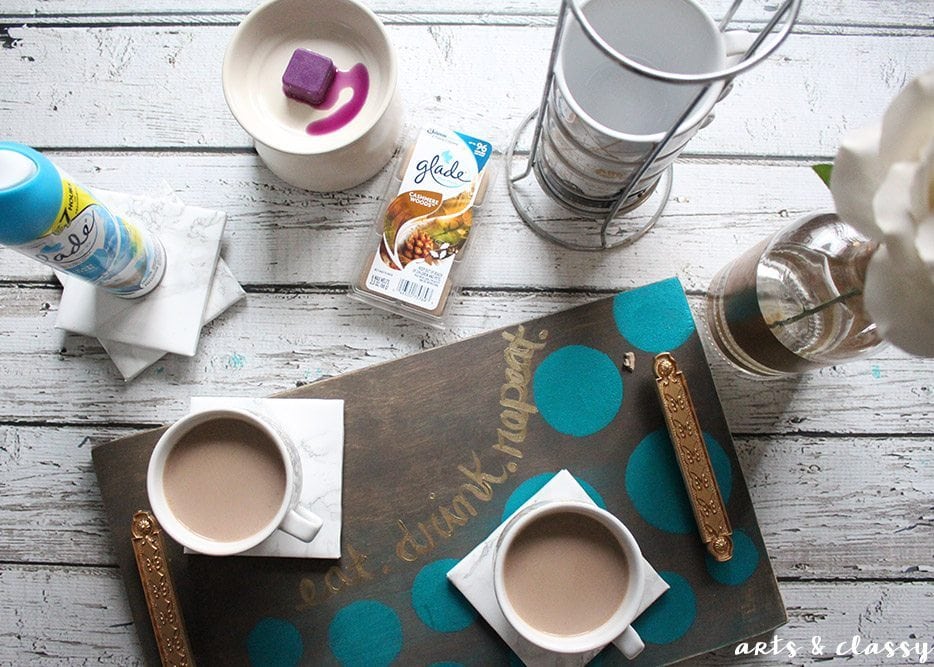
What did you think of these projects? Make sure you are following me on Instagram, Pinterest, my YouTube channel, Hometalk, and TikTok for more ideas on how to decorate your home!



Liked the coffee tray I will be doing one ,I snack while watching TV.