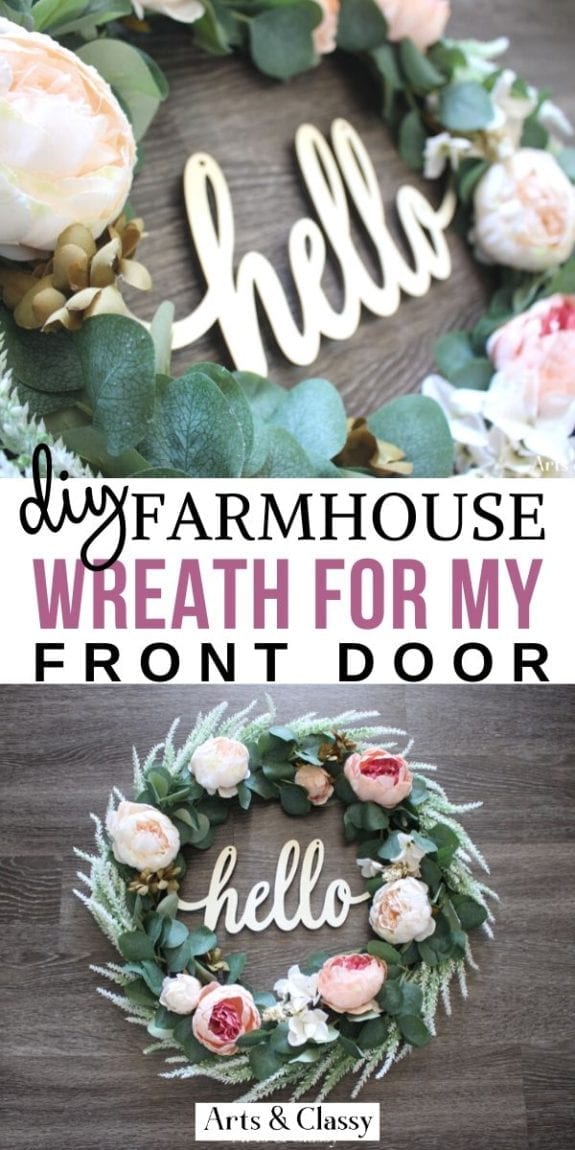
DIY Easy Farmhouse Wreath for Front Door
I am very excited to be sharing this project today. Believe it or not, I might be the only DIY home blogger who waited 8 years before attempting to make a wreath for my front door. Crazy huh? I guess I always found this project intimidating, but now I regret not trying it sooner.
Today, I am sharing with you how to make your own Farmhouse Wreath for the front door. I hope to inspire others who were like me (thinking they couldn’t do it) to just try it! It’s not as difficult as I thought it would be.
Farmhouse/Rustic decor is still so popular, and people gravitate towards this aesthetic. It has charm and tells more of a story than modern decor does, in my opinion. It has character.
This post contains some affiliate links. I may earn a small commission if you purchase through one of these links. See more information in my full disclosure policy.
Check out my supply list for this DIY farmhouse wreath for the front door below.
- Wire wreath form
- Hot glue gun
- Gorilla glue sticks
- Assorted flowers and greenery
- Floral wire
- Wire cutters
I made a fun video tutorial walking you through this project if you want to see more details on this project.
If you prefer this project in step-by-step photos, see below.
Step 1 – Unwrap All Supplies
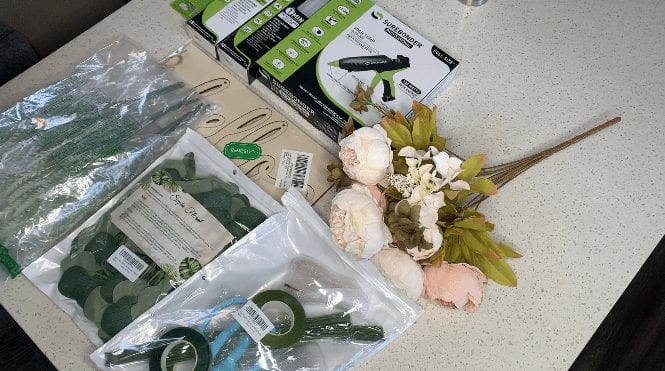
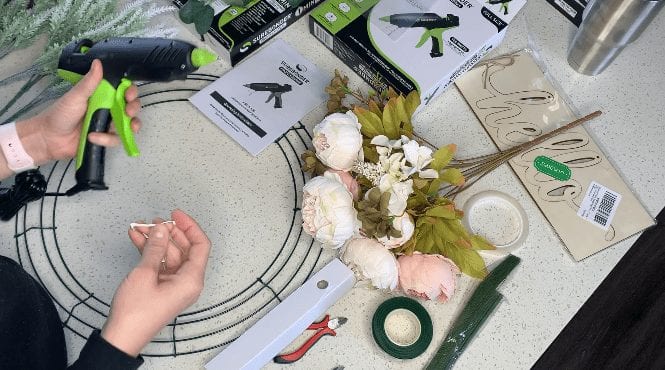
For this project, I ordered all my supplies online. Unwrapping them to see what I had to play with was the top priority.
Step 2 – Set Up My Glue Gun
I unboxed my new Surebonder glue gun and realized there were 2 different types of glue sticks.
The 1-minute working time glue sticks are for repairs, concrete, tile repair, vinyl cove, carpet tack strips, hard-to-bond surfaces, and more. This adhesive bonds to wood, concrete, plastic, stone, metal, glass, ceramic, tile, vinyl, fabric, and leather surfaces.
The 3-minute working time glue sticks are for time molding, wood floors, starter bonds, stair nosing, wall paneling, and more. This adhesive bonds to hardwood, softwood, stained wood, primed wood, and painted wood.
I decided the 1 min working time glue sticks would be perfect for this project, especially since I was using a metal wire frame.
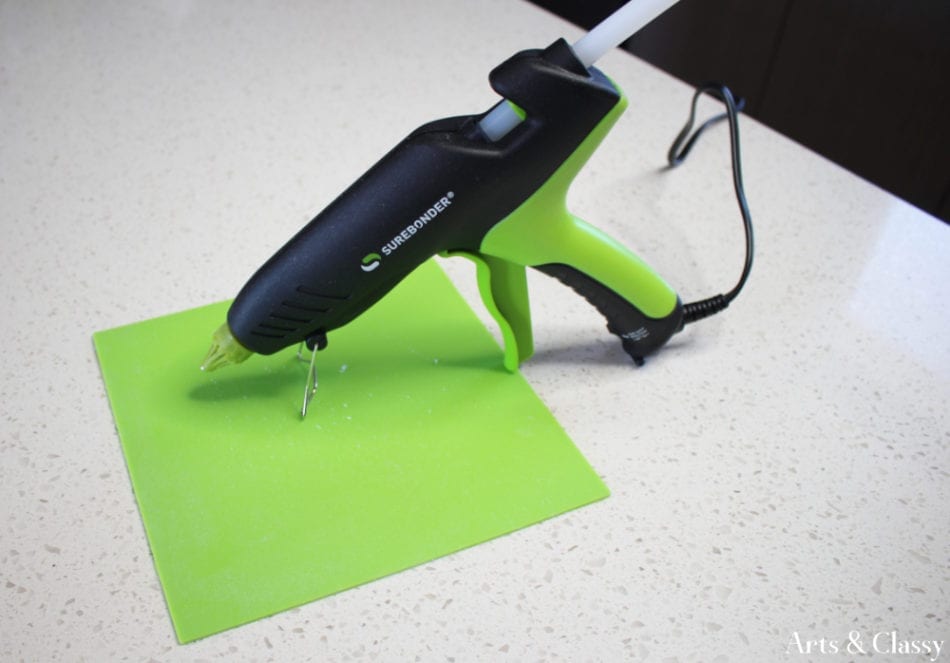
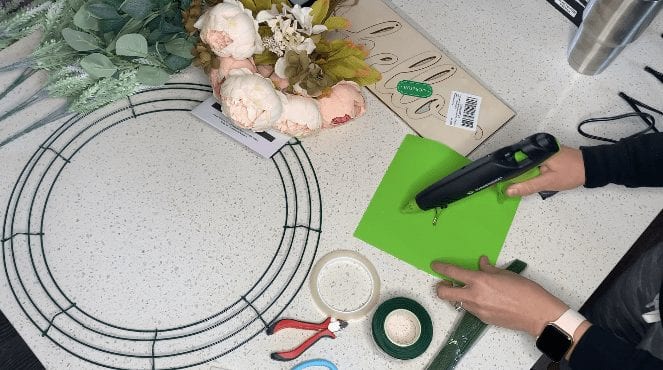
Side note: I loved the silicone mat that came with this Surebonder glue gun. I normally use a paper plate to catch any hot glue drips. This was the perfect solution for that issue, plus it is less wasteful. The clean-up was super easy, too.
Step 3 – Trim The Stems From The Fake Lavender
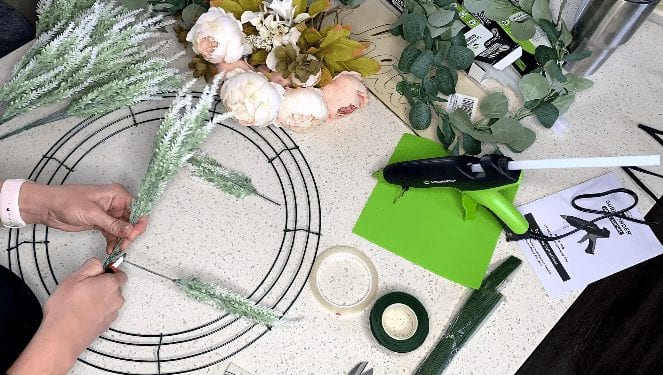
I used my pliers for this to make it go by quickly. I clipped the stems off every lavender sprig and laid it to the side of my project space.
Step 4 – Attach The White Lavender Stems To The Outer Circumference Of The Wreath Frame.
The process of attaching the lavender to the frame consisted of me using floral wire and hot glue to secure it in place.
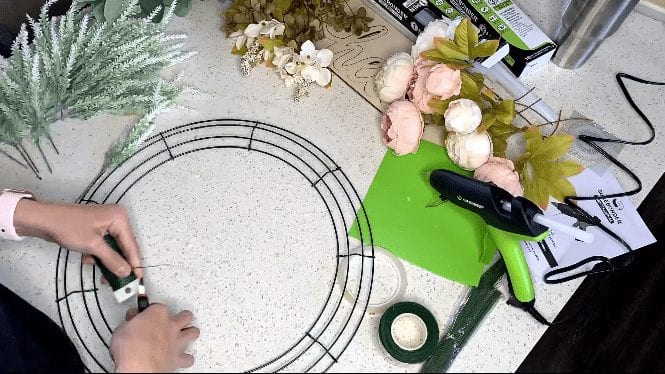
Since I was using the 1-minute working time glue sticks, they dried pretty quickly. The glue added an extra layer of support to really make this wreath last a long time.
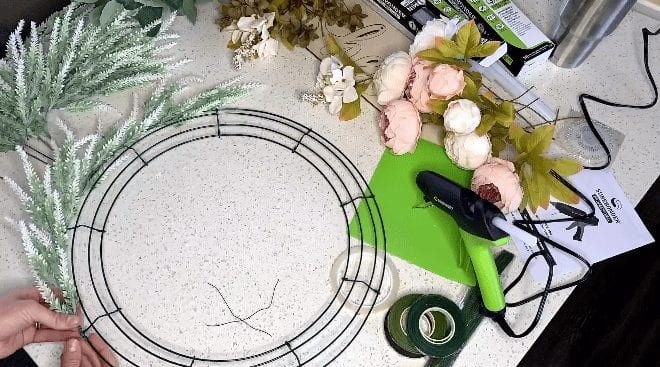
Once I made it all the way around the frame with the lavender, It was time to move on to my next layer of eucalyptus.
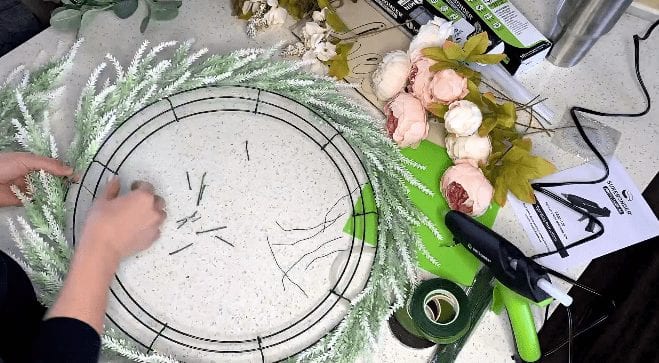
Step 5 – Attach The Eucalyptus To The Wire Frame
Since I ordered a garland of eucalyptus, I had to clip it down into 6-inch lengths to have more control over the placement on the frame. Also, it made it easier to attach with the wire and hot glue.
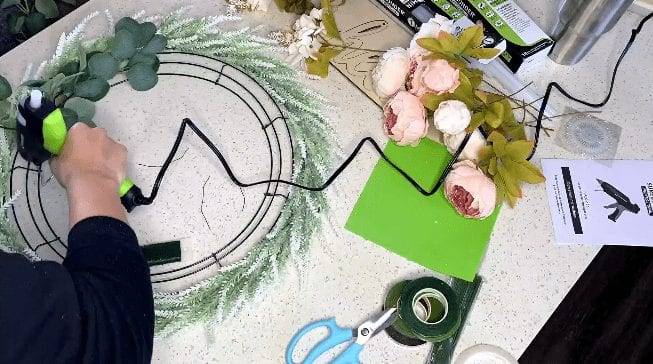
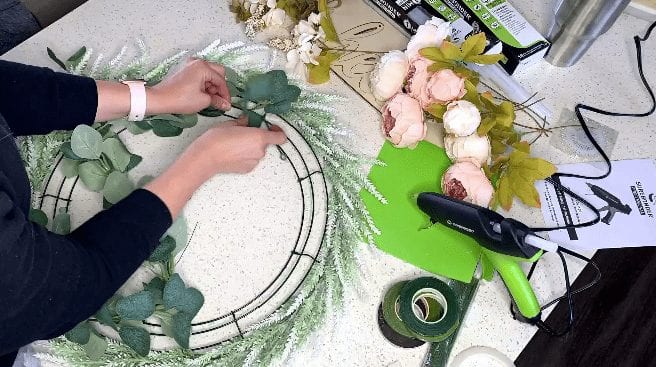
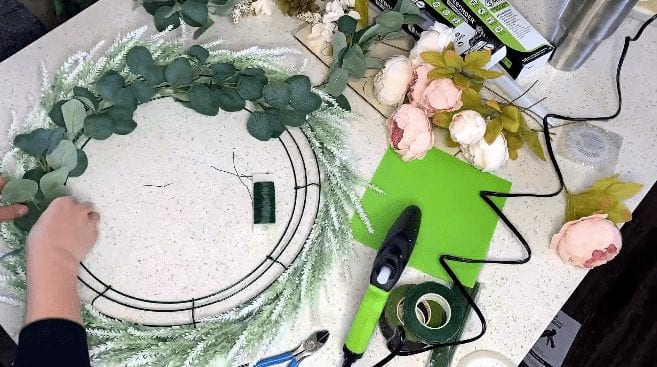
I used hot glue to fasten some of the leaves to the frame to cover any open spaces. I wanted this wreath to look lush and full.
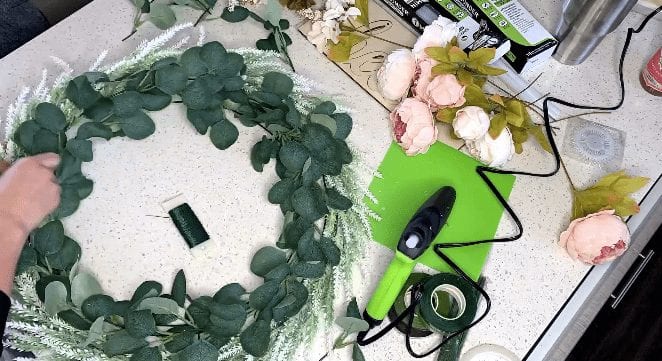
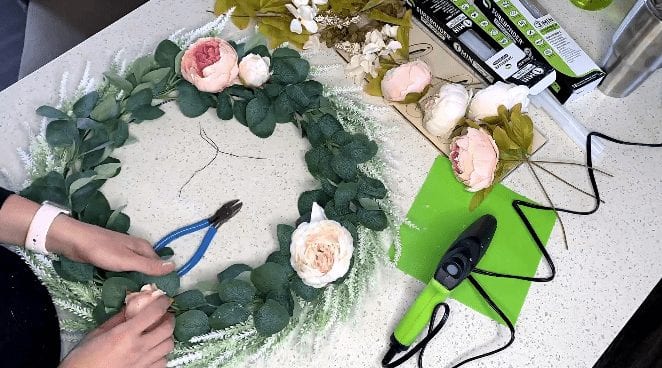
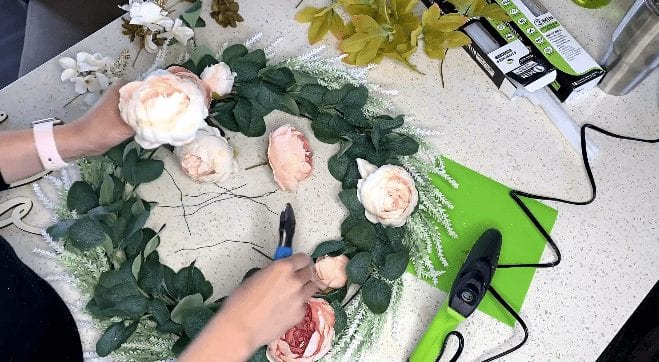
Step 6 – Cut Stems Off Of The Faux Peonies Blossoms
I took the pliers and cut the stems down to about 1 inch so I could thread them through the frame and secure them with hot glue. Once the glue dried, I used wire to secure them to the frame.
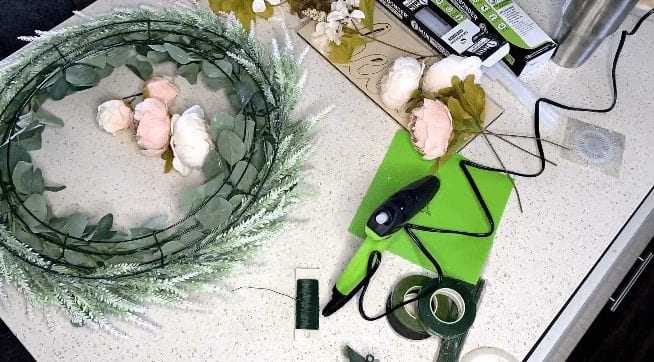
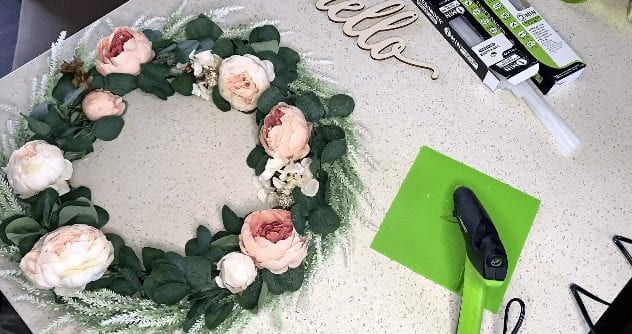
Step 7 – Place Peonies Blossoms And Other Filler Flowers Around The Wreath In Clusters To Balance Out The Wreath And Make Them Look Evenly Dispersed.
This was probably my favorite part of the project because adding the peonies and filler flowers was easy and instantly started making the wreath look a thousand times better.
I wanted the flowers to be sporadically placed around the wreath in clusters but I didn’t want it to look super engineered. I mixed blossom colors and sizes, and I am so happy with the result.
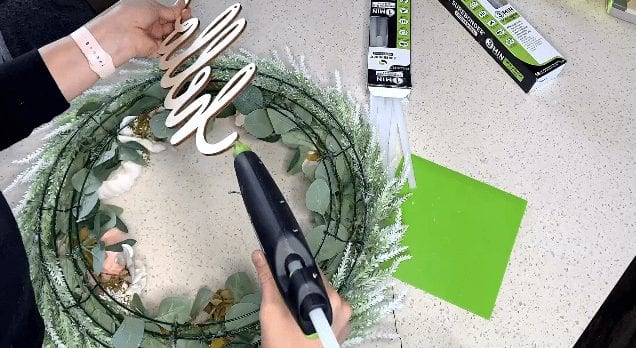
Step 8 – Place Hello Sign In The Center. Secured It In Place With Surebonder Hot Glue
The inspiration for this project was a wreath with a wooden sign that was cursive in the center. I thought it was such a lovely touch, that I decided to do this with my wreath project.
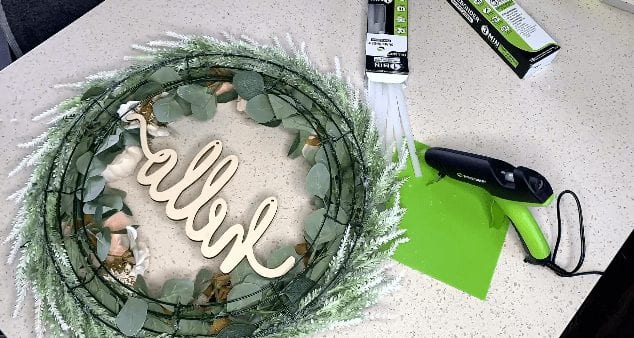
All I needed was my Surebonder hot glue gun for this step. I applied the hot glue to either side of the sign and laid it in place on the back of the wreath.
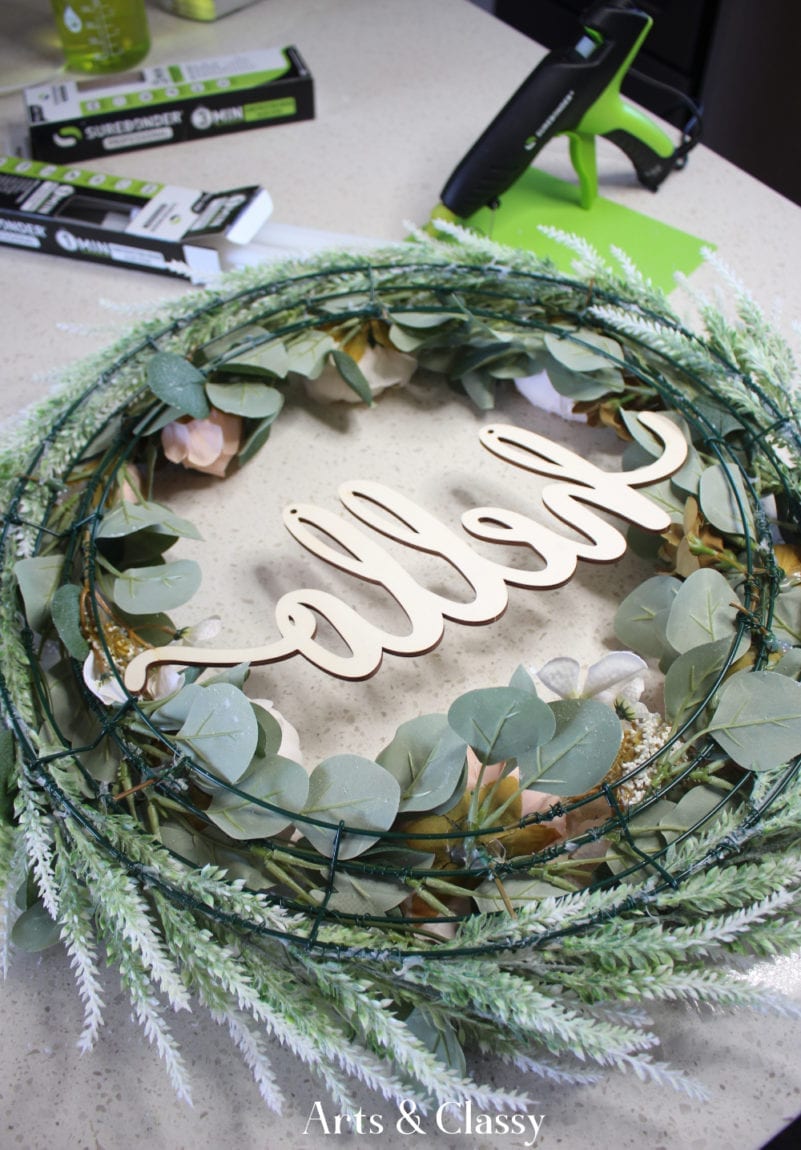
Here is the finished project! Didn’t it turn out pretty?!

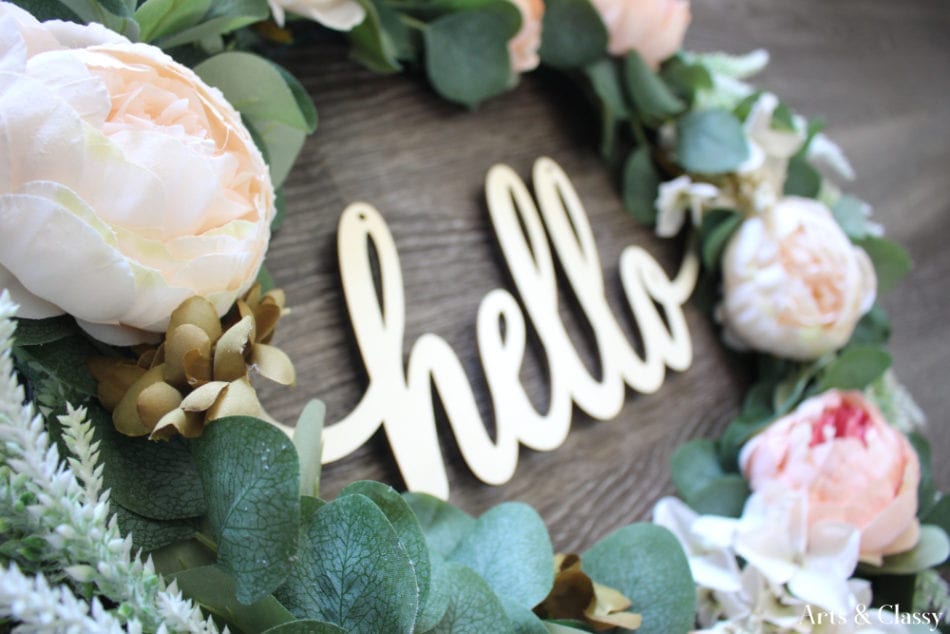

Having a beautiful and welcoming front door is key to creating an inviting home. With the right supplies, a DIY farmhouse wreath is a creative, affordable, and easy way to show off your own personal style. There are endless possibilities to craft the perfect farmhouse wreath.
What’s more, once you get the hang of it, creating personalized wreaths is a great way to unwind and make something unique and beautiful. So, what’s stopping you from trying your own farmhouse wreath? Let your creativity blossom and make something that captures your style. As DIY expert Martha Stewart said, “You can do anything.”
Let me know what you think of this wreath for the front door project in the comments below. Would you try it at home? Let me know in the comments below. Make sure you are following me on Instagram, Pinterest, YouTube, Hometalk, and TikTok for more ideas on how to decorate your home!
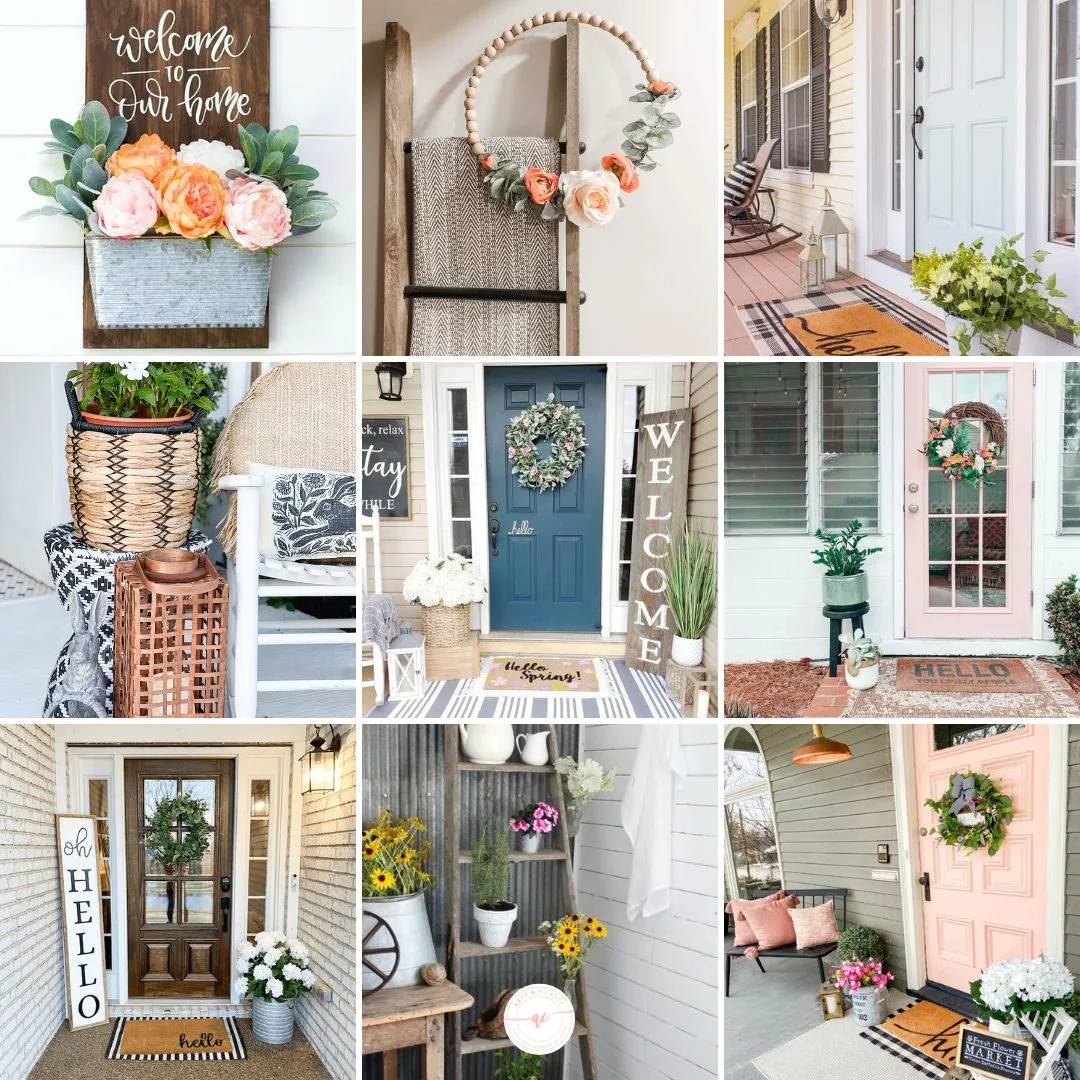
If you liked this project, you will also like:

Shop for the supplies for this project below:
If you liked this project, Pin it and Share it!
