Hauntingly Creative: Unleash Your Inner DIY Spirit with a Halloween Wreath
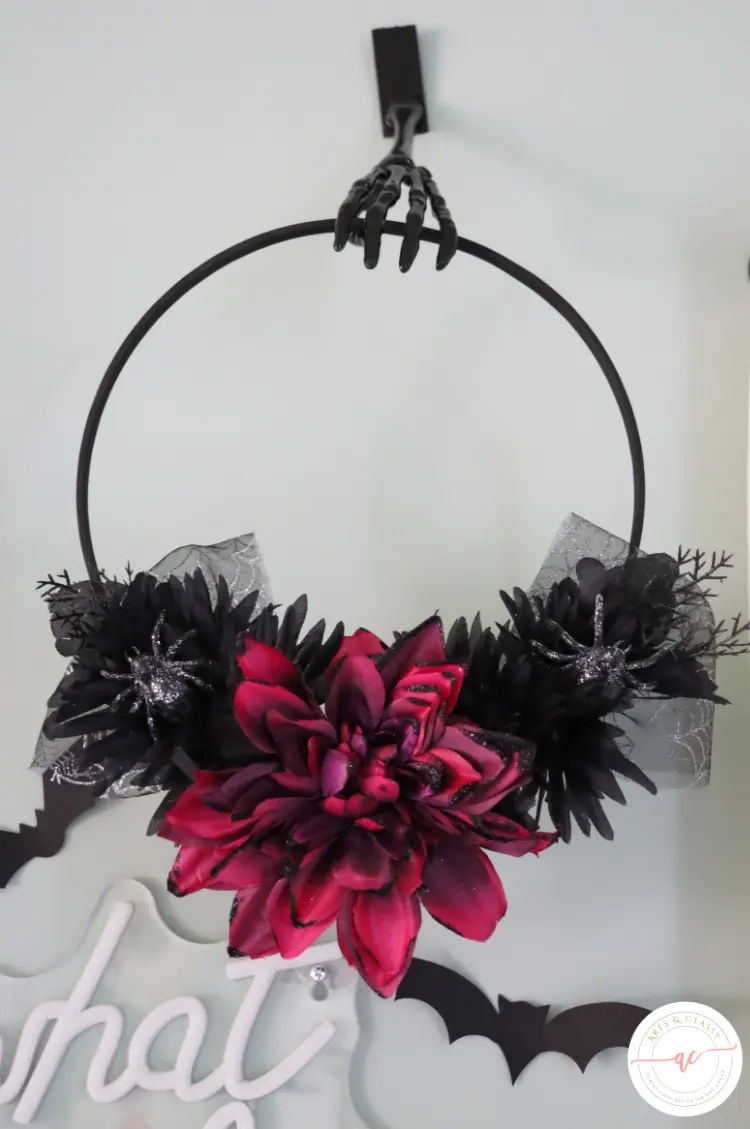
Hey there, fellow Halloween enthusiasts! With the spooky season knocking on our doors, I decided to channel my inner DIY spirit and create a bewitching Halloween wreath. Join me in this creative adventure as we tackle a Halloween craft and turn it into a unique piece of decor that’s both eerie and elegant.
Getting Started: The DIY Arsenal
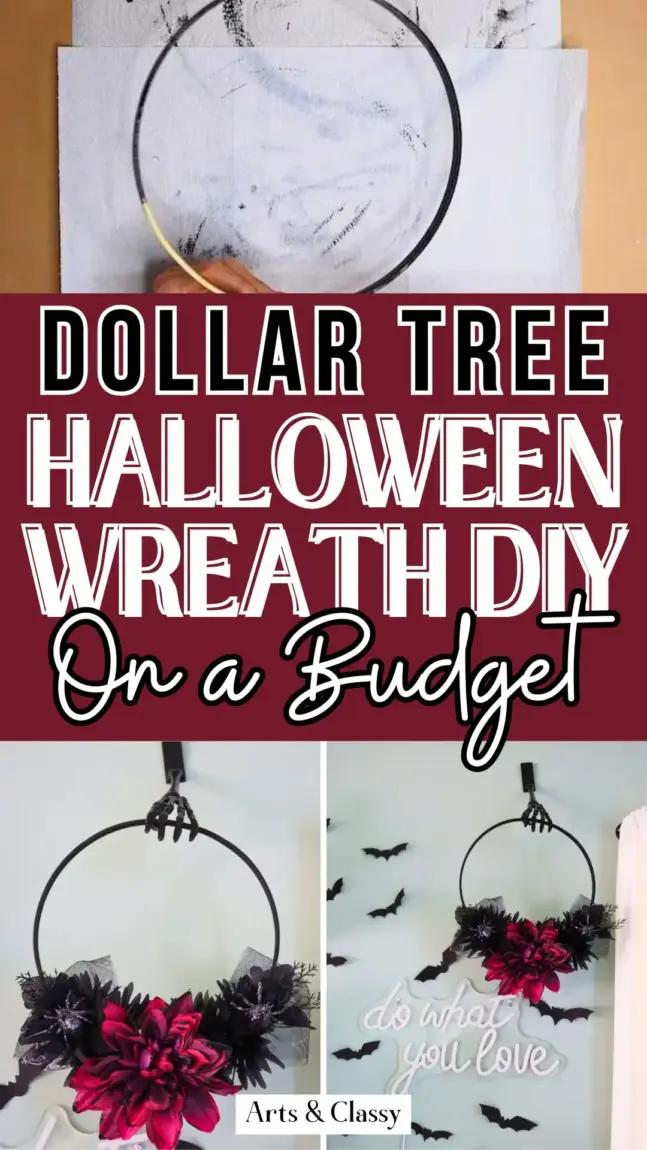
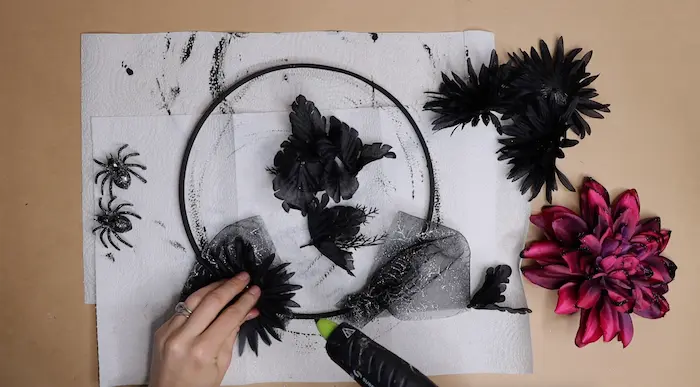
So, here’s the deal. I grabbed a wooden hoop, some Dollar Tree Halloween flowers, black paint, a hot glue gun, and, of course, those not-so-itsy-bitsy Halloween spiders. Time to get crafty with a fun DIY Halloween wreath!
This post contains some affiliate links. I may earn a small commission if you make a purchase through one of these links. See more information in my full disclosure policy.
Here is the supply list for this Halloween wreath DIY project!
Mind you, I found the flowers and mesh ribbon at my local dollar store but I am linking to similar items below if you don’t have access to this store.
- Wood hoop (this is being used as a wreath form)
- Black mesh Halloween ribbon
- Large dahlia flower
- Black daisies
- Spiders
- Black acrylic paint OR you can also use black spray paint
- Paintbrush
- Hot glue gun
- Gorilla glue sticks
You can shop all the supplies below for this Halloween wreath idea and they will be automatically added to your Amazon cart!
Now… let’s get to this Halloween wreath tutorial!
Step 1: Painting the Hoop
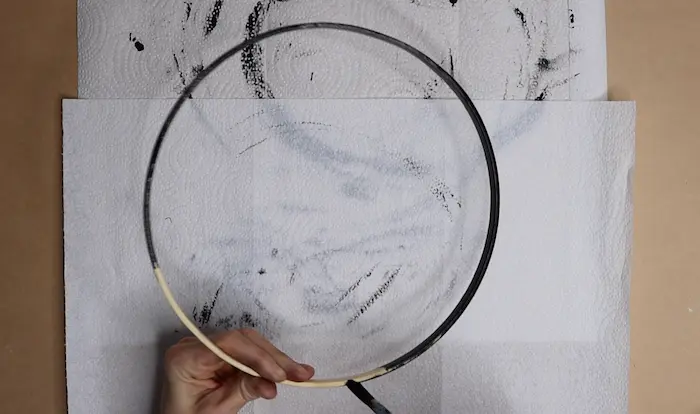
Let’s kick things off with a splash of black paint on that wooden hoop. Trust me; this hoop is going from “meh” to “spooktacular” in no time. One coat will do, but I went all out with two!
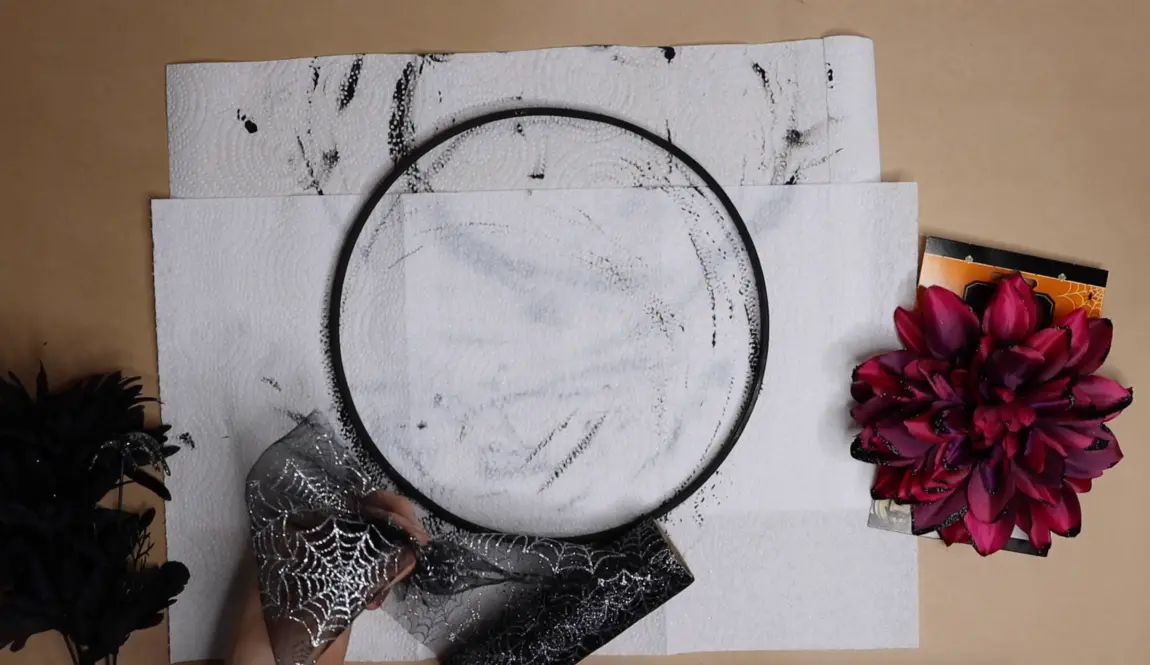
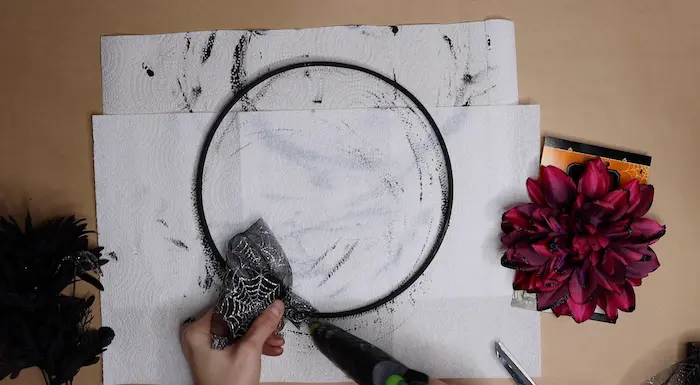
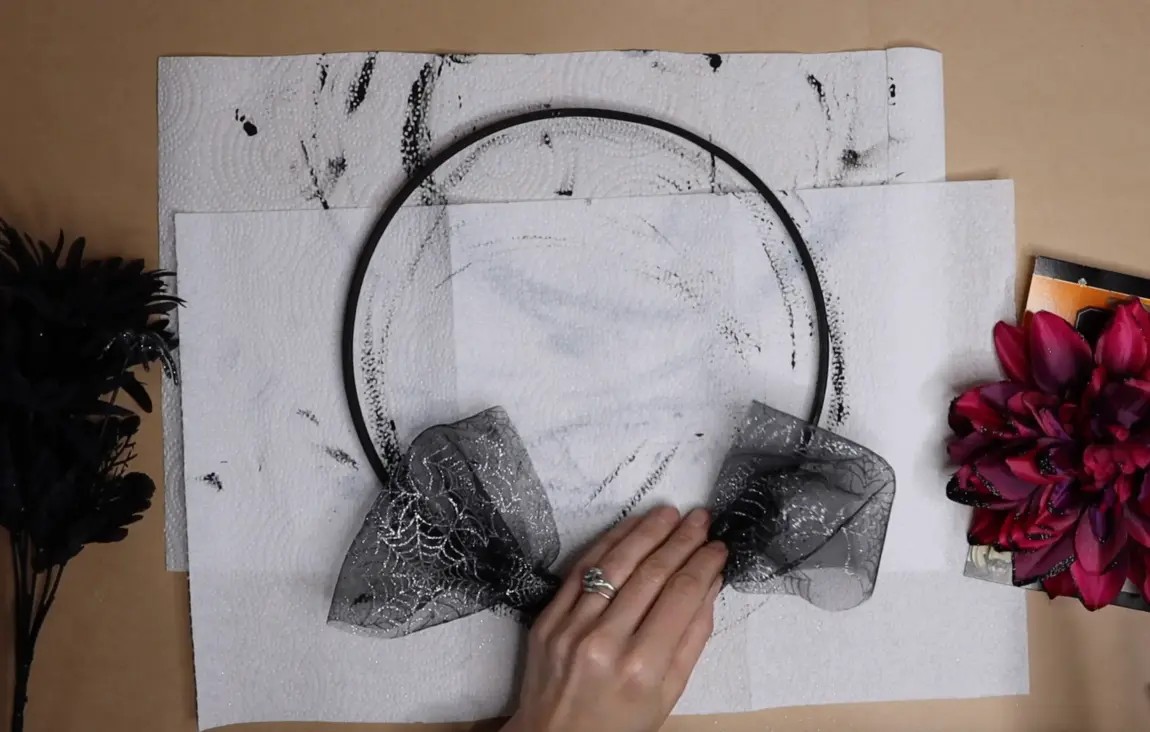
Step 2: Adding Ribbon and/or Deco Mesh and picking the Perfect Petals
Now, for the fun part – choosing your Dollar Tree Halloween flowers! Think black roses, orange dahlias, and deep purple lilies. Grab some faux leaves to keep things fresh and creepy.
Step 3: Stick ‘Em Up
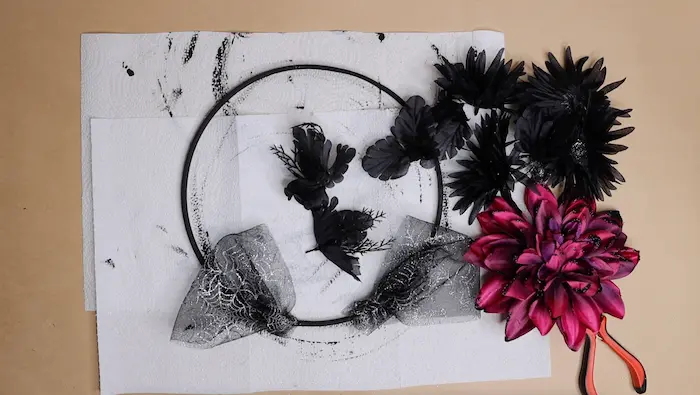
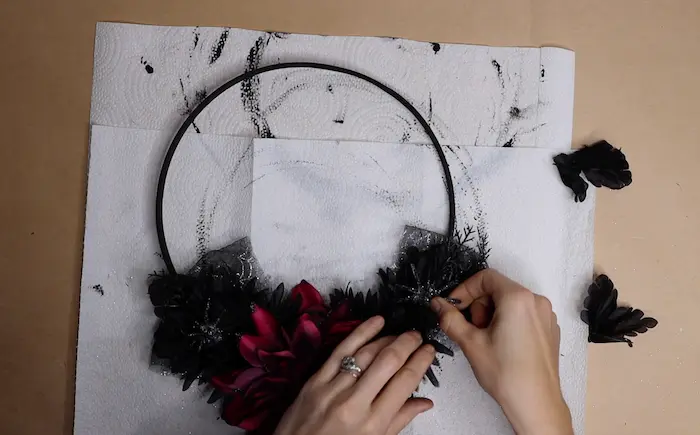
With your hoop all dry and looking fabulously dark, it’s time to get sticky. Fire up that trusty hot glue gun and start attaching those blooms. Start at the bottom, and let the creativity flow!
Step 4: Spiders – Because It’s Halloween!
Let’s not forget our eight-legged friends. Secure some Halloween plastic spiders here and there. They’ll add a wickedly fun touch. Hot glue ’em down, and watch your wreath come alive! You could add spider webs on this step too if you want to up the spookiness.
Step 5: Adding the WOW Factor to this Halloween wreath DIY
Take a step back and admire your handiwork. If you’re feeling fancy, add a bow or ribbon. This wreath is your canvas, so go ahead and make it your own spooky masterpiece.

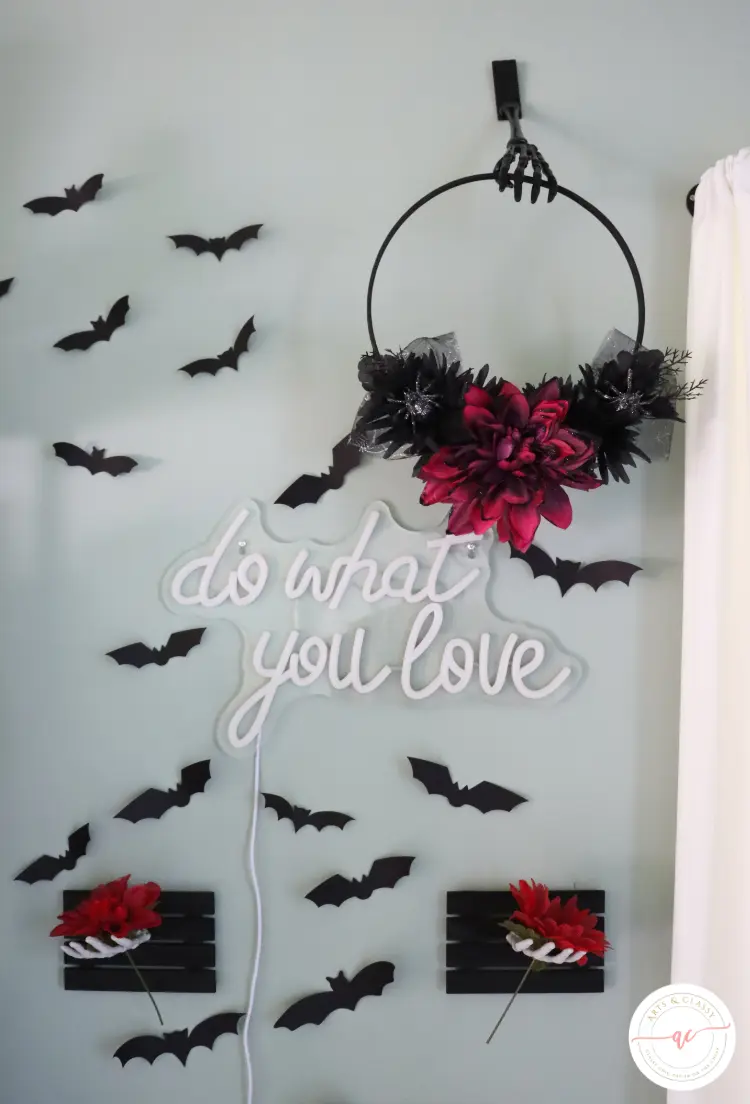
Conclusion: A Spooktacular Success
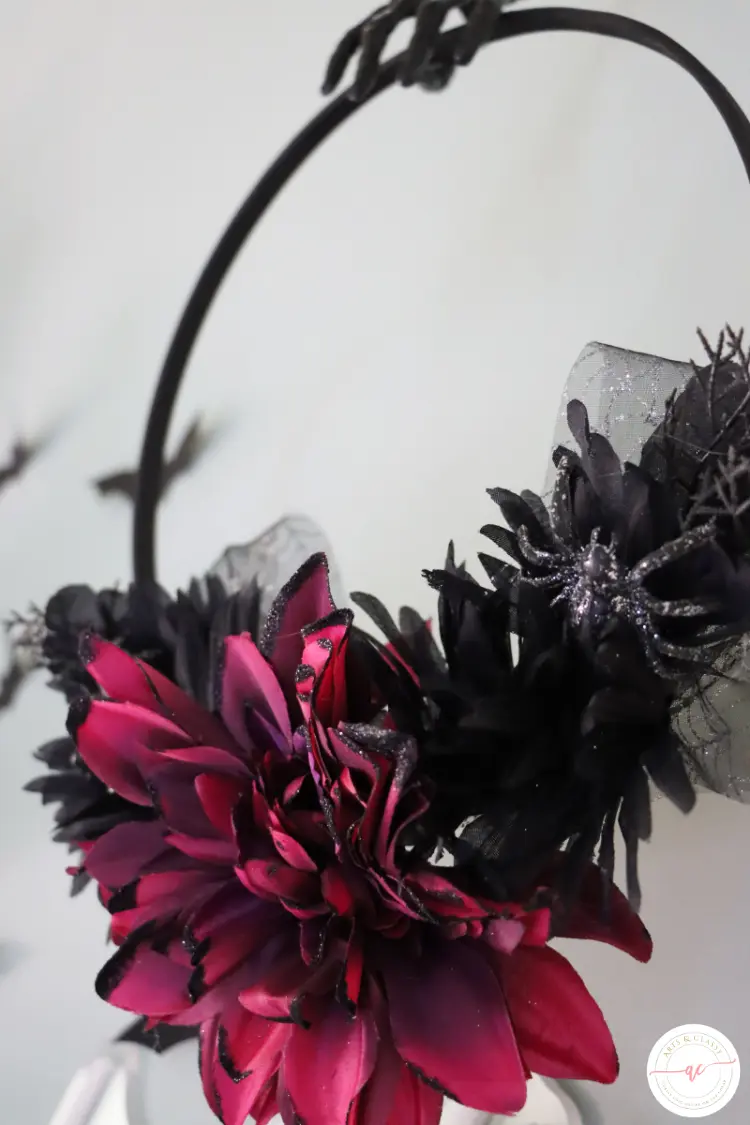
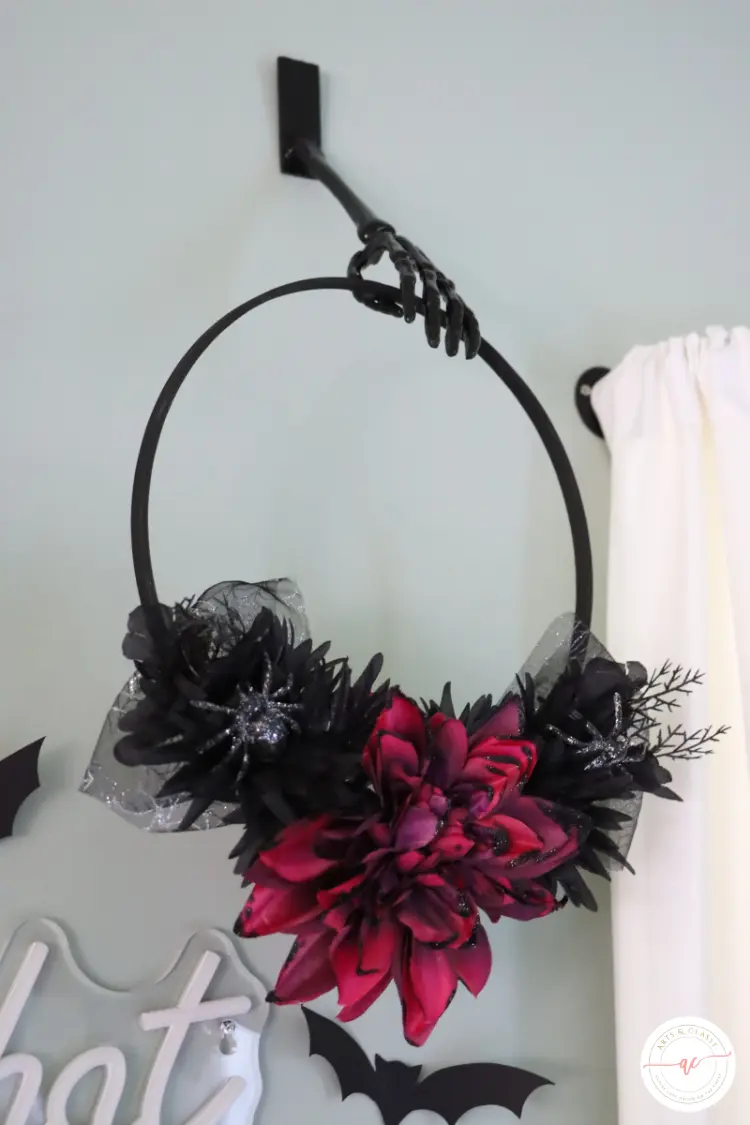
And there you have it, folks! I just crafted a Halloween wreath that’s dripping with personality. It’s going on my front door to greet trick-or-treaters and will shine as my Halloween party centerpiece. Who knew DIY could be this much fun?
This project is wallet-friendly, allowing you to splurge on your Halloween candy stash. So, grab those supplies – wooden hoop, Dollar Tree flowers, black paint, hot glue gun, and Halloween spiders – and let your creativity run wild.
Give this DIY project a whirl, and don’t forget to share your eerie creations with #HauntingDIYWreath on social media. Let’s see who can conjure up the spookiest wreath this Halloween season.
Make sure you are following me on Instagram, Facebook, Pinterest, YouTube, Hometalk, and TikTok for more ideas on how to decorate your home!
Happy crafting, my fellow Halloween aficionados! 🎃🕷️👻
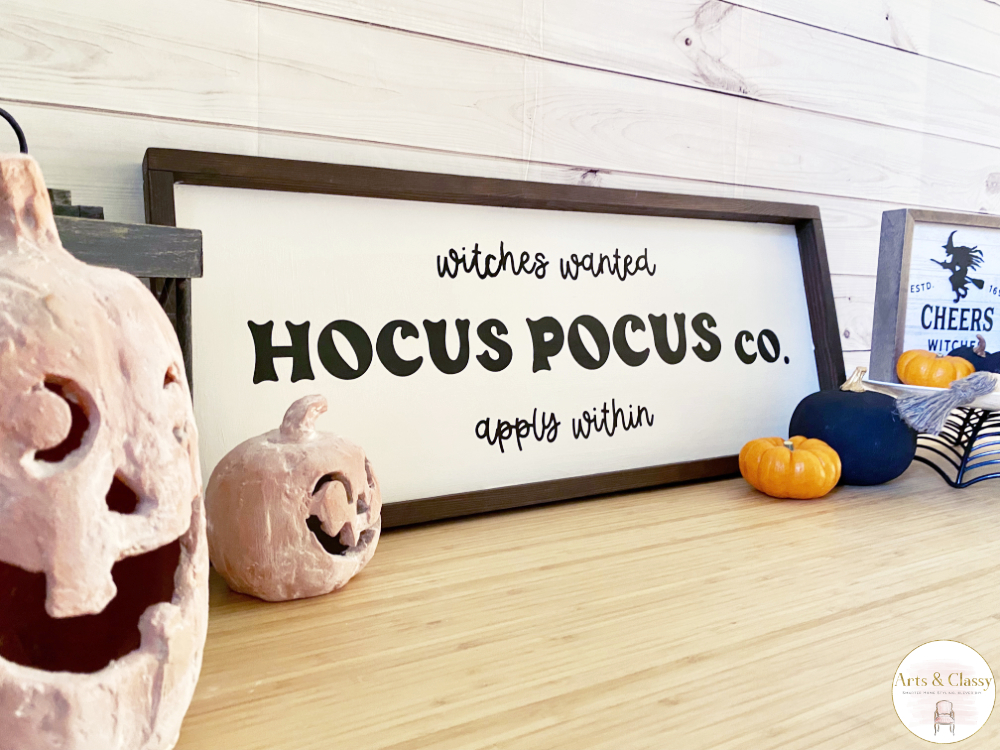
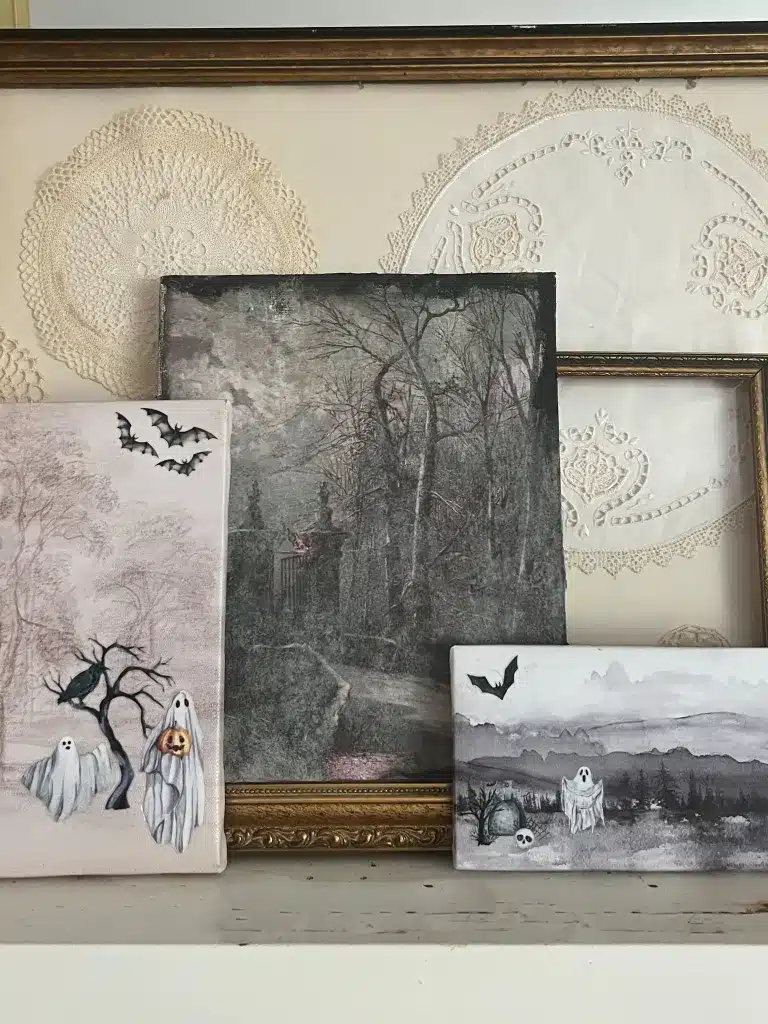
If you liked this Halloween wreath DIY project, you might also enjoy these other Halloween decorations:
