A Whimsical DIY: A Washi Tape Christmas Tree for Small Spaces
Creative solutions are crucial as a renter sometimes, and today I am sharing a Christmas tree for small spaces using washi tape! Especially for holiday decor! When living in a 2 bedroom apartment which you would think would be large, sadly it isn’t, you have to work with what you have. It seemed large when moving in, but with the growth of Arts & Classy and projects the floor space filled up quickly!
I really really wanted to get a real traditional Christmas tree because I love the smell of them + my kitties love sticking their faces in the tree and playing with the lights and ornament. It wouldn’t have been the best idea to get a real tree in this space. I didn’t want a mini tree so I decided to explore other renter-friendly small Christmas tree ideas for the holiday season.
Creative problem-solving became crucial and I decided to use my vertical space instead of resorting to a tabletop tree.
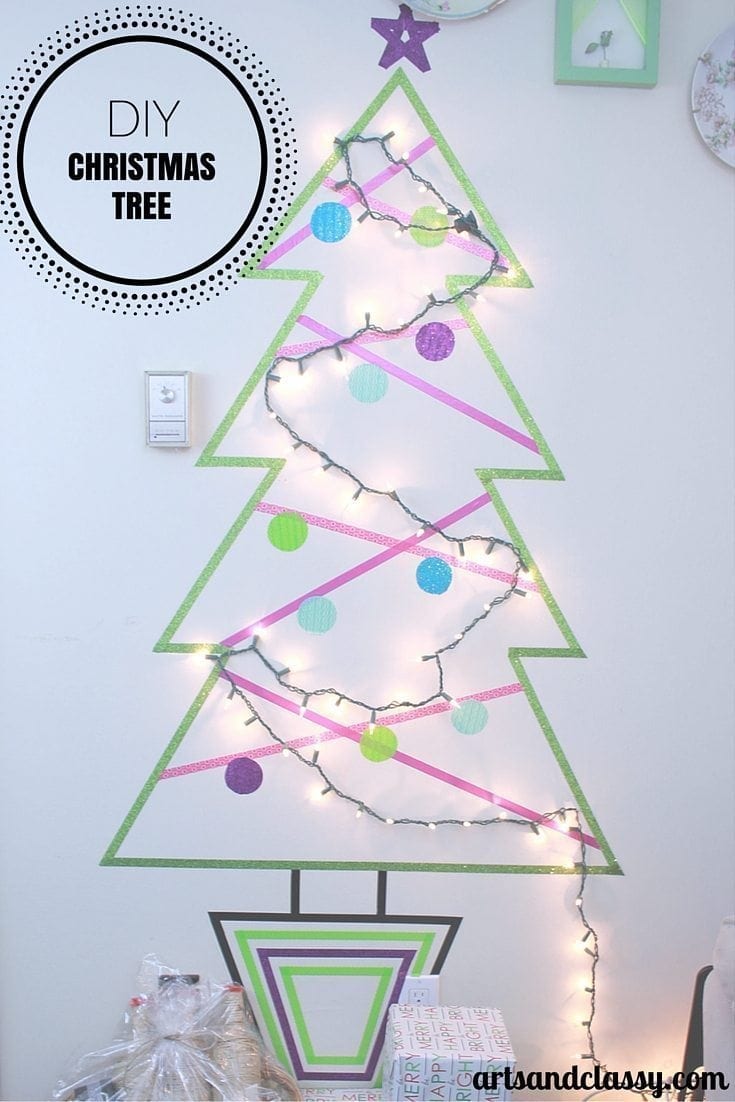
My Christmas tree would be made out of Washi Tape and some double-sided tape! Brilliant!
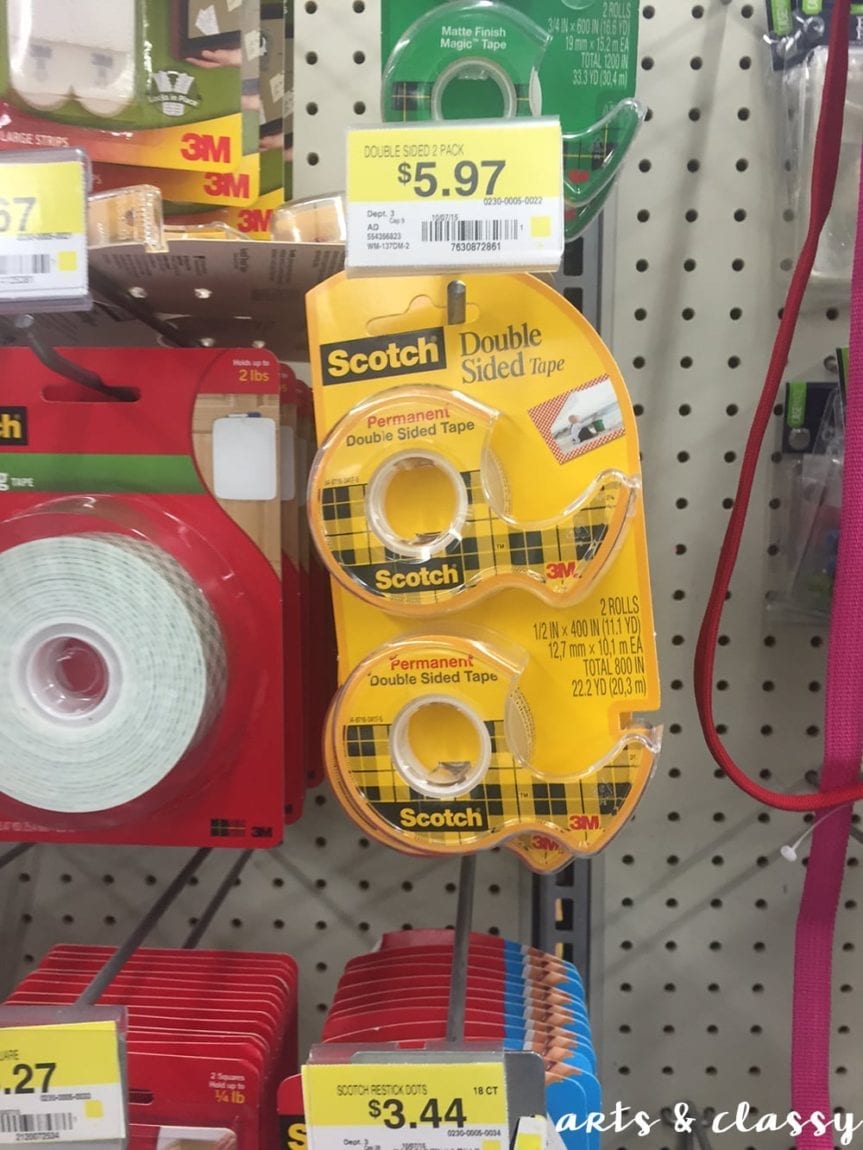
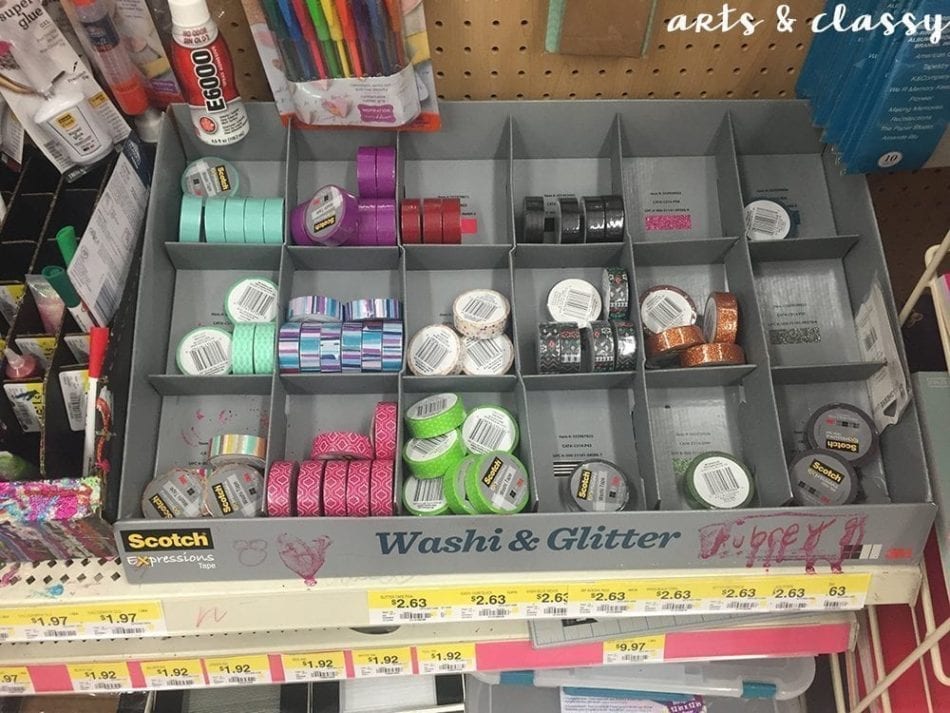
To complete this Christmas tree for small spaces project, I needed to head to Walmart to pick up my supplies.
It was a little bit of a hunt but I found the washi tape by the photo albums and scrapbooking aisle. It is near what they call the “celebration” aisle near all the gift wrap, stationary, etc.
After the shopping trip, I went back home and got to work. Here is the step-by-step tutorial on how to recreate this tree in your home!
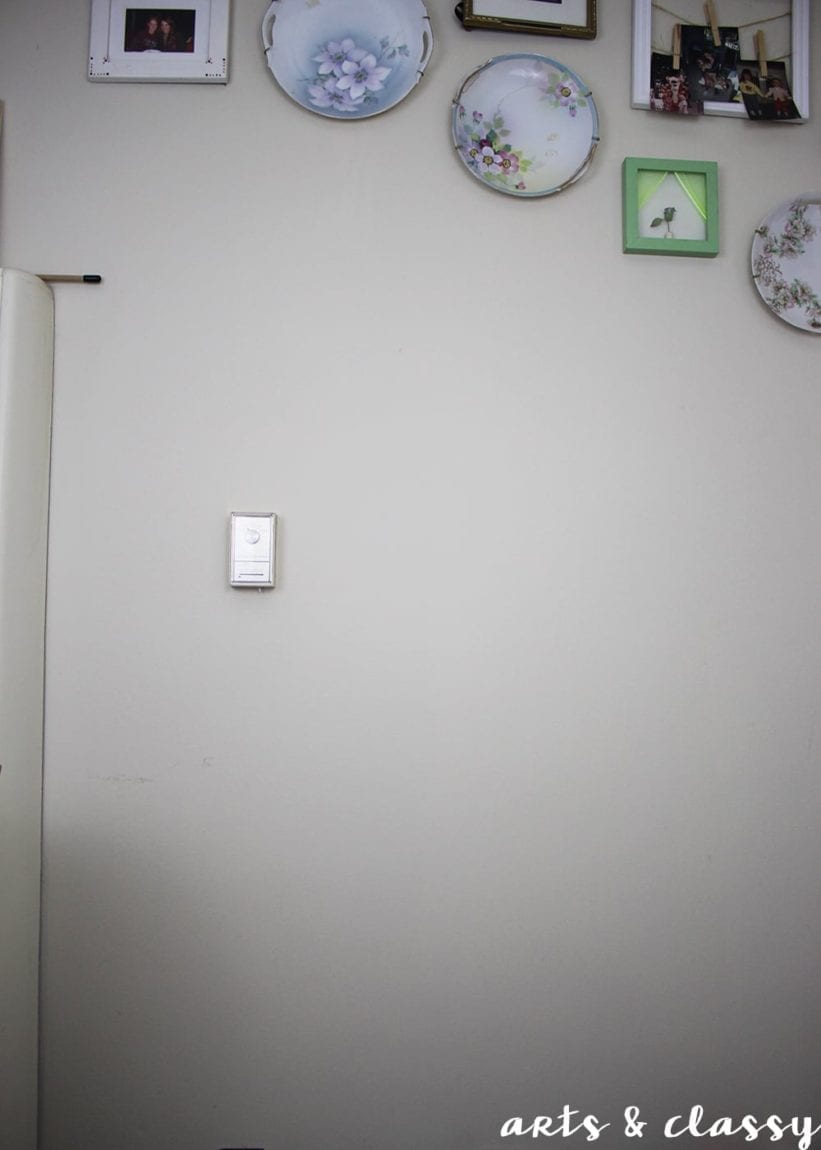
Here is my BEFORE picture of the small space on my wall that I had to use in my living room.
This post contains some affiliate links. I may earn a small commission if you purchase through one of these links. See more information in my disclosure policy.
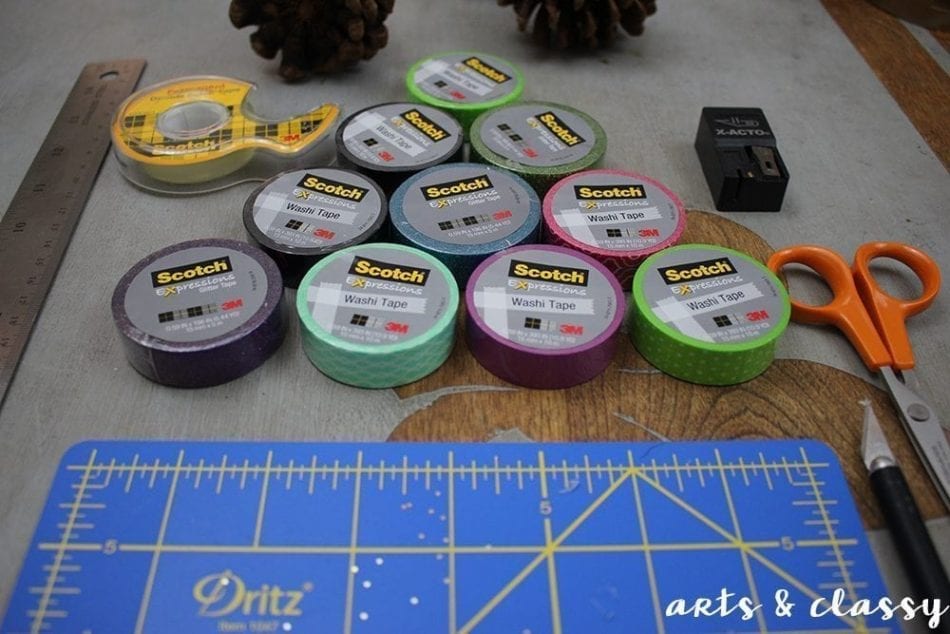
Supplies needed for this Christmas craft project:
- Washi Tape in a variety of colors and finishes
- Scotch® Create Double-Sided Tape
- Cutting Mat
- Xacto Knife & Extra Blades (they go dull quickly)
- Scissors
- 1 set of Christmas string lights
- Ruler – preferably a metal ruler with a cork back
- Staple gun + 1/2″ staples
- Object or stencil to create circular ornaments
STEP 1 – Gather Your Supplies
I gathered all my supplies and figured out what tape I wanted to use for the tree itself. I decided to go with the glitter-green washi tape.
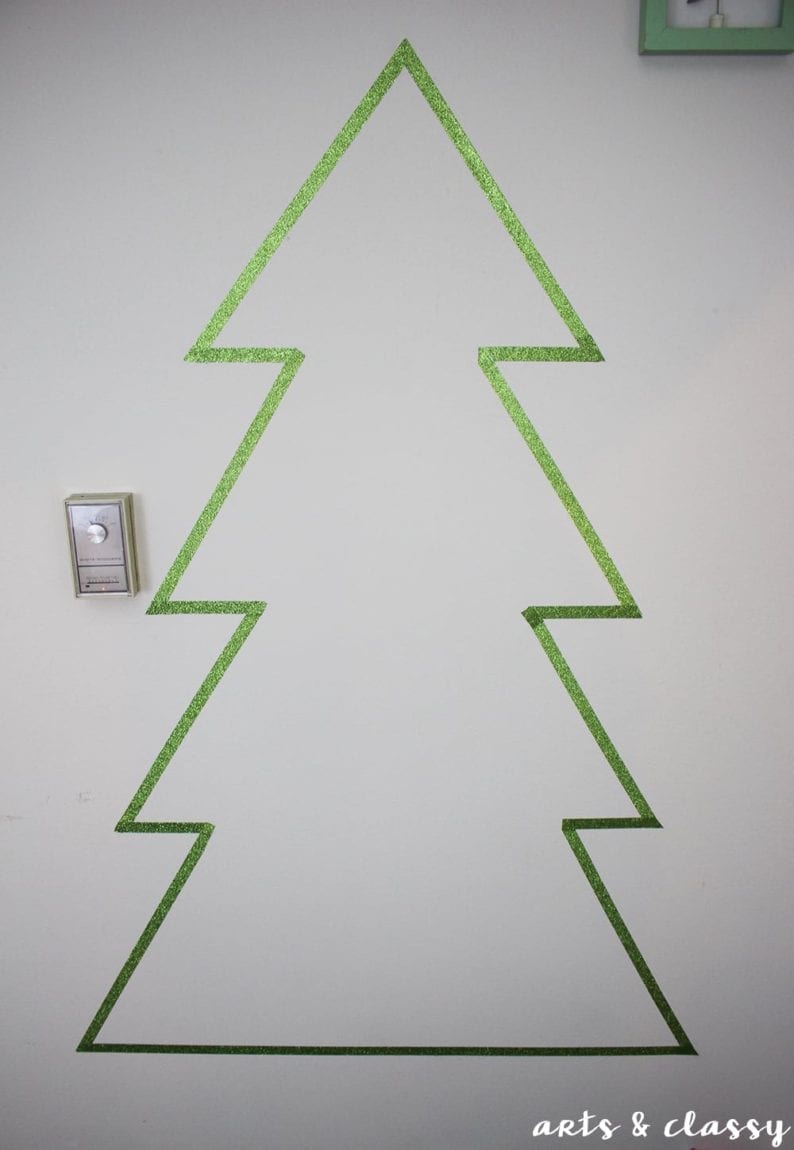
STEP 2 – Create The Tree Shape
I began applying the tape to the wall to create the shape of a Christmas tree. On the ends, I used double-sided tape to help secure the tape to the wall to stay for the month.
The corners were a little challenging but with the cutting knife and ruler, creating perfect corners and angles is not so hard. Just a little time-consuming.
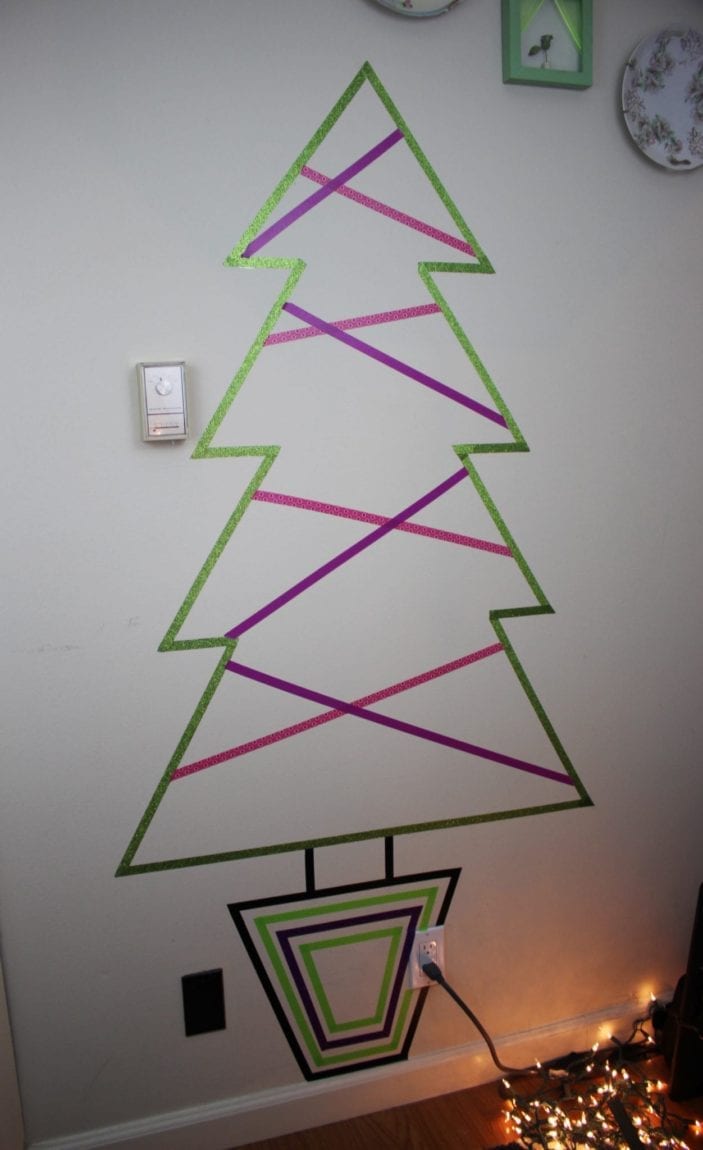
STEP 3 – Create The Tree “Trunk”, Base, and Faux Garlands
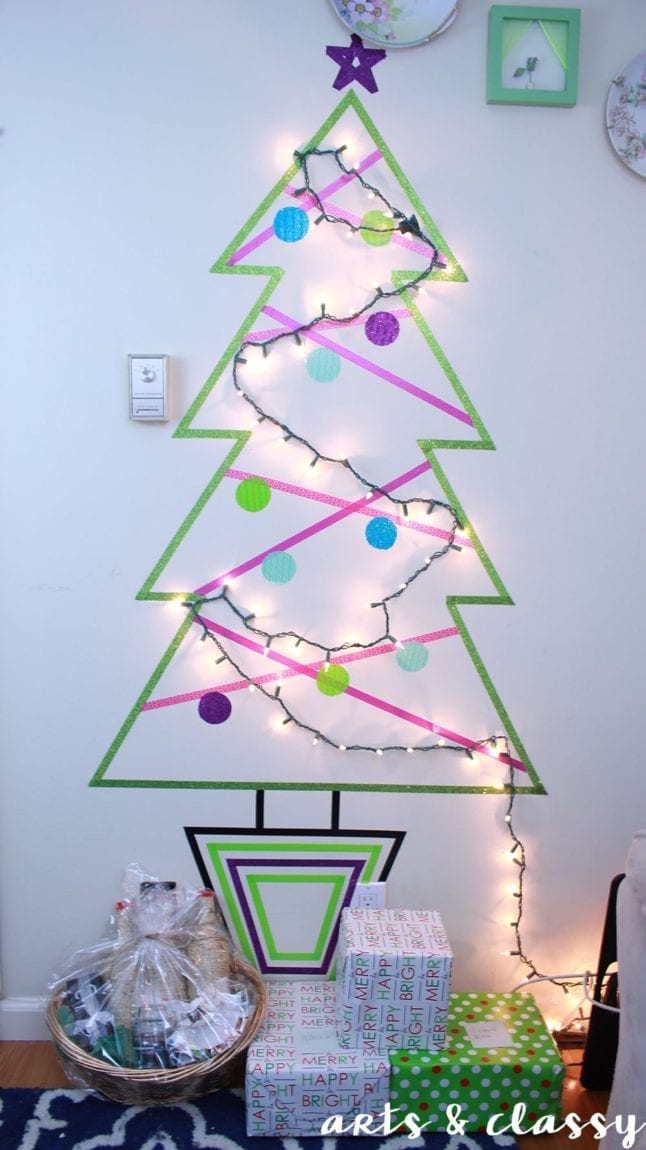
Once I was finished with the tree shape, I began creating the base of the tree. I decided I wanted to create a trunk and tiny tree collar to make it look authentic. Using plain black, green dots, and glitter purple washi tape to do this, I made the shape of the base of this Christmas tree for small spaces.
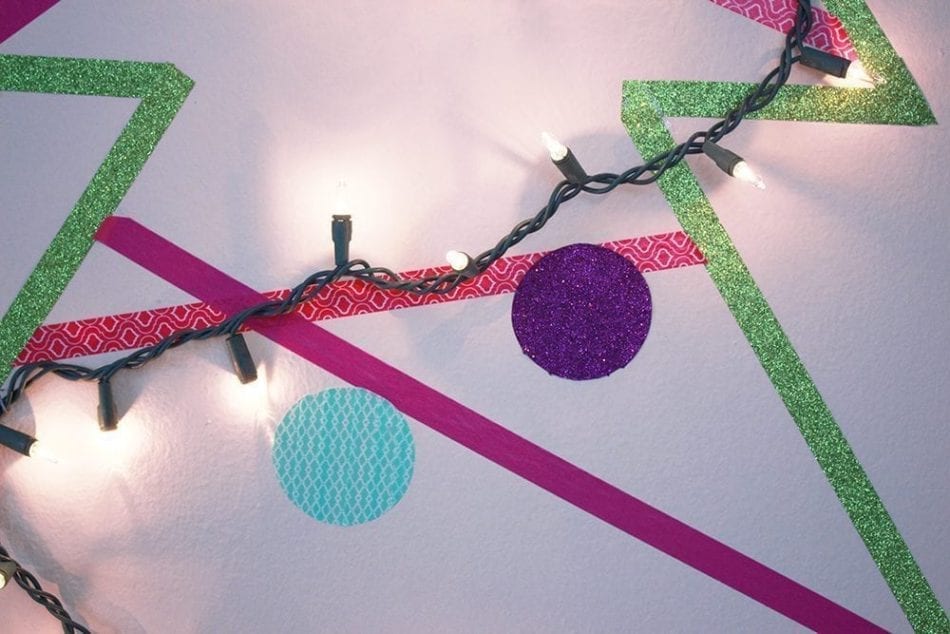
Also, began taking more of my decorative approach to the decor across the tree. I used pink and purple washi tape to complete the shape of this artificial Christmas tree.
If you are liking this blog post, you might also like these:
STEP 5 – Create Ornaments With Washi Tape
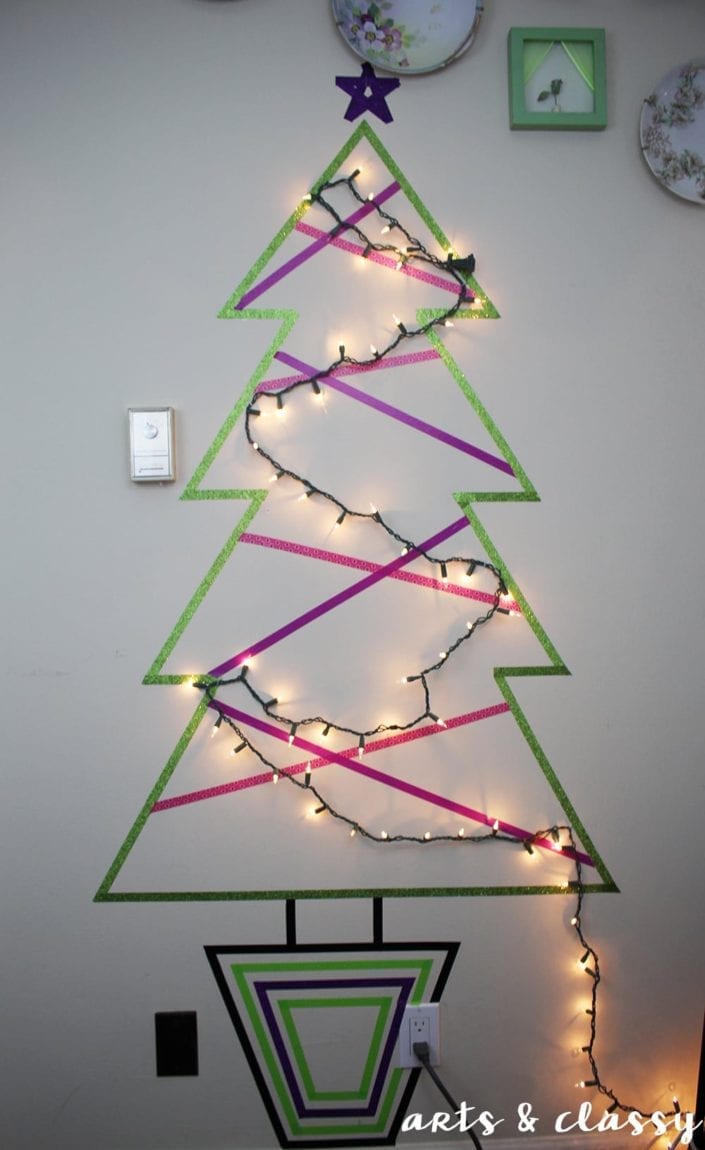
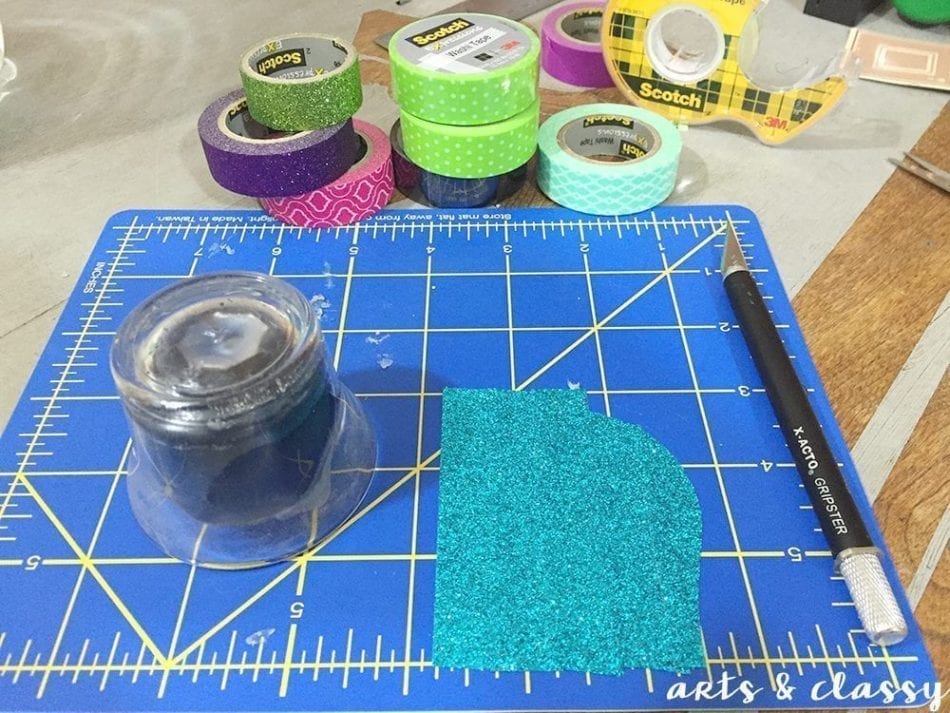
Even though the white lights were a great addition, I decided to create a few “ornaments” out of washi tape too. I used my small cutting mat and secured the tape to it. I layered several strips together and then used a votive candle holder to cut out a circular shape.
Then I peeled the layers off of the mat and stuck it to the tree in the areas that I wanted. I decided to keep the ornaments within the outline of the tree.
STEP 6 – Add Your Chosen Decor
I enjoyed my space-saving Christmas tree and pushed up the presents I had wrapped to really get the full effect. At this point, you can take this even further by adding a garland, or ribbon, or even swapping out the Christmas tree lights with battery-operated fairy lights.
Don’t have enough space for a big Christmas tree? No problem!
You can make your own Washi tape Christmas tree using just a few rolls of washi tape and a bit of creative flair. This easy DIY project is perfect for small spaces and makes a great decoration for any room in your home.
Make sure you are following me on Instagram, Pinterest, and TikTok for more ideas on how to decorate your home for the holidays this year!

