DIY Projects – Queen Anne Chair Gets a Shabby Chic Makeover
I am super excited to share this shabby chic makeover with you today. My co-worker from my kickboxing studio gave me 3 chairs that were cluttering up her space. I decided to start the makeover process with the odd man out. The armchair (The other 2 that I received are armless dining chairs).
I thought this chair would make a great vanity or home office desk chair. Shabby chic is a style that I know many love.
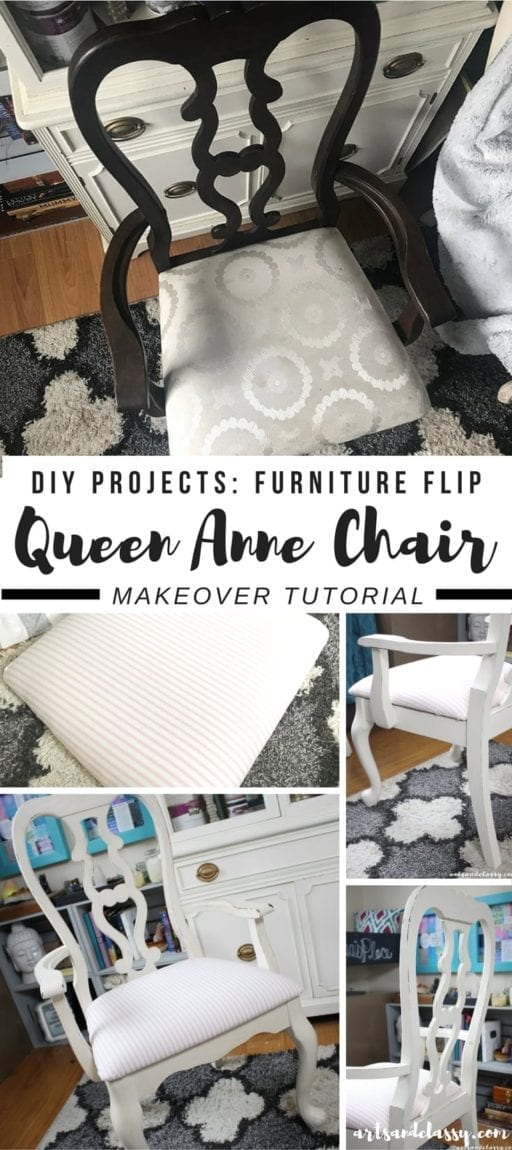
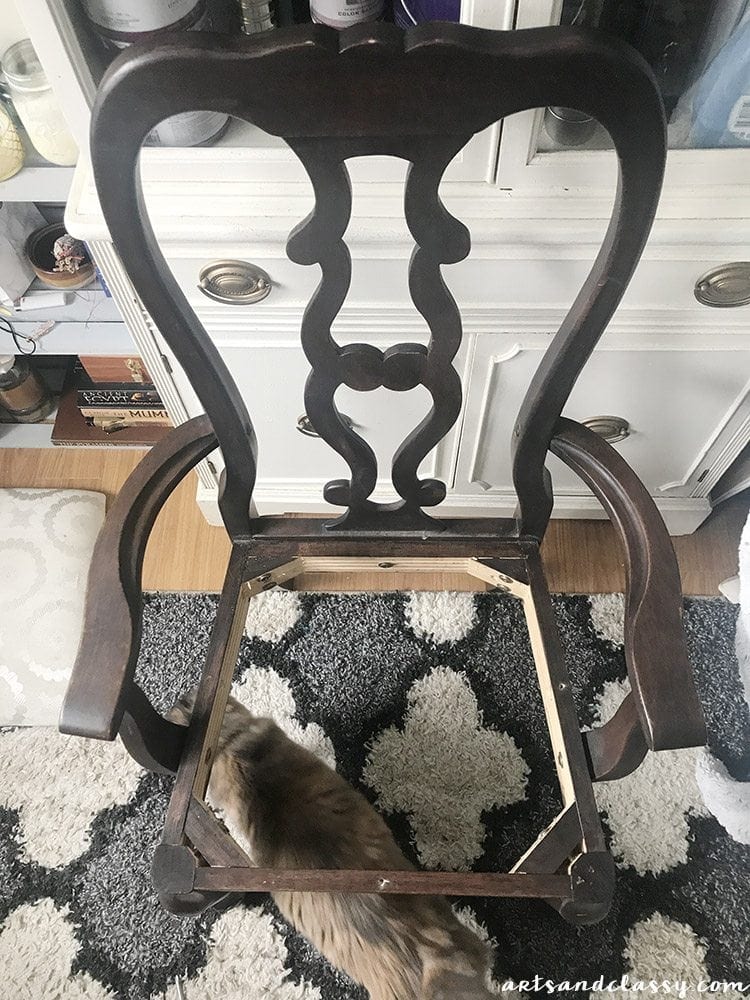
Here are the BEFORE photos!

Supplies needed for this project:
- Power drill
- Staple gun with staples
- Flathead screwdriver
- Needlenose pliers
- White Chalk Paint
- Sandpaper
- Daddy Van’s Lavender Furniture Wax
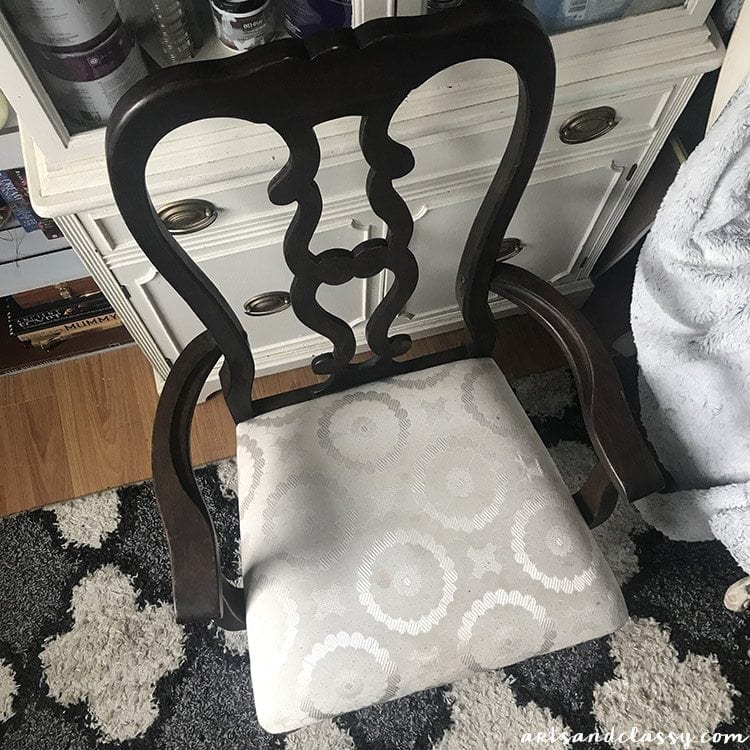
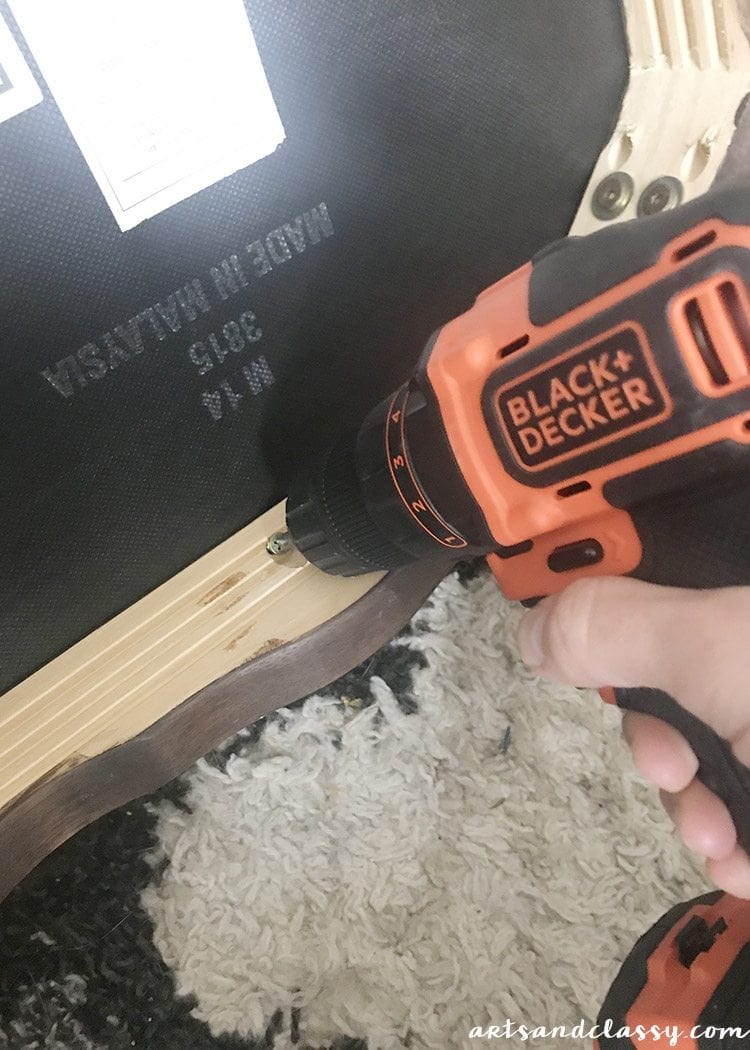
First, I had to take the cushion off of the frame to start this DIY process.
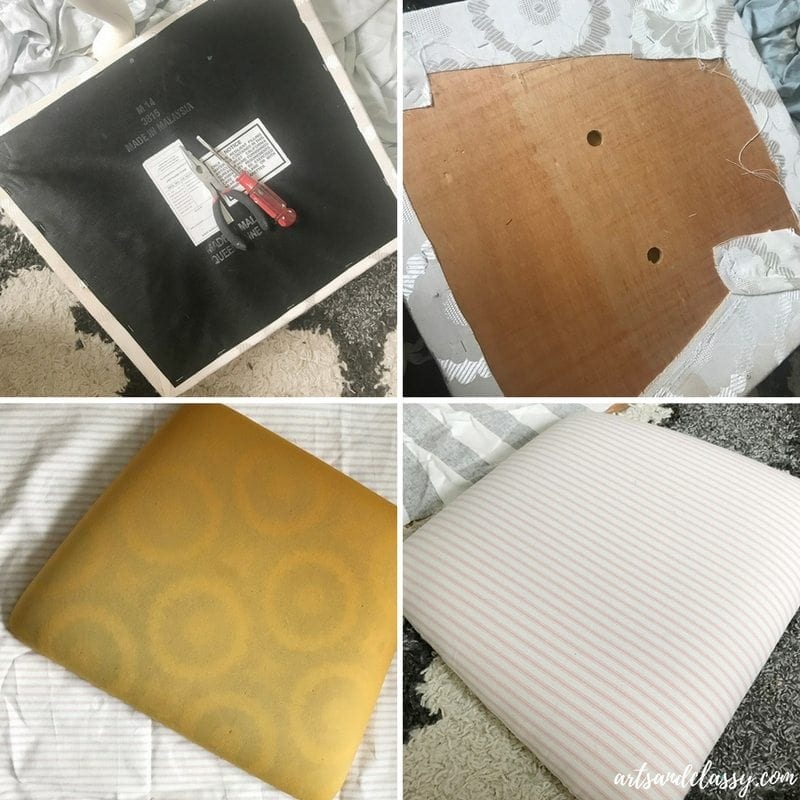
This was pretty easy. 3 screws help this cushion in place. I used my power drill to remove the screws.
Next, I used a smaller flathead screwdriver and needle nose pliers to remove all the staples that secured the old fabric on the cushion. Once, I removed them all… I moved on to reupholstering aka stapling the new fabric onto the cushion with my staple gun.
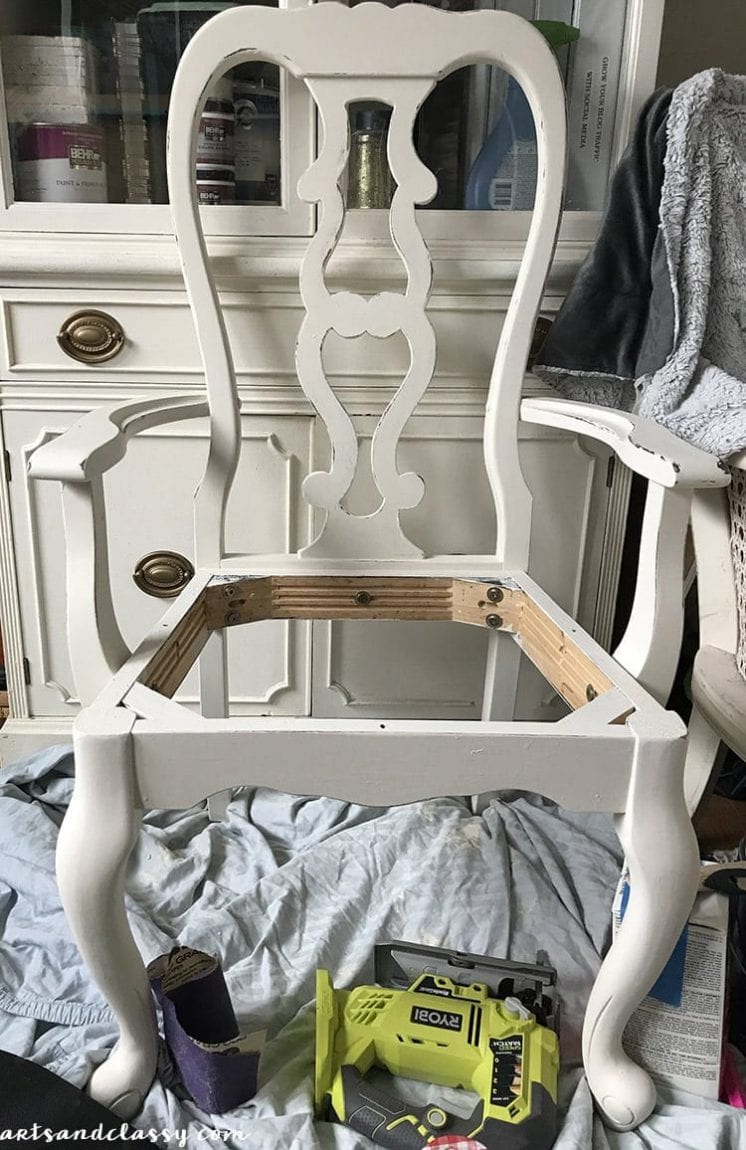
I painted a couple of layers of this white chalk paint all over the wooden frame. Once all the layers dried, I went back over this piece with sandpaper to age it down a little bit. I wanted to give it that shabby chic look!
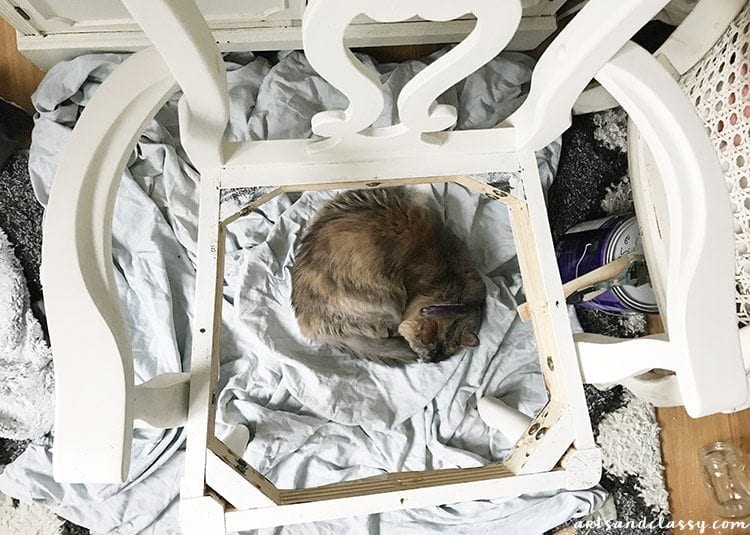
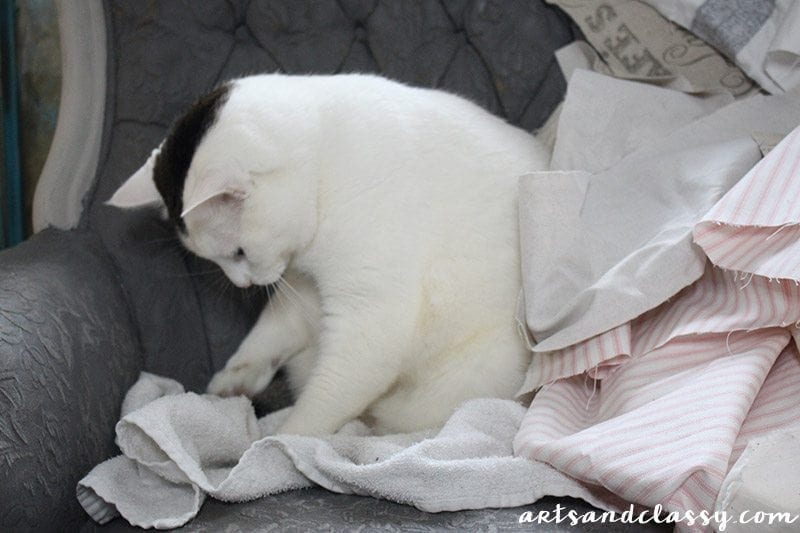
I even had assistants to make this piece over. We will just say that they supervised me while I worked. lol
My last step was to use furniture wax to seal the chalk paint and aging.
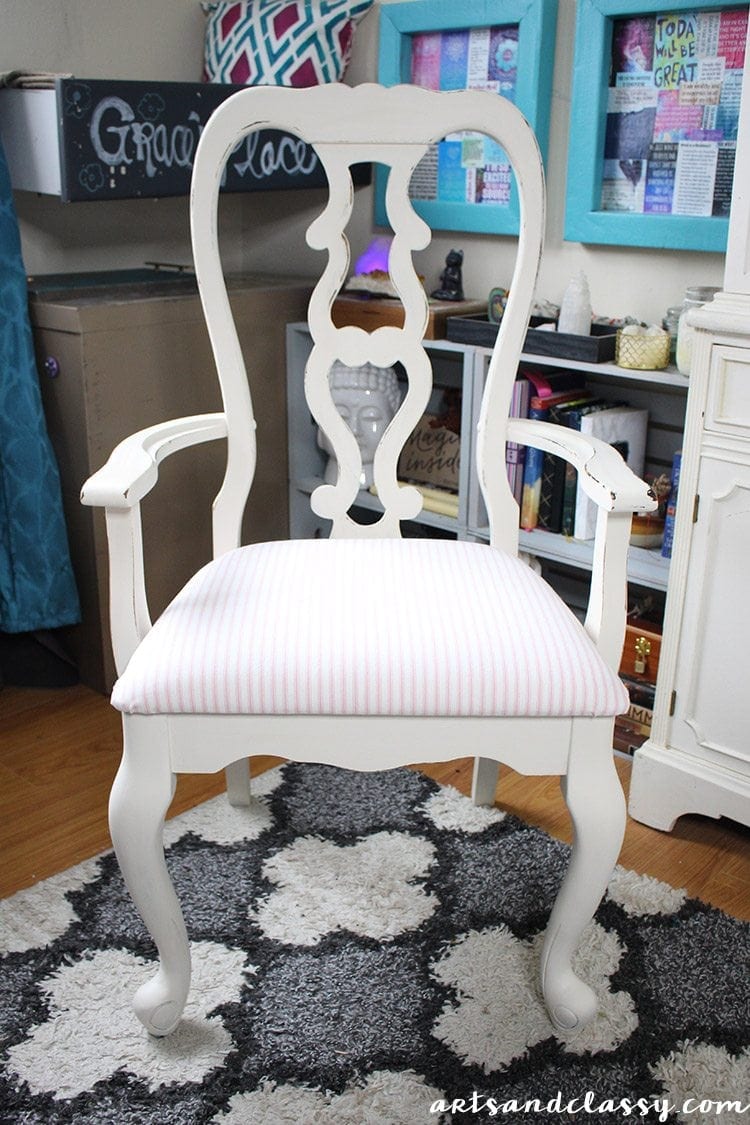
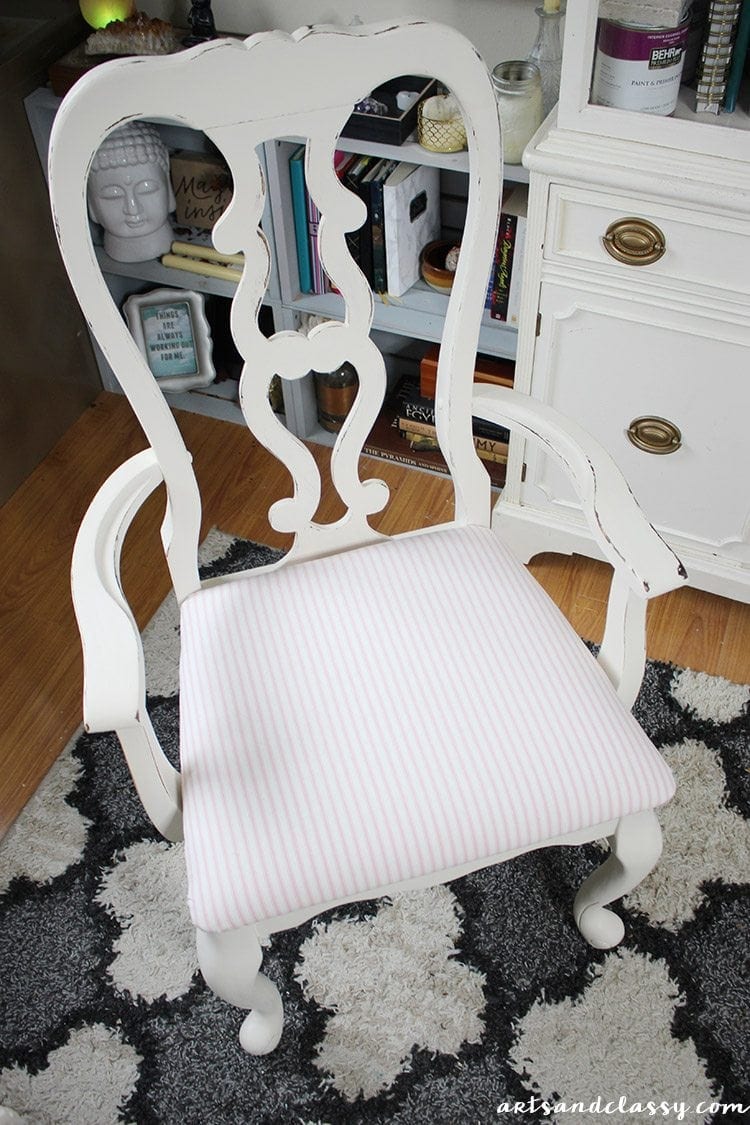
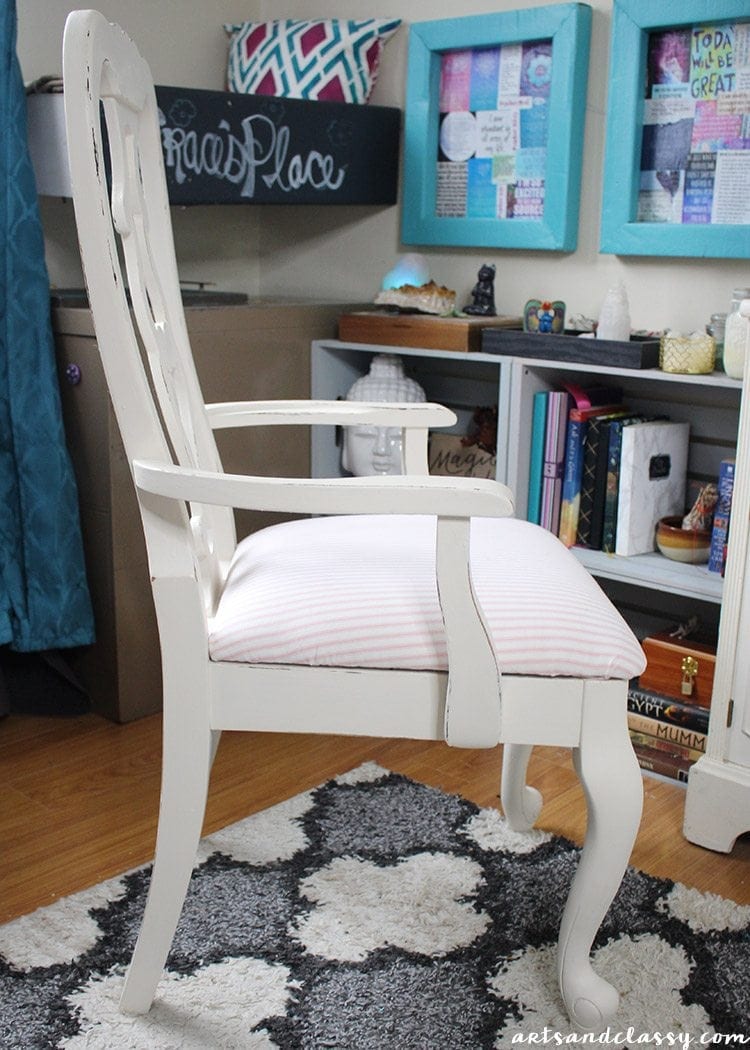
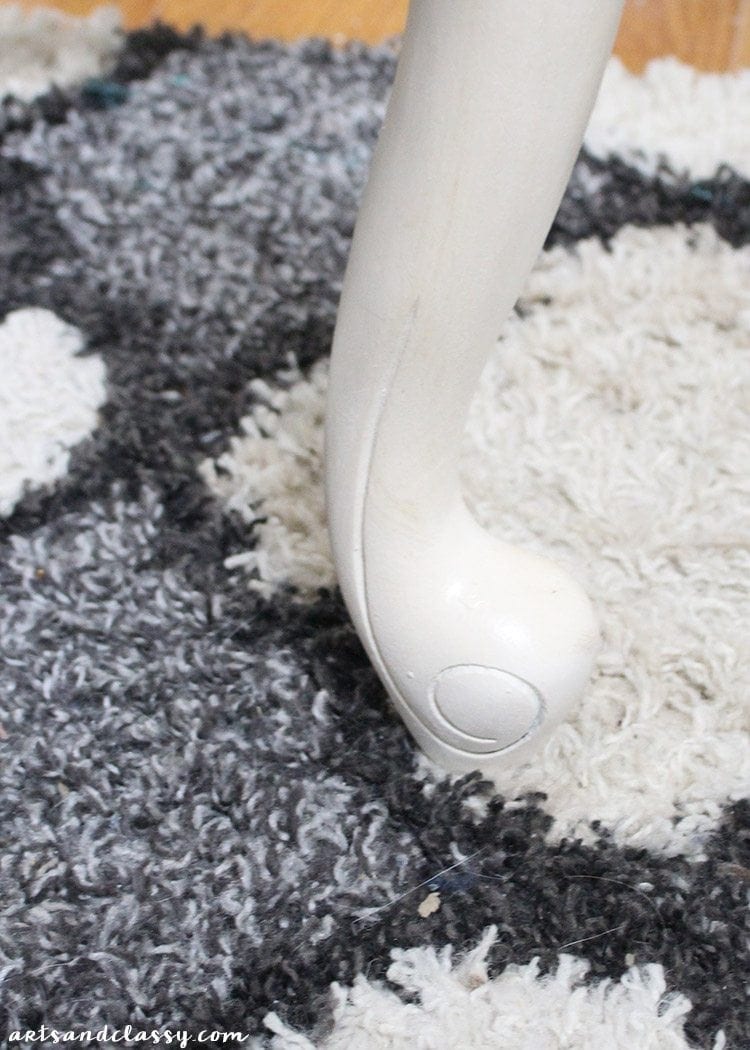
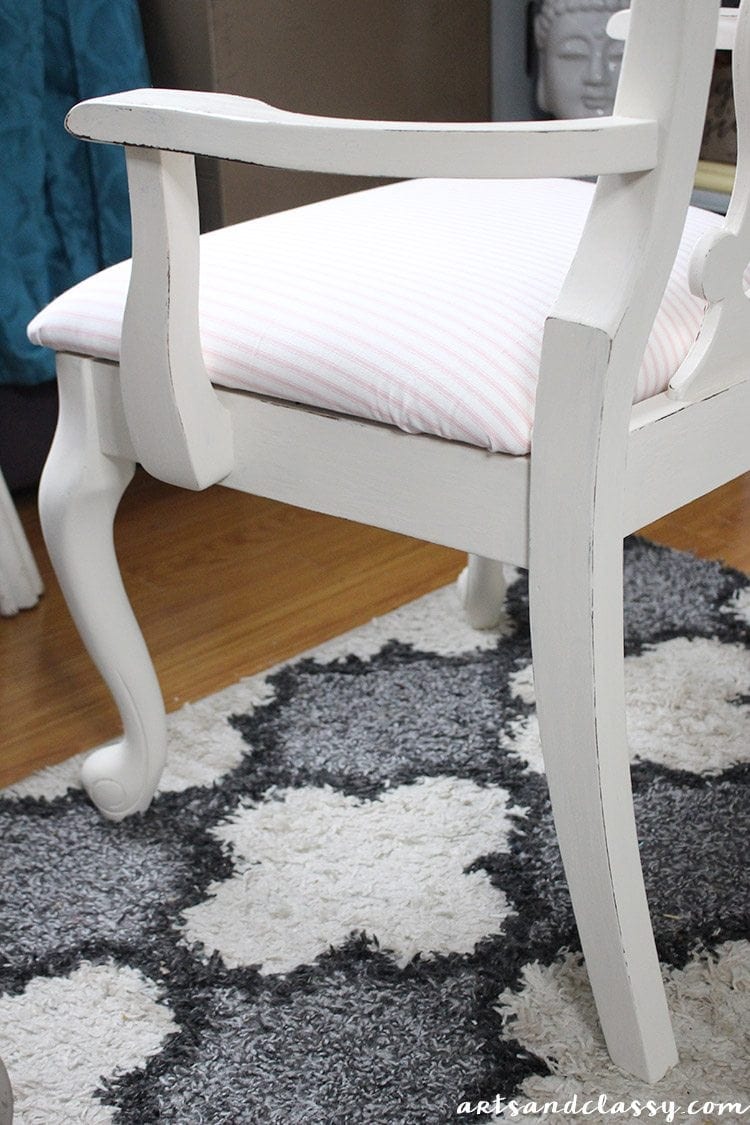
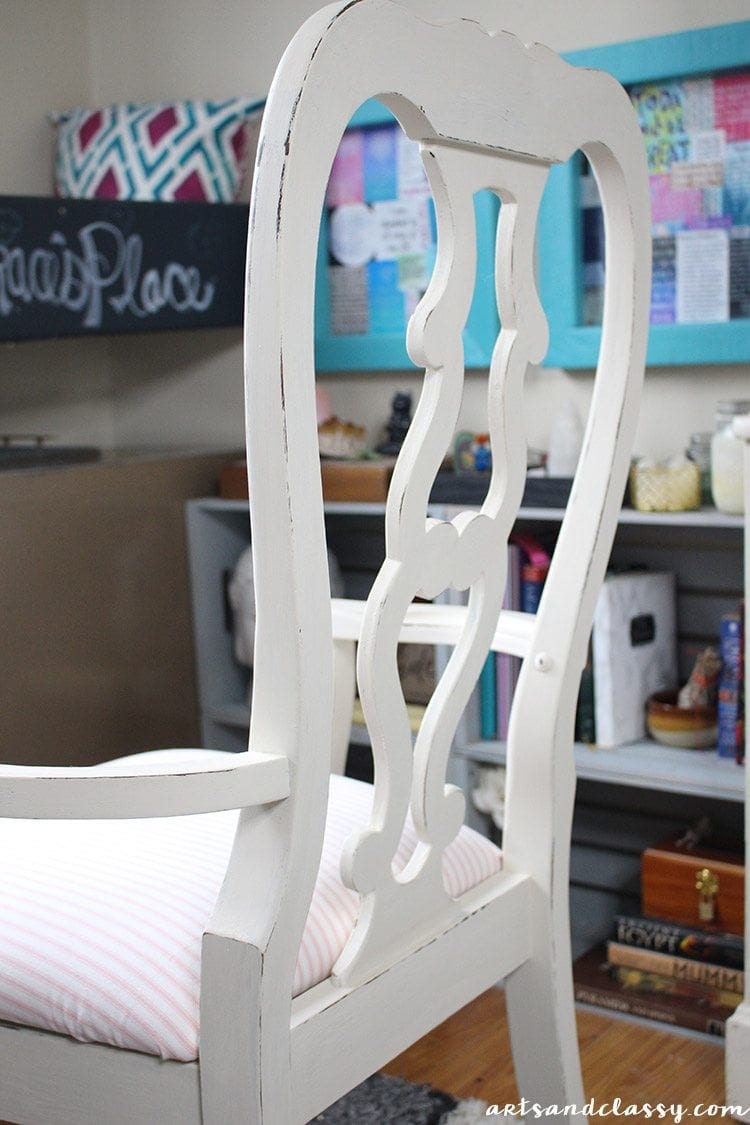
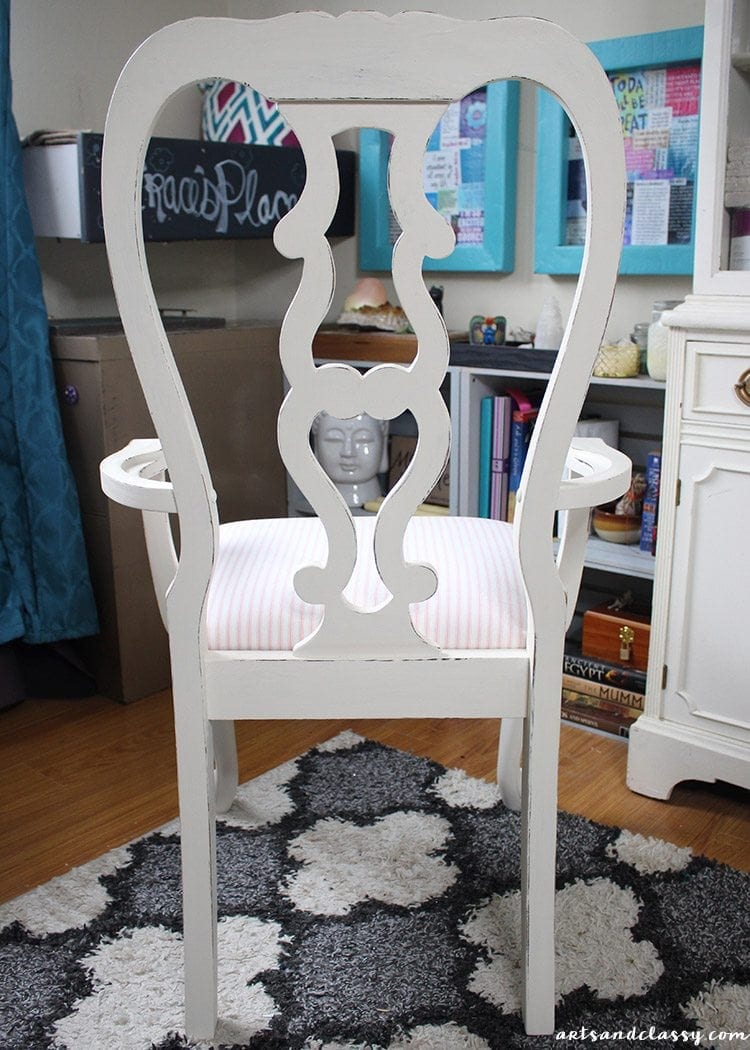
Here is the finished product! Don’t you think it looks a bit nicer than it did? Maybe I am just partial to lighter furniture but I love it so much more! I hope to find it a nice home too.
Please let me know what you think of this piece in the comments below! Please share if you found this tutorial to be helpful or inspiring.
If you enjoyed this post, you might also enjoy…
