French Country $30 Yard Sale Table Get’s a Makeover
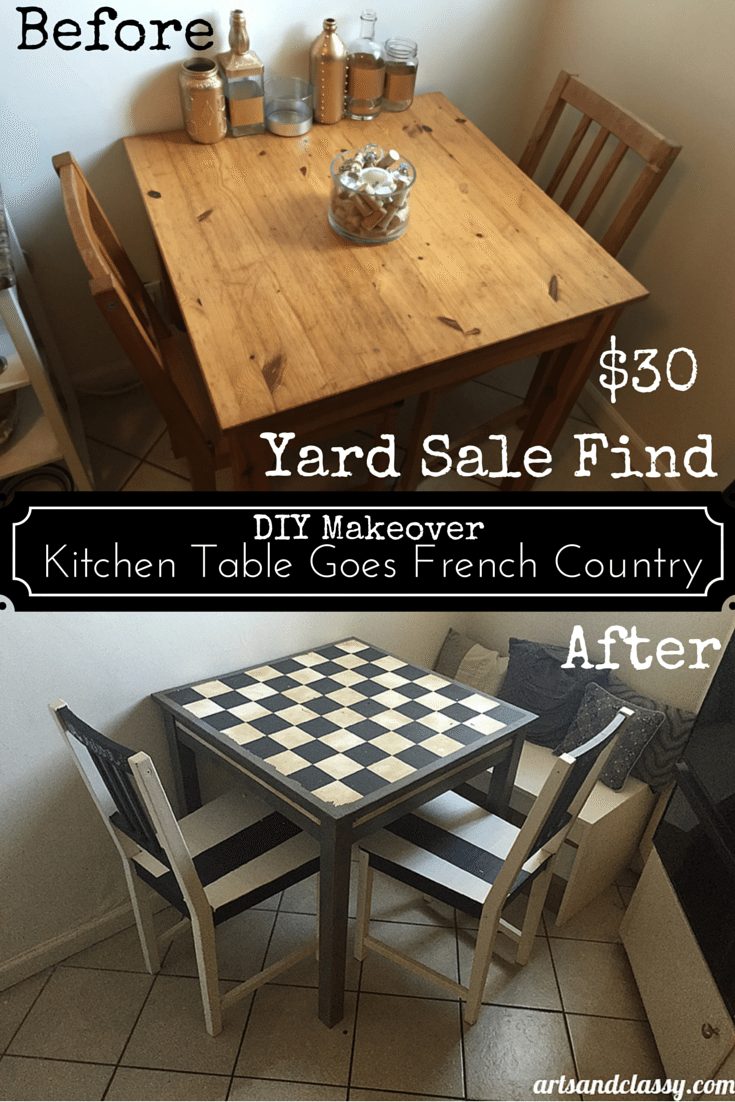
DIY Makeover : French Country Yard Sale Kitchen Table find! Only $30 and I made it over for FREE! You won’t believe this garage sale furniture flip.
I am so excited to be writing about this project today! I have been waiting since November to post this French country DIY Tutorial. I was inspired to tackle my kitchen for the April #30DayFlip Challenge that I am co-hosting with the lovely Jeanette at Snazzy Little Things.
The BEFORE Pictures
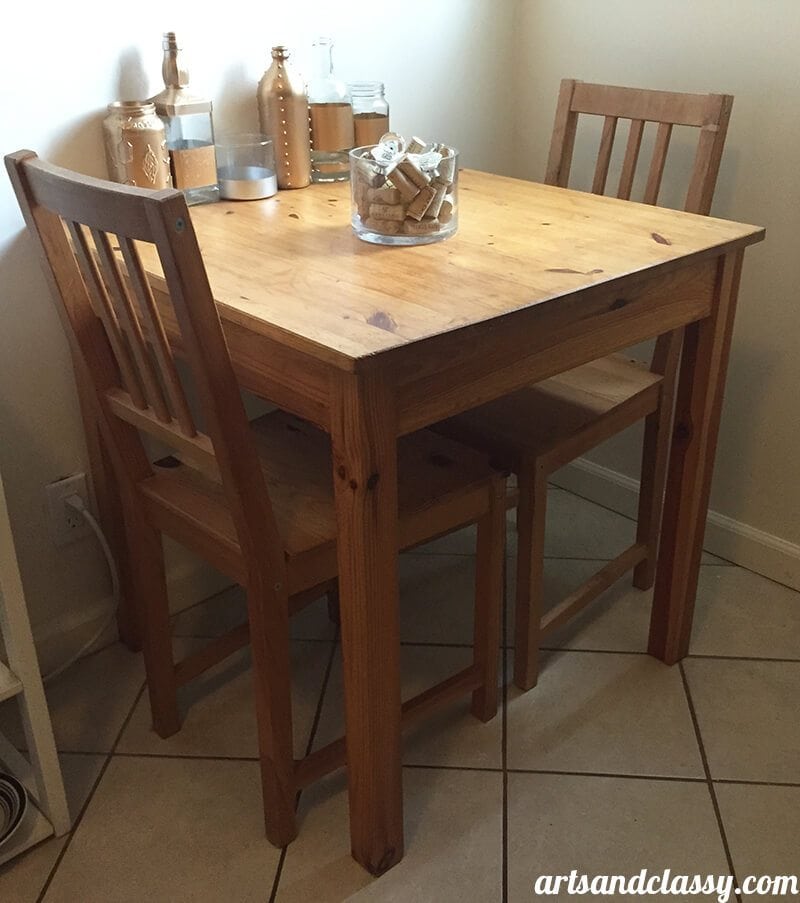
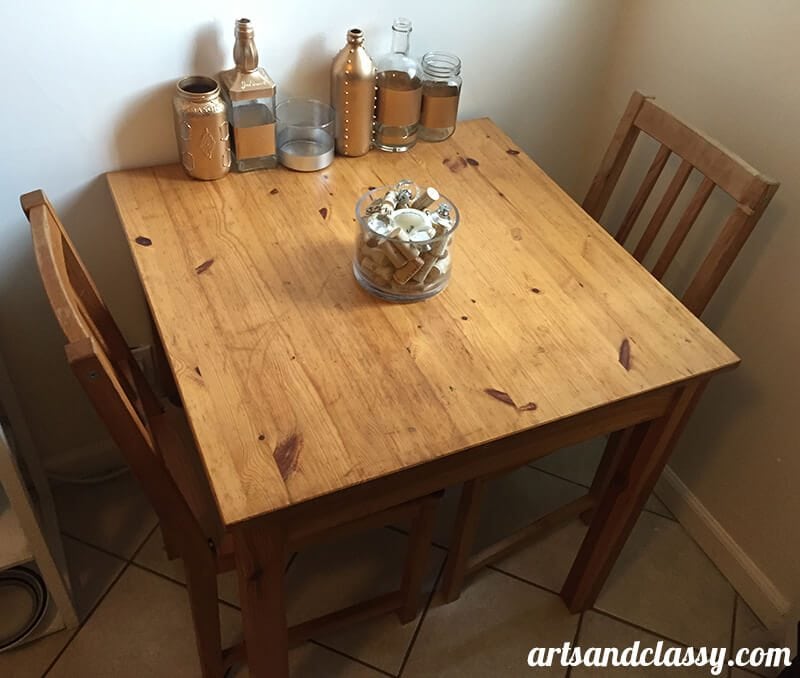
My awesome step-dad was what we call, “yard sailing.” Well I am glad he went “sailing” that day because he scored this amazing wooden small square table!! AND he got it for $30! SCORE!!! I thought this table had great bones and I insisted that he get it… when he was sending me photos (upon arriving the yard sale.)
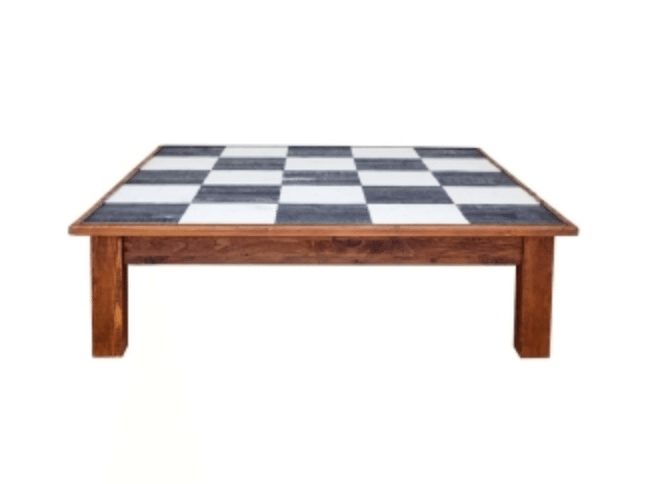
It took me a little time to figure out what I wanted to do to this table. I surfed Pinterest and found an amazing French Country coffee table that jogged the inspiration in my brain. (BTW this table was selling for $1,100.00.) This is when emoticons would come in handy. I would want to use the shocked face at THAT hefty price tag!
I decided this is the look I wanted for the table top, but I wanted a different look for the legs. I decided I wanted to stain the rest of the table in a weathered gray wood stain.
Related: If you love a good furniture flip, be sure to check out these posts:
Thus I transformed this table!
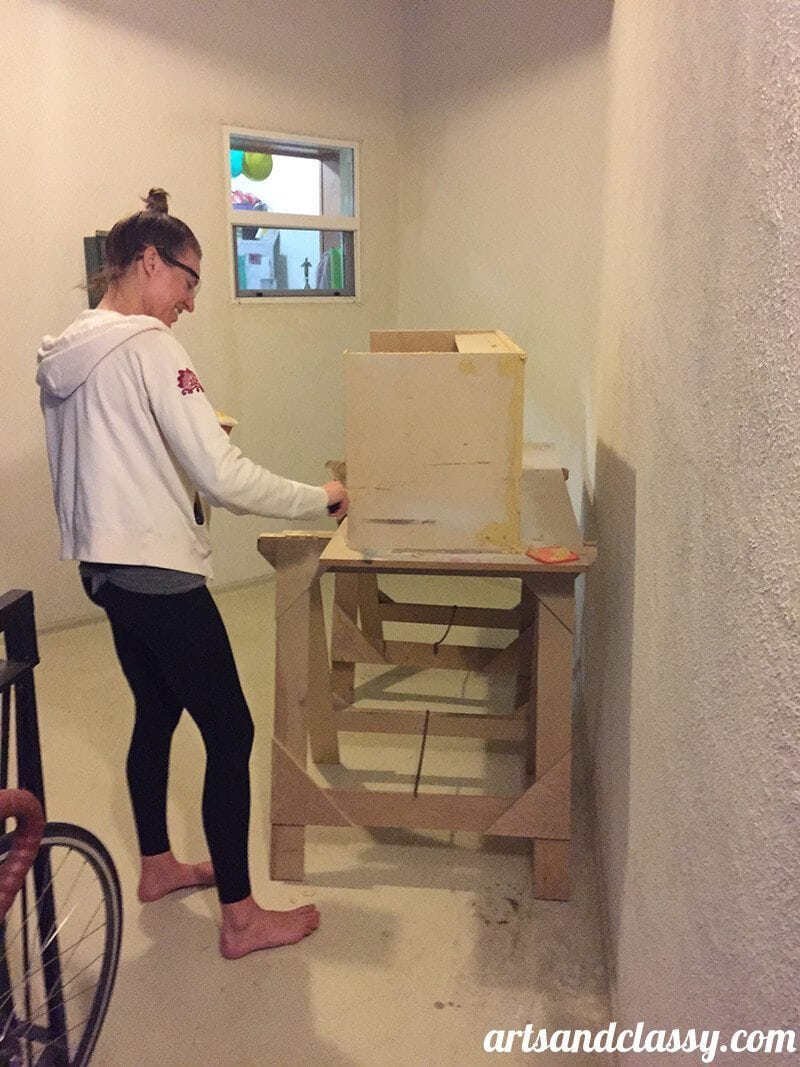
When I figured out my plan of attack I decided to dedicate a few days to making this table magical and also add a small bench to it to it for additional seating. Even in my tiny little kitchen. I found a great bench tutorial at Engineer Your Space that is really easy to build.
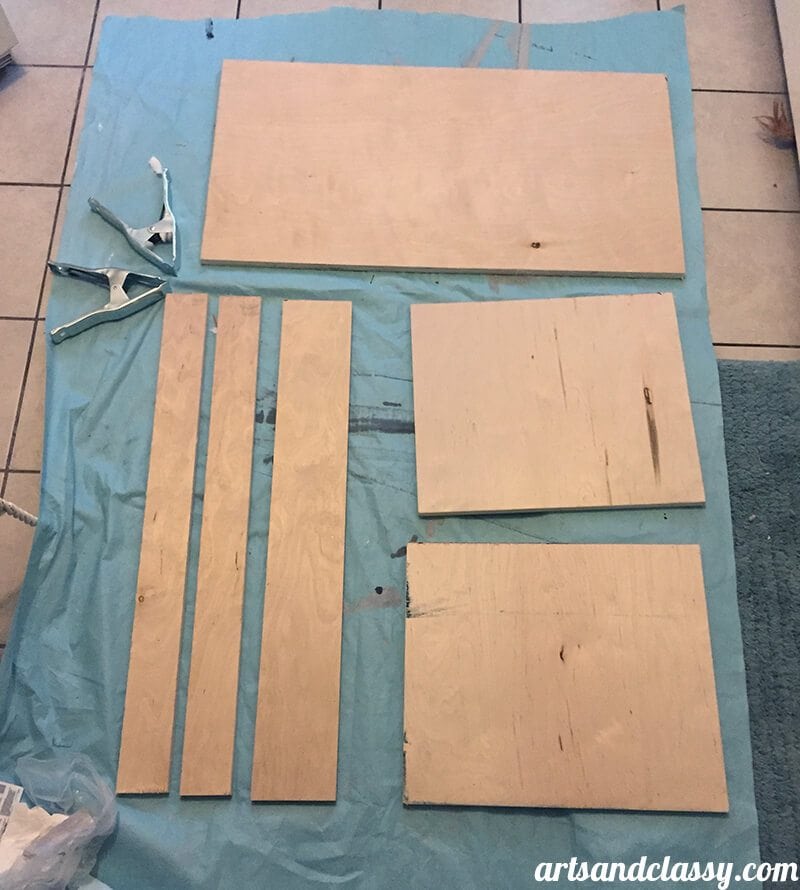
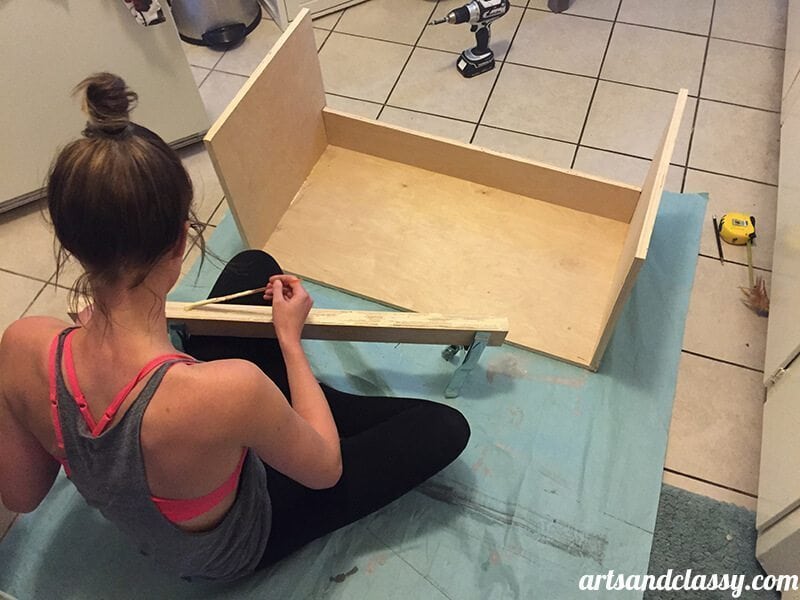
Since I work in the art department in the film and television industry I usually get art supplies and lumber donated to me at the end of the show instead of throwing it away! Can you believe it? I managed to acquire some lumber and had my construction coordinator cut it down to the dimensions I measured.
My amazing sister helped put this bench together. I love it when she likes to play DIY with me. She is a great helper with my projects.
I would defer to Engineer Your Space for the specific construction and supplies you will need.
After the bench was built, we moved onto the table.
French Country $30 Yard Sale Table Makeover
This post contains some affiliate links for your convenience. Click here to read my full disclosure policy.
Supplies I Used:
- Paint can opener
- Weathered Gray Wood Stain
- White Acrylic Latex Paint – Satin finish
- Annie Sloan Dark Furniture Wax
- Angled sash paint brush
- Smaller artist paint brush
- Tape measure
- Painters tape
- Pencil
- Sand Paper (various roughness)
- Chalkboard Paint
- Pliers
- Screwdriver – Phillips head
- Stain Sponges
- Rags
- Paint Roller Frame
- Paint Roller Refills
- Xacto knife and blades
- Straight edge ruler
Tutorial: French Country Makeover
1 – Disassembled the table.
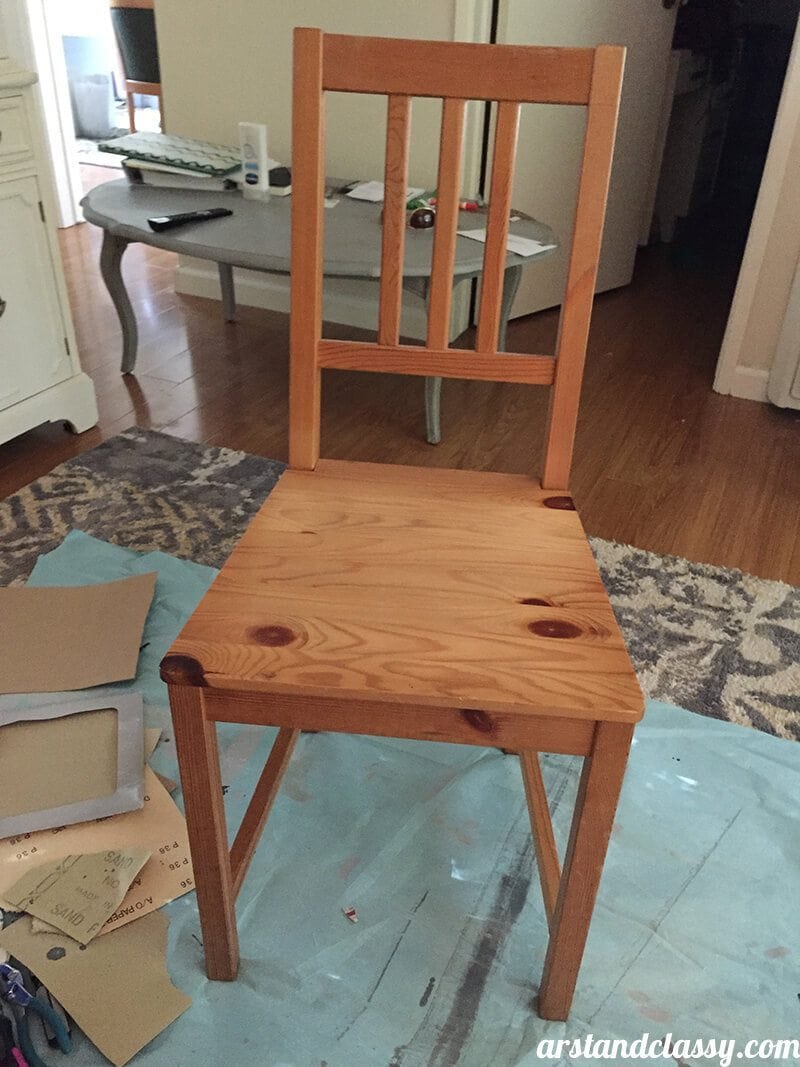
2 – Sand all the parts down a bit.
It didn’t need much sanding, but with wood stain you never know how the stain will take to the wood.
DIY TIP – make sure to moisten your furniture piece with a damp washcloth or towel to make the wood absorb the stain easier.
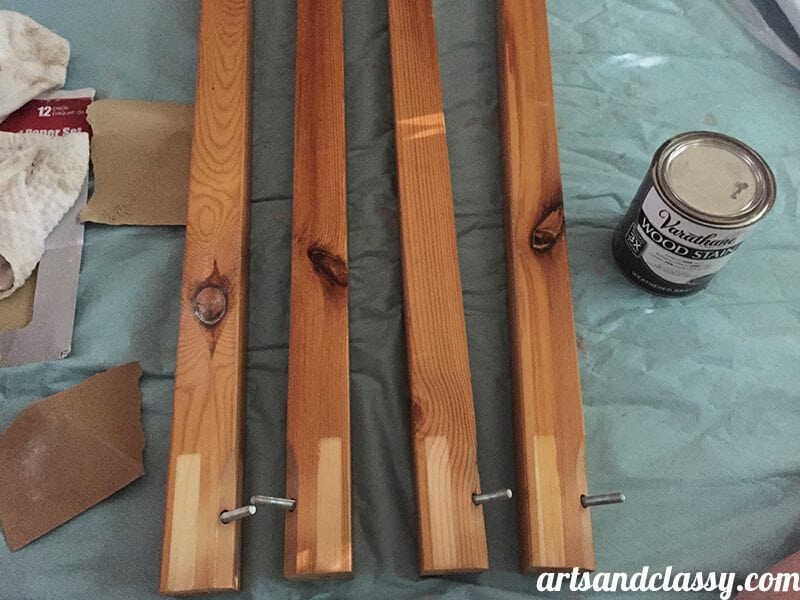
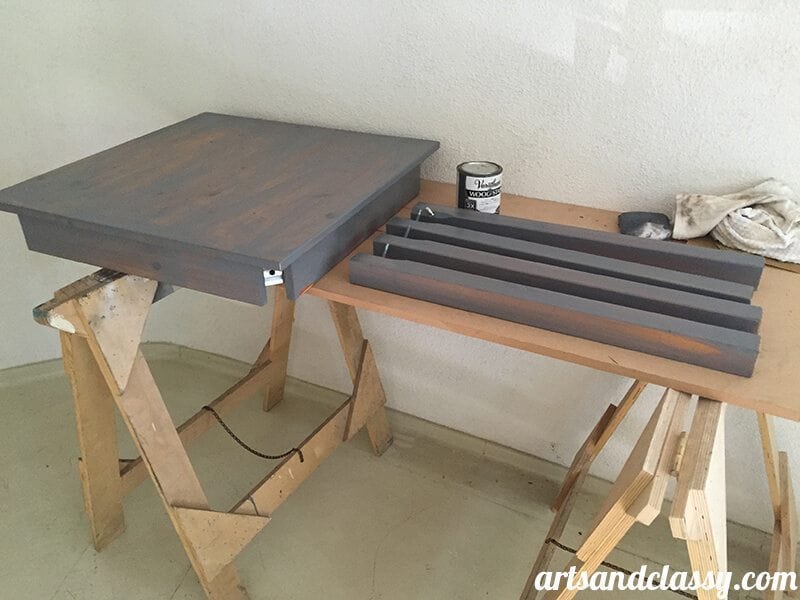
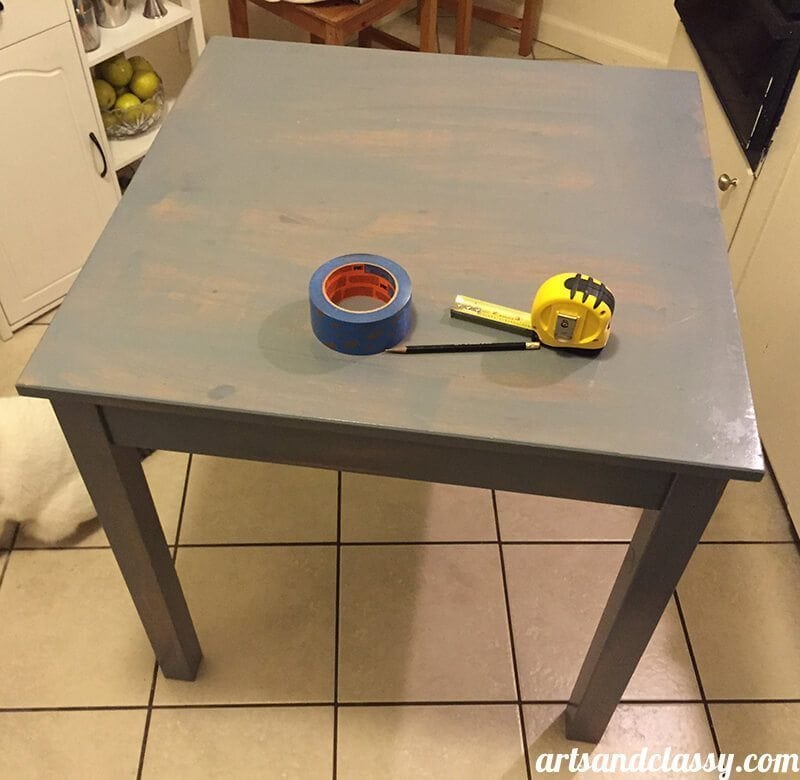
3 – Stain the table.
I used weathered gray wood stain that I got at Home Depot. It was about $8.50. I also purchased some stain sponges to make the application process easier. I let this stain cure over night after I added a couple layers.
TIP – When working with wood stains… don’t wear nice clothes. It is next to impossible to get stain out of clothing once it has touched the fabric. It can be messy.
4 – Put the table back together again.
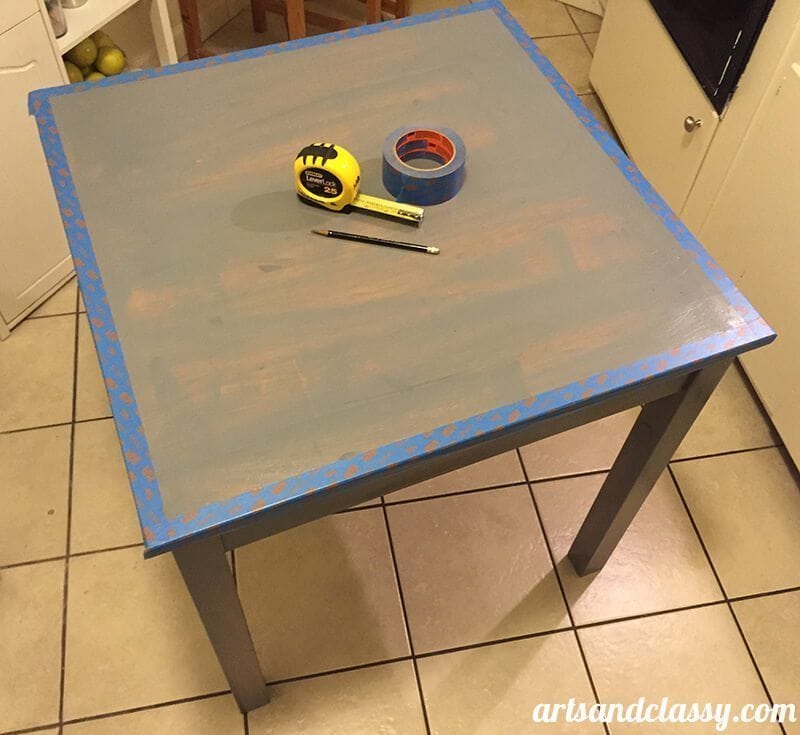
I got out my pencil, tape measure, and painters tape.
5 – Measure and tape out a border on the table top.
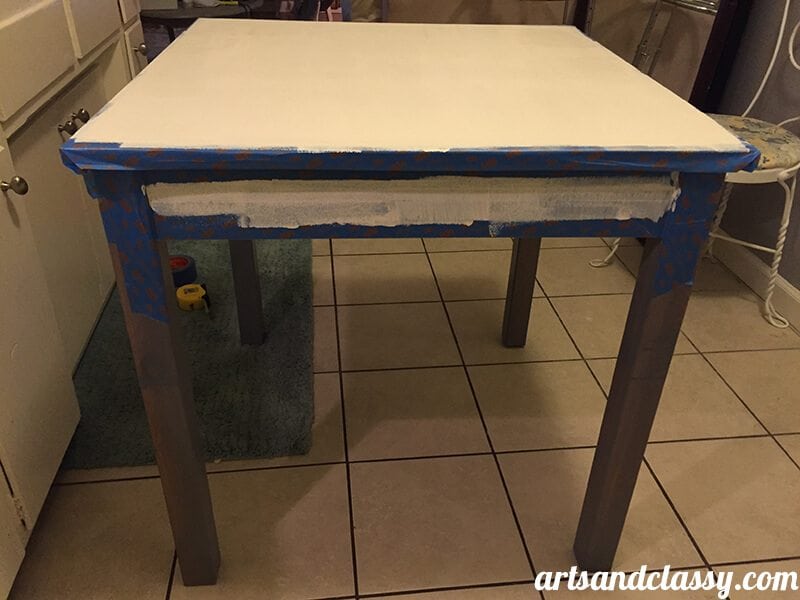
I also taped out a small border on the sides of the table to be painted white.
6 – Paint the table with satin finish white paint.
I did a couple coats to make sure it was covered evenly.
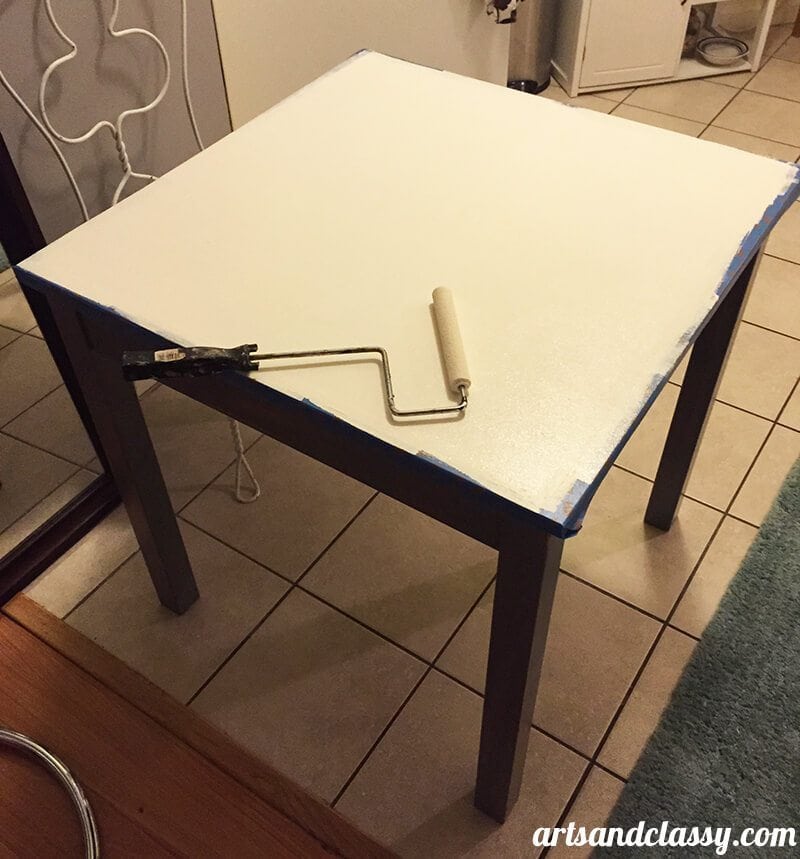
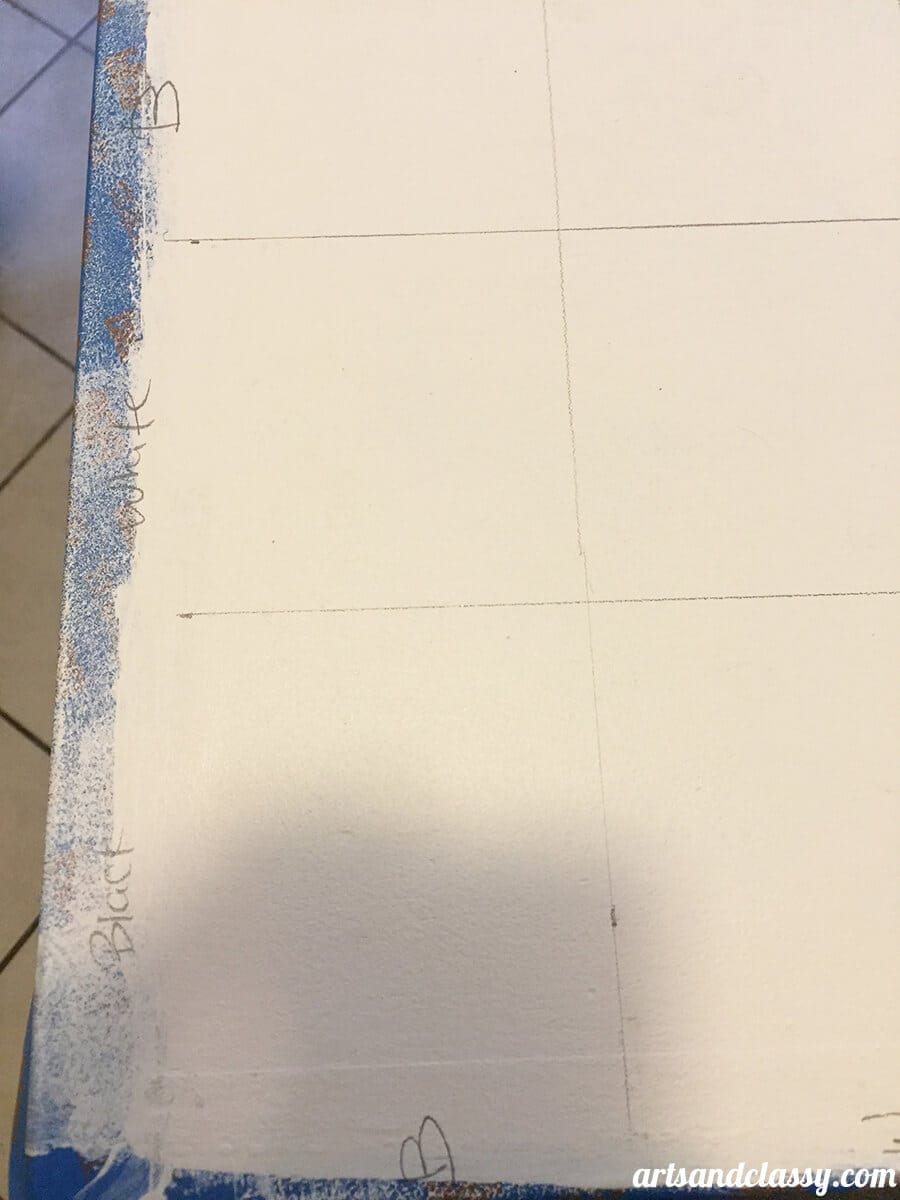
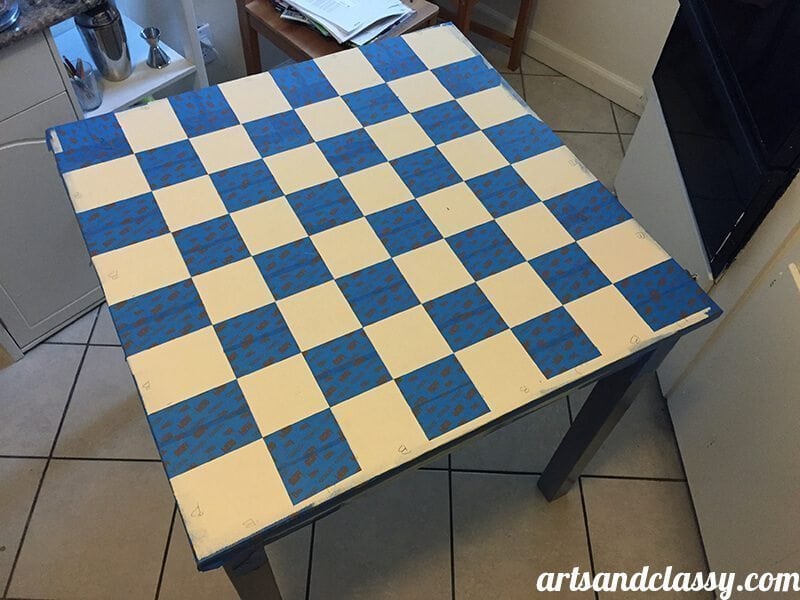
7 – Measure out my checkerboard table top!!
I didn’t want to confuse myself in this process, so I lettered “B” for black square and “W” for white square around the entire perimeter of the table top.
8 -Mask the white squares.
I used my delicate surface painters tape, and Xacto knife, and a straight edge ruler to mask the “white” squares.
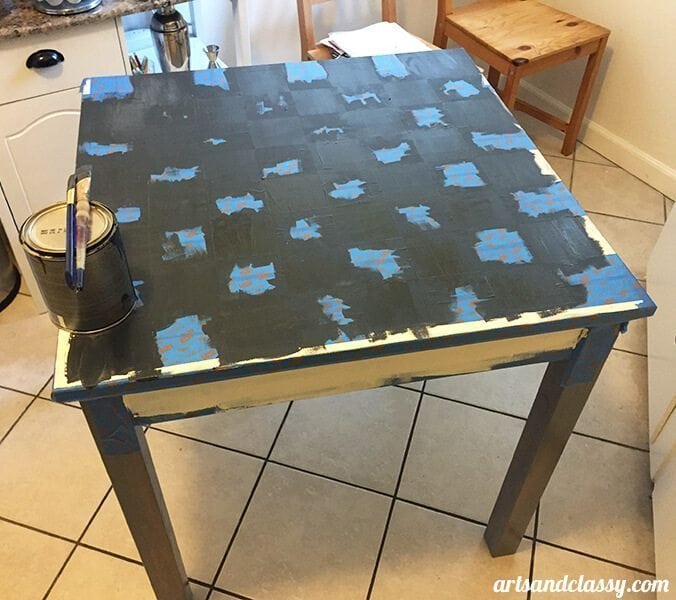
9 – Black Paint.
I took my chalkboard paint and my paint brushes and painted the table top.
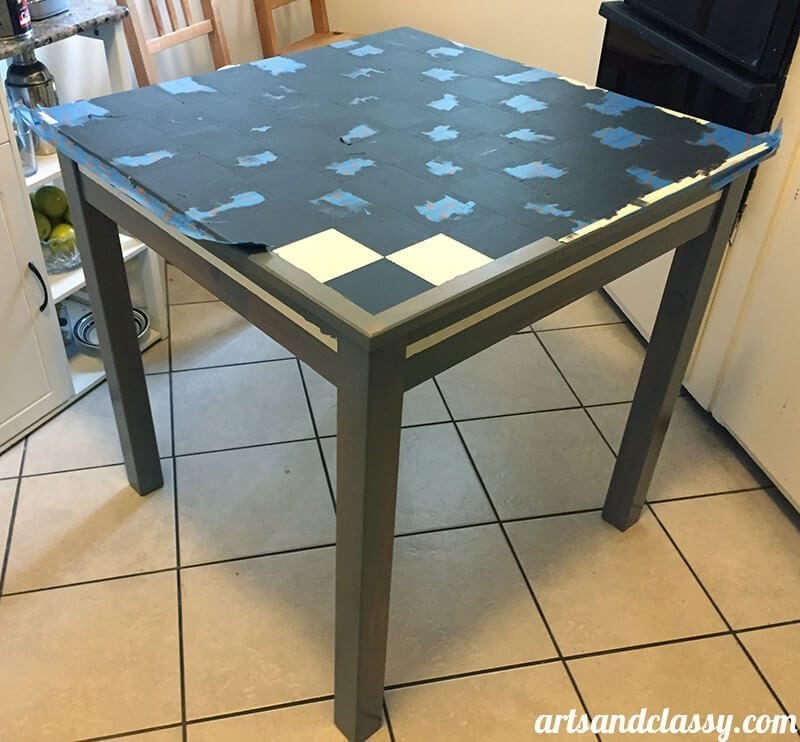
10 – Let dry.
I let about 2 coats dry and peeled back the painters tape. There were some tiny imperfections that occurred when peeling back the tape. Some paint lifted with the tape. I ended up liking this table so much more.
11 – Wax.
I used my Annie Sloan Unfolded dark wax and a rag to age the table a bit.
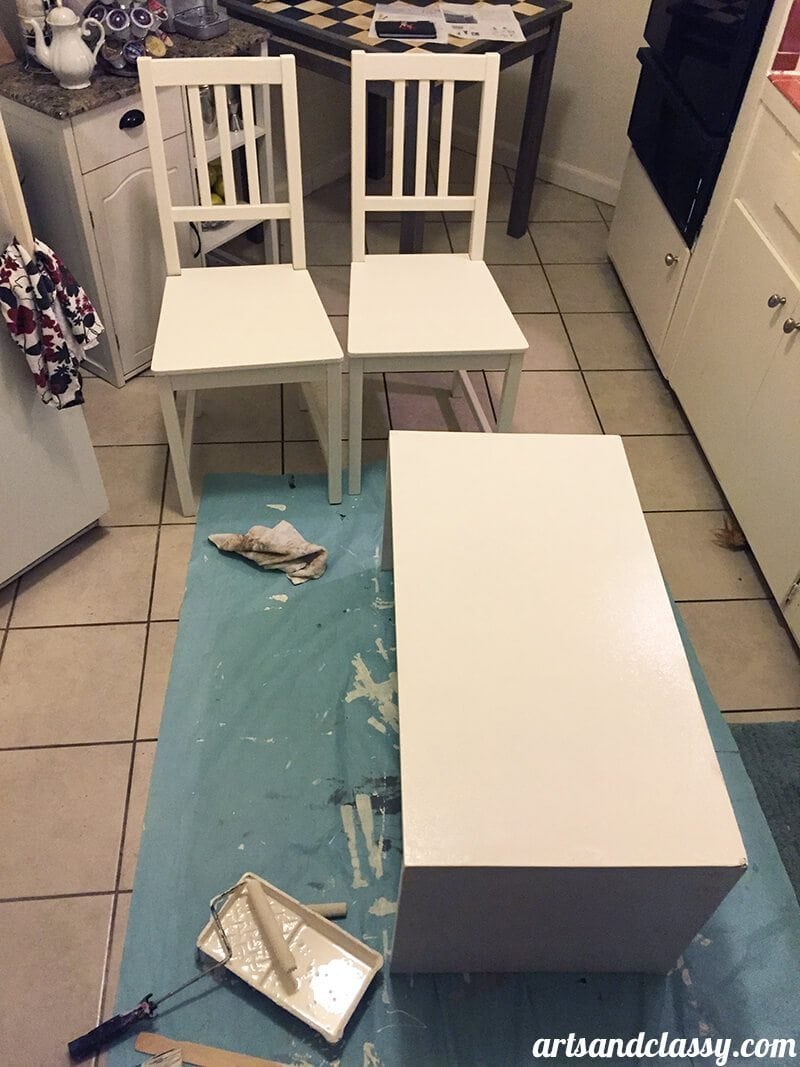
12 – Chairs and Bench.
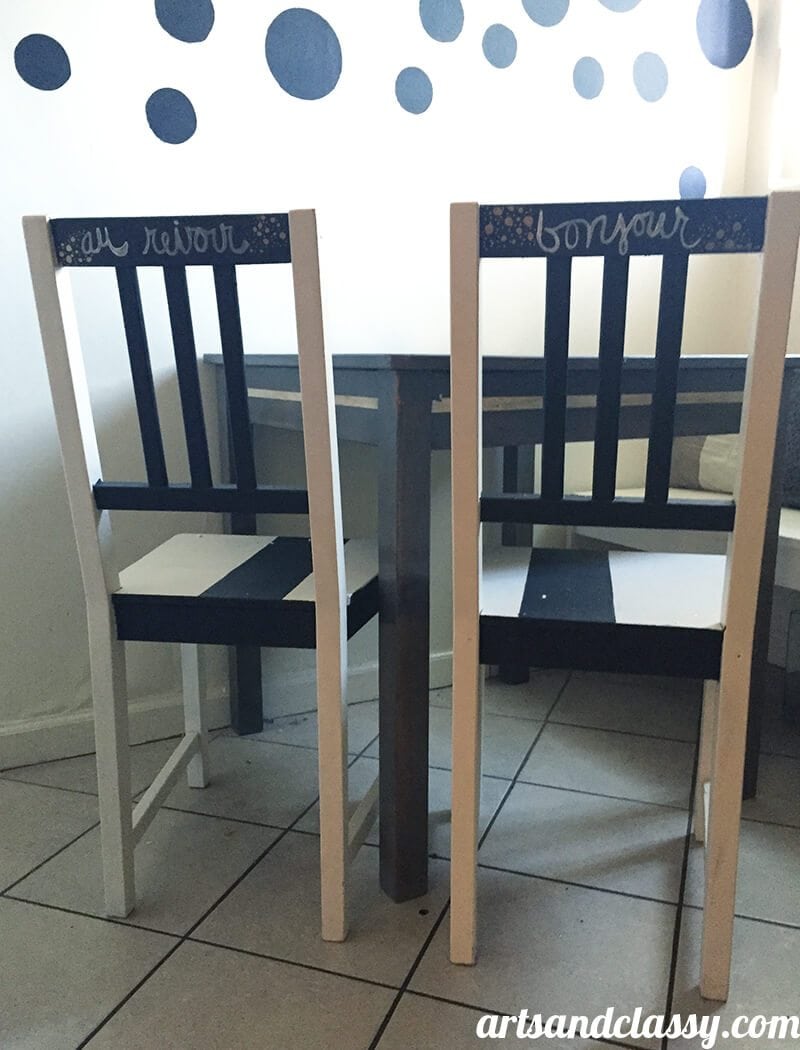
I painted the chairs and the bench with the same white paint. After a couple of coats every part was covered evenly.
I decided to to paint a portion of the chairs with the chalkboard paint to match the table. I had a little fun with this part.
Finally, I had a nice big cocktail when I was finished with this part of the project! I added some pillows to decorate the bench a little. This is a temporary fix until I upholster both the chair seats and the bench seat and back. This will be a whole different tutorial!
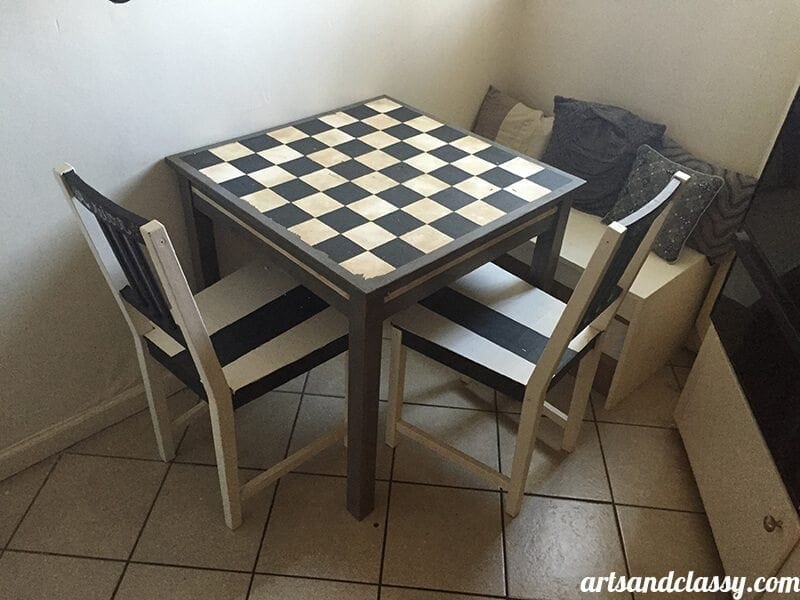
But, I hope you all enjoyed this project! I really did and I can’t wait for my fabric to arrive so I can tackle the cushion portion of this project. If you did enjoy this project, please let me know in the comments below.
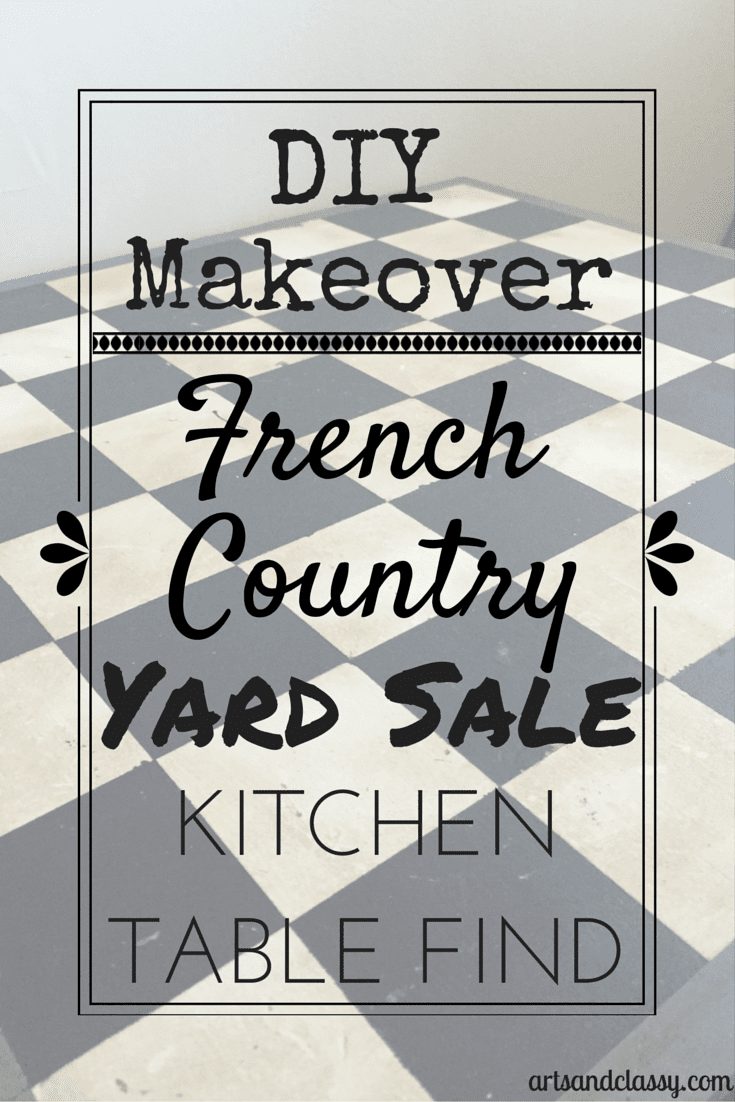
Feel free to pin and share this image with your followers! Sharing is caring. 🙂



You rocked this project, Meredith! I can see how you took such care to do this makeover and it will be my pleasure to feature you’re prodigal piece this coming Saturday. woot!! 🙂
Thank you so much Larissa! I am excited to be featured on your fabulous blog!! Thanks so much. xoxox
What a beautiful result -along with a wonderful tutorial! You did a fantastic job on both. Now, enjoy your cocktail – you deserve it!
Thank you so much for your sweet comment Chay! I really love my new table and a glass of wine was the perfect way to celebrate! I appreciate your support!