Hollywood Regency Peacock Inspired Old TV Stand Makeover
Do you have an old TV stand lying around that you don’t know what to do with? Well, look no further! In this blog post, I am going to show you how to transform your old TV stand into a Hollywood Regency peacock-inspired piece. This is a great project for anyone who wants to add a touch of glamour to their home. So, without further ado, let’s get started!
I found an old TV media stand on the side of the road but still felt like it was some life left to live. I picked it up and brought it back to my small home LA office.
It sat in my office for about a week before I decided what I wanted to do with this piece. I have been doing a lot of coastal & shabby chic furniture flips recently, but I had a different idea for this one. I love the Hollywood Regency style and decided that was the path I would take with this media stand.
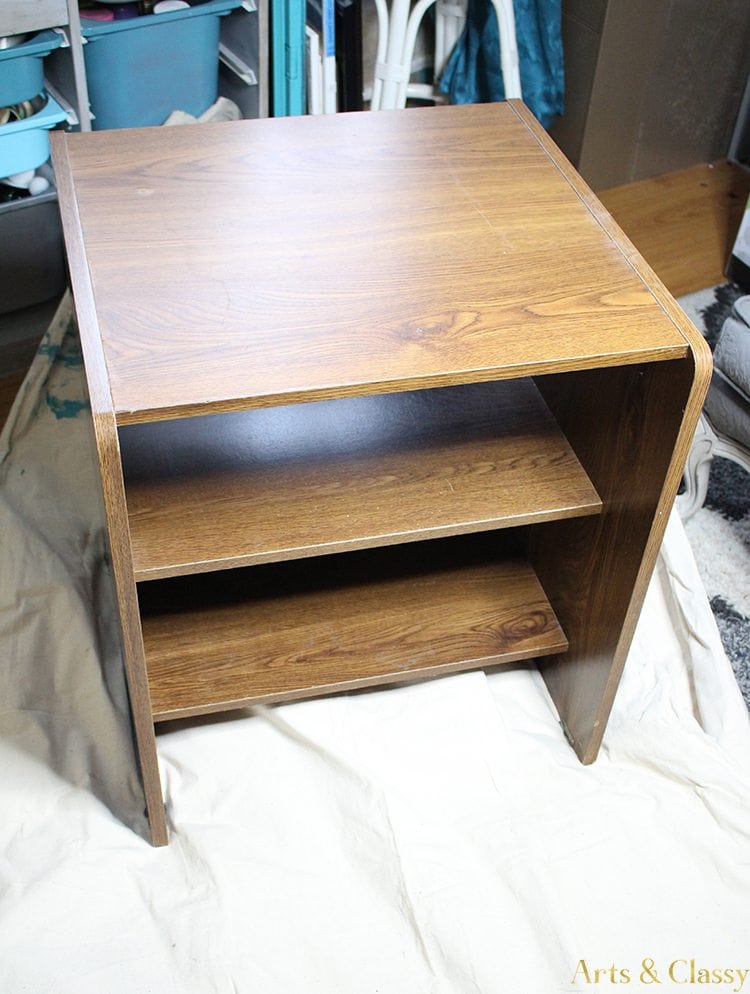
Supplies I used for this DIY:
- Peacock Stencil from Cutting Edge Stencils
- Patina Green stenciling creme
- Peacock Blue stenciling creme
- Stenciling brushes
- Behr Acrylic latex satin enamel in the color “Brookview”
- Plaster of Paris
- 3 Tbsp of warm
- Modern Masters Metallic Olympic Gold
- Paint brushes
- Painters tape and Frog tape
- Stencil Paint foam roller
Step 1
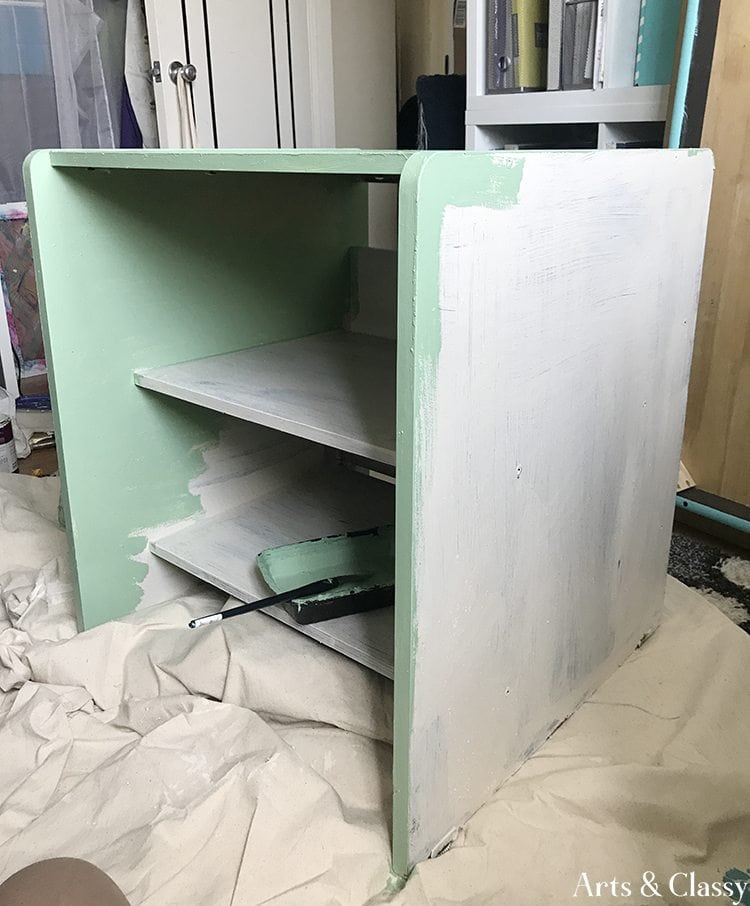
I was recently tasked with giving an old TV stand a makeover. I considered a few different options, but in the end, I decided to go with chalk paint. I knew that chalk paint would provide good coverage without the need for sanding beforehand – and that was important to me since I didn’t want to spend too much time on this project.
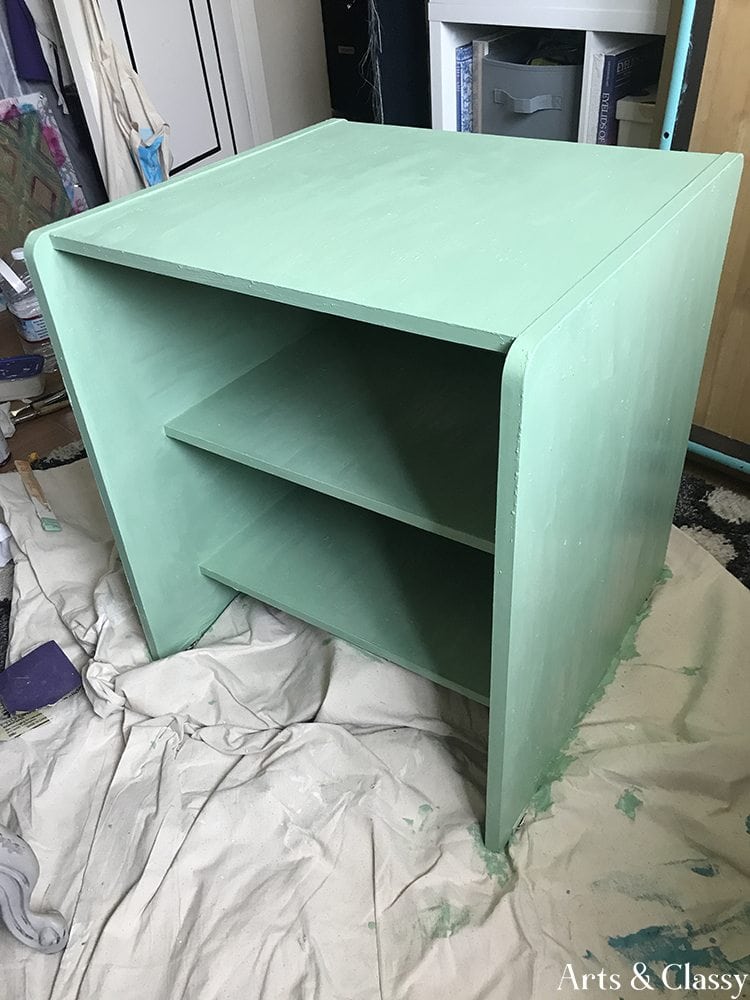
Once I had painted the entire cabinet with white chalk paint, I decided that my “Brookview” green Behr paint was the better choice. I used my handy DIY chalk paint recipe to turn that “Brookview” into a better paint for furniture. Once I did 2 coats I let that dry. The end result was exactly what I had hoped for – and it only took a few hours, thanks to the chalk paint!
Step 2
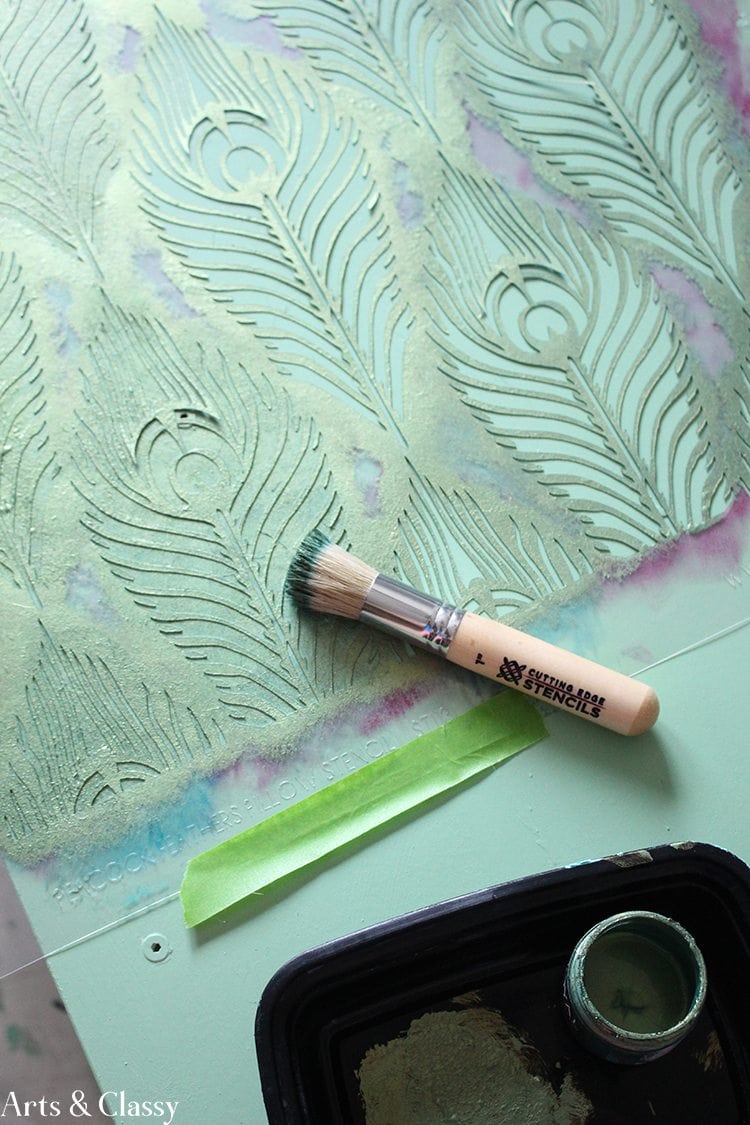
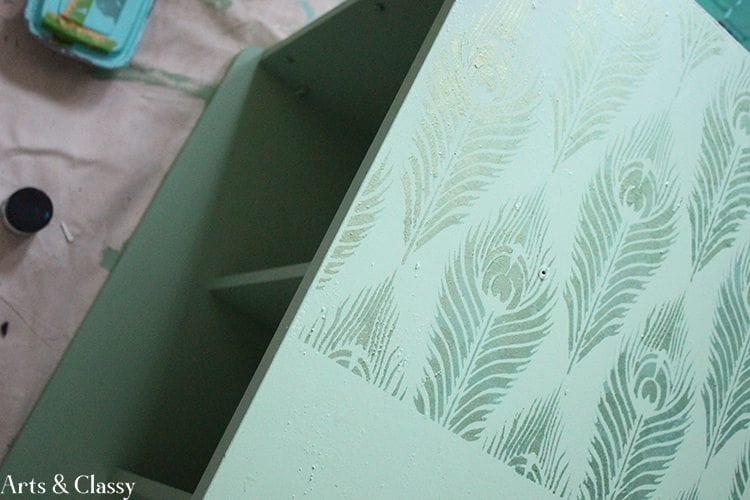
I positioned the peacock stencil on the sides of the old tv stand makeover with my patina green stencil creme.
Step 3
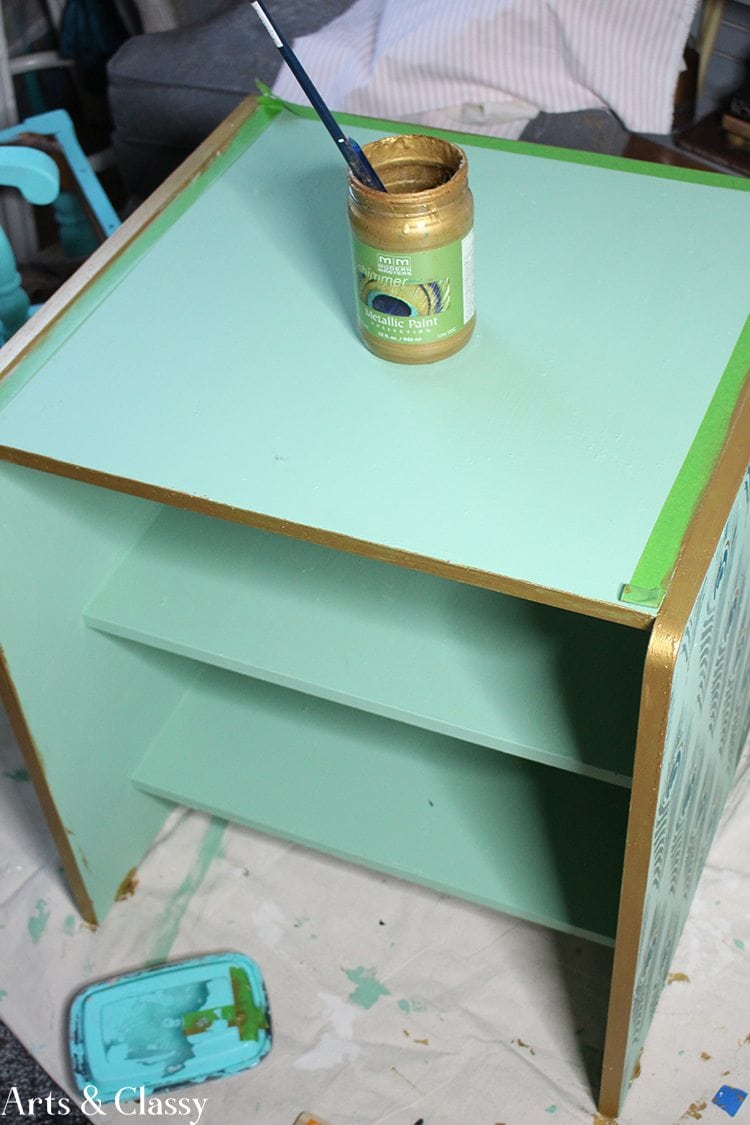
Once I covered both sides, I painted the trim and corners of this old tv stand makeover.
Step 4
I hand-painted the peacock feathers to add some more dimension to this piece.
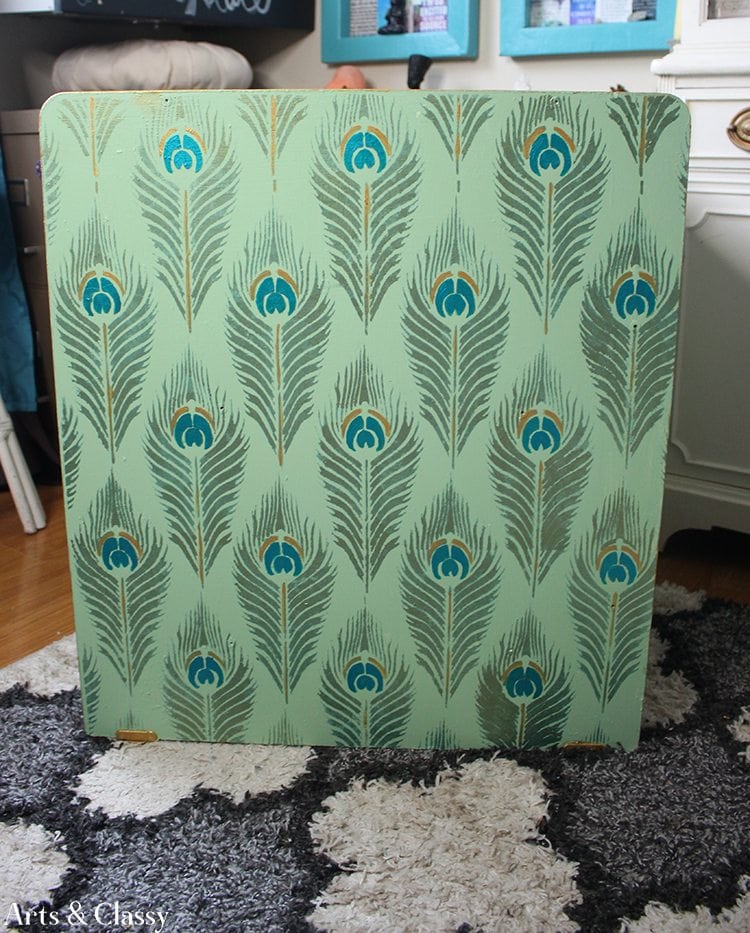
Step 5
I knew I didn’t want to add more peacock feathers to the top of this piece. I brainstormed for a couple of days on what I wanted to do to it. I ended up thinking something geometric and gold would be perfect for this piece. With my painter’s tape, I created a square within a square. My Modern Masters Metallic Olympic Gold paint was my go-to paint of choice. I applied my paint with a foam roller.
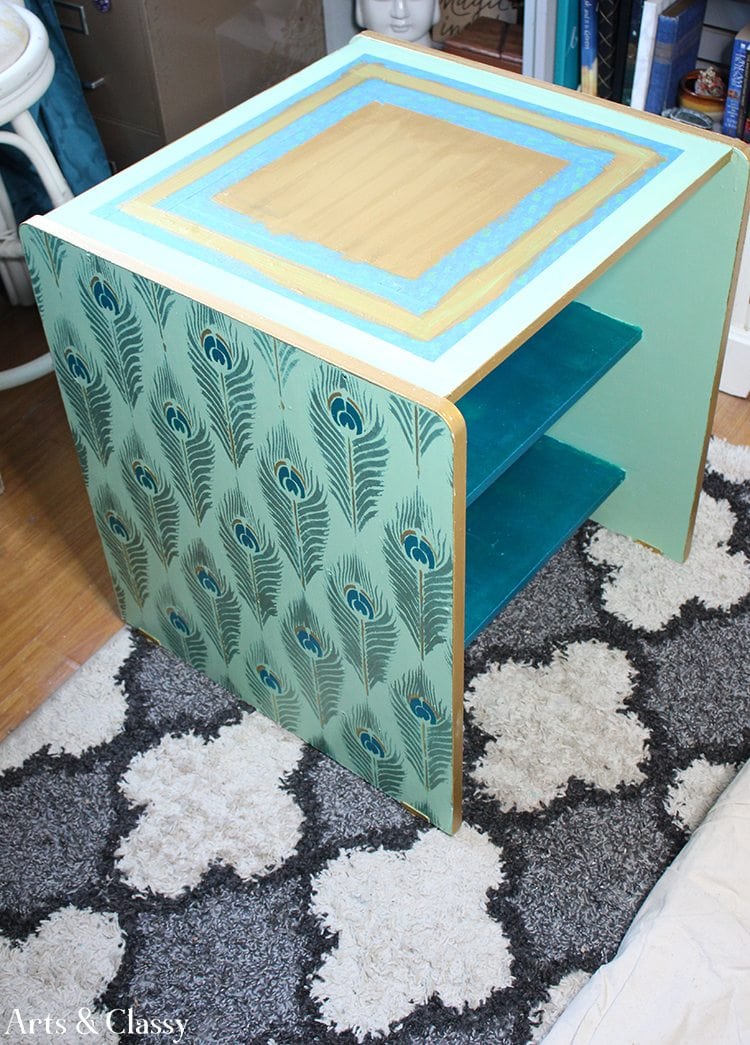
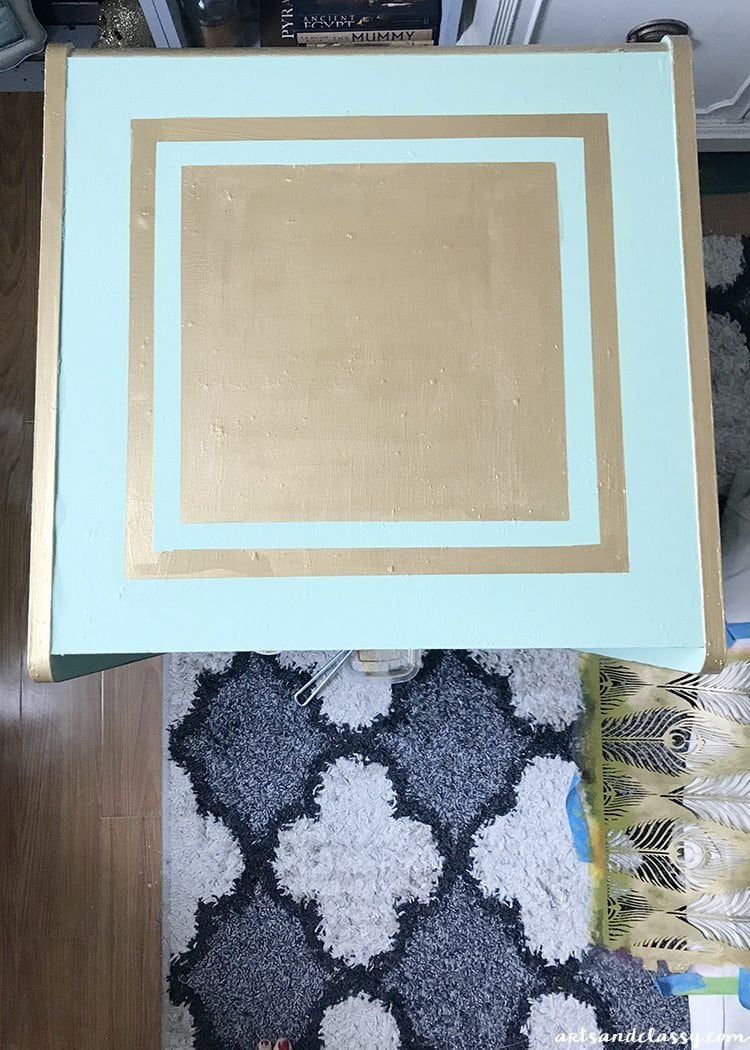
Step 6
I started by painting the shelves with my peacock blue stencil creme. I wanted to keep the piece cohesive, so I continued the peacock pattern on both shelves with my metallic gold paint. I used my foam roller for this application, which made it quick and easy. After letting the paint dry, I stood back and admired my work. The old TV stand had been transformed into something truly unique and beautiful.
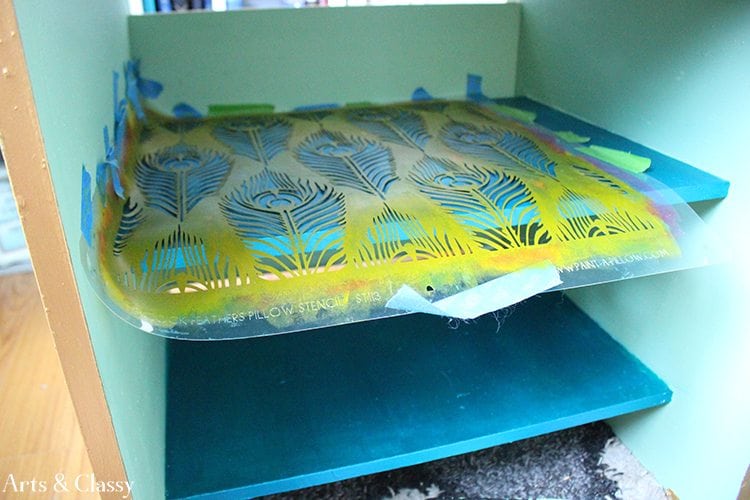
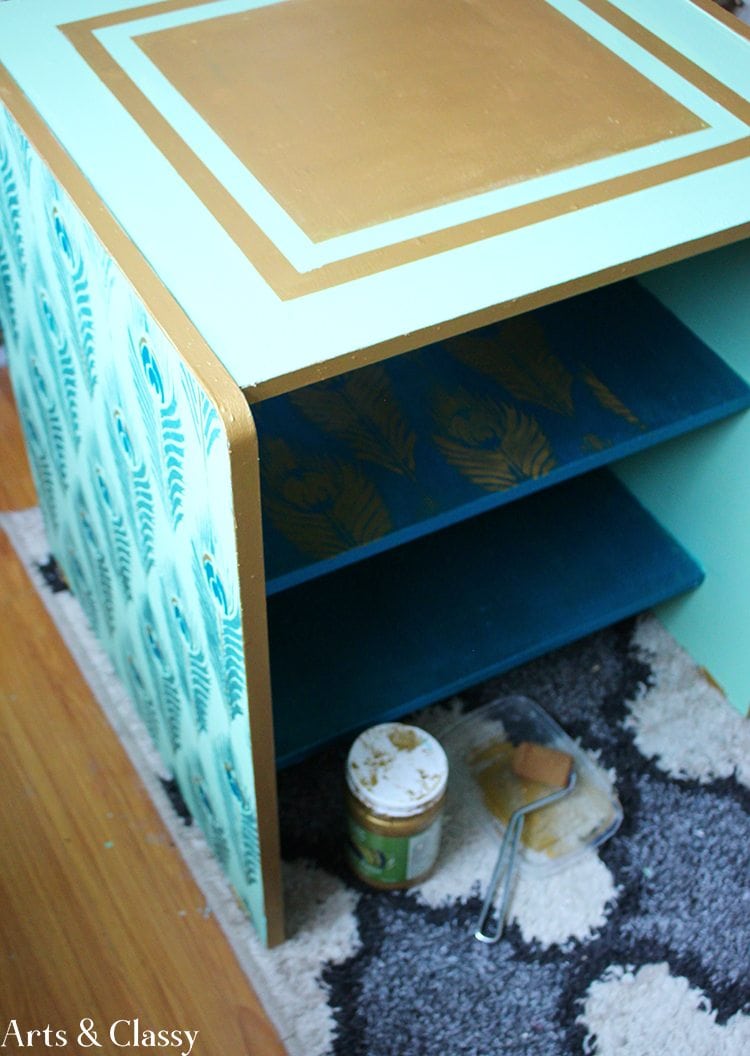
Here are the AFTER photos of this old tv stand makeover. I am really excited about how it turned out! It is a one-of-a-kind conversation starter. I imagined this piece being enjoyed in a smaller apartment or house.
I also thought it would work well as a home bar. It has storage underneath for glasses and you can get up a decanter on top and maybe a fun glam beverage tray. I digress…my creative mind wanders.
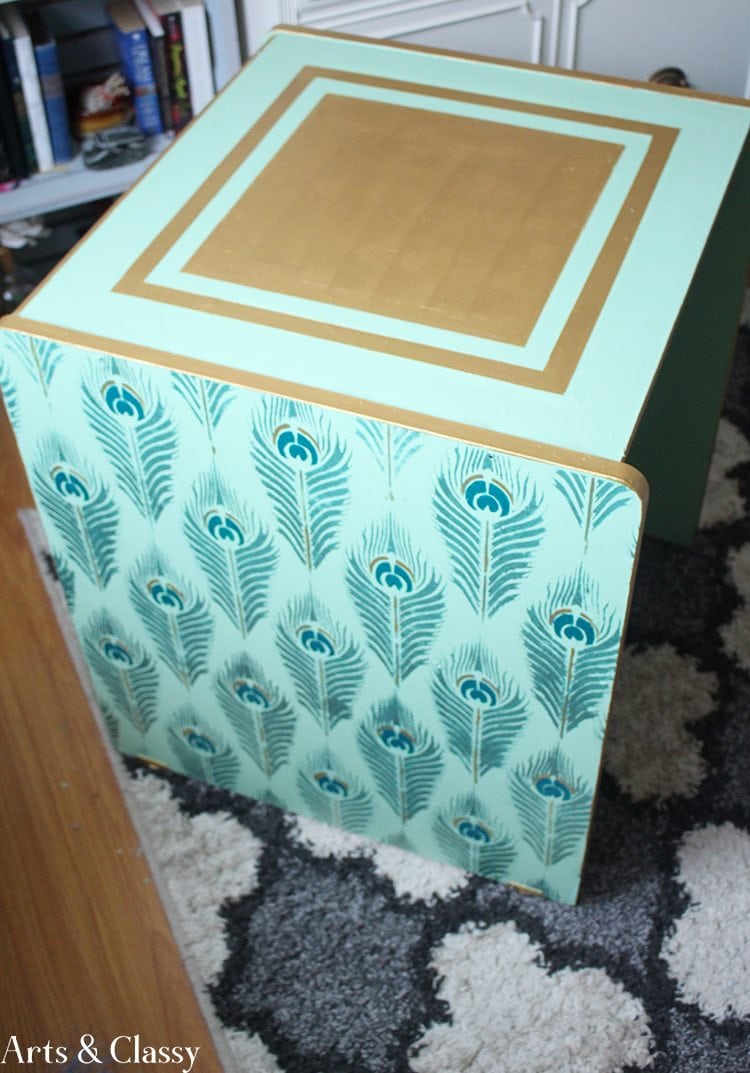
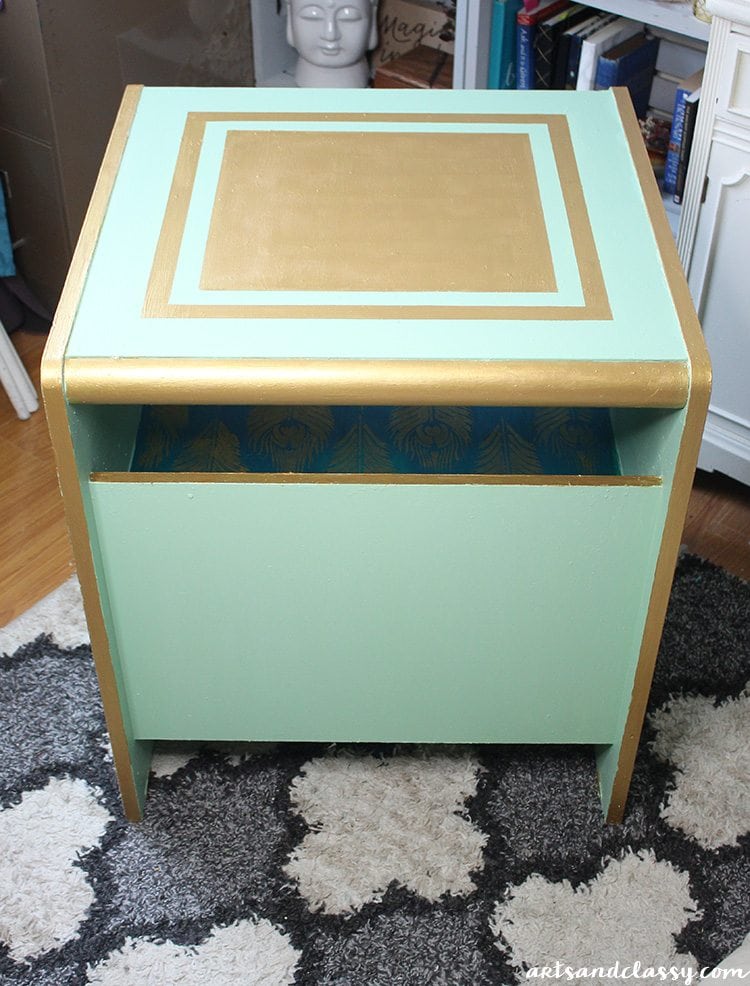
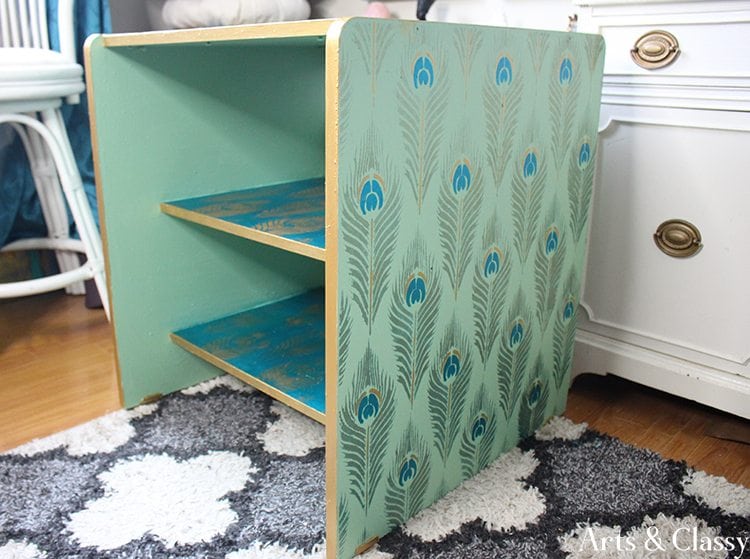
I hope you enjoyed this peacock tv stand makeover as much as I did. It was so much fun to work on and the results were amazing. If you want to see more projects like this, be sure to follow me on Instagram, Pinterest, and TikTok. I can’t wait to share my next project with you!
If you like this old tv stand makeover project, you might also enjoy…

