I Transformed an Inherited Buffet Into a Gorgeous Vintage Eclectic Piece
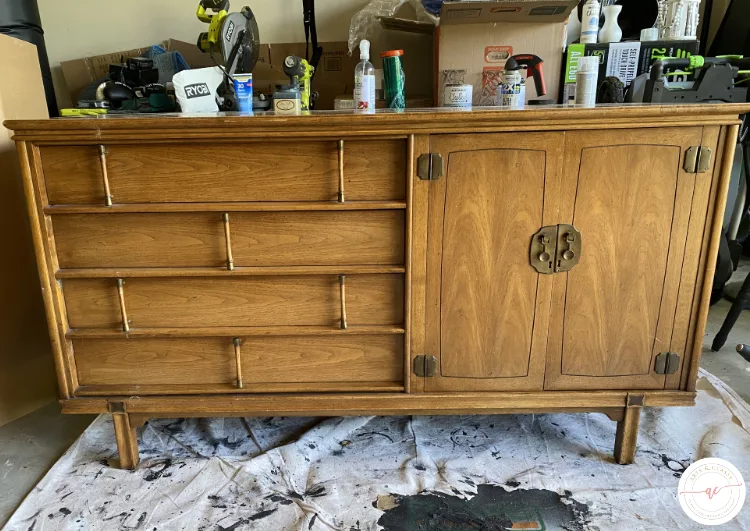
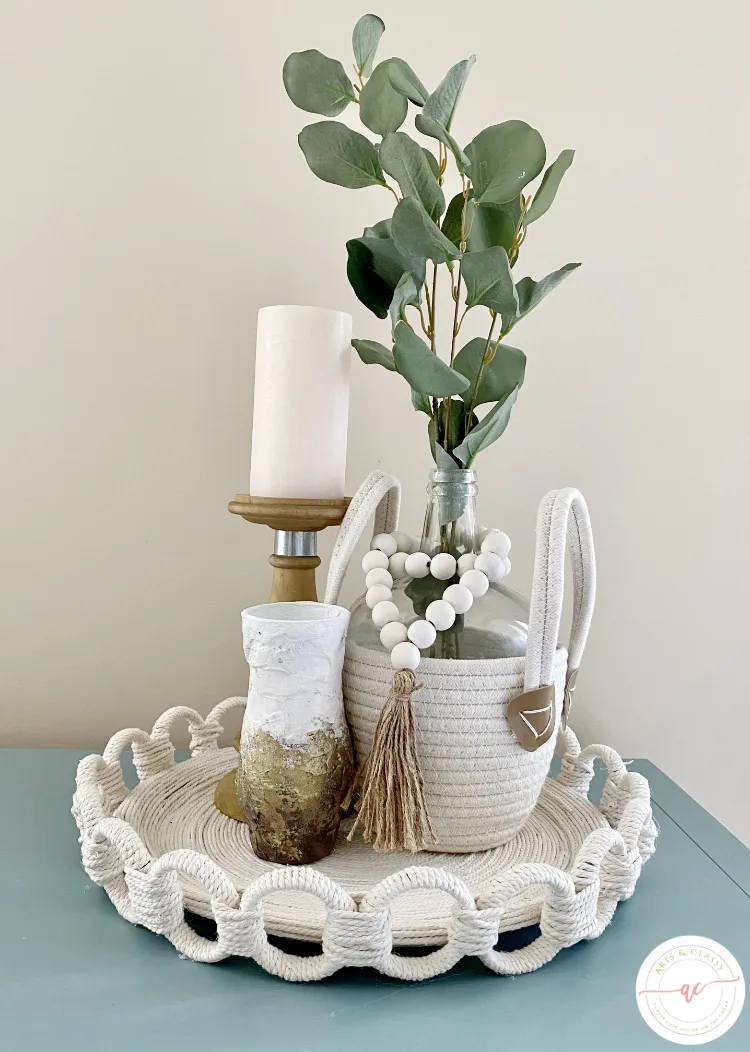
If you inherit an antique buffet with some “original” hiding spots, you certainly want to add character to this piece. Use the top of the buffet as a canvas for your creativity. I was lucky enough to inherit this mid-century modern buffet from my grandparents. They purchased this buffet when my grandfather was stationed in Japan in the 1950s for the United States Air Force.
This buffet has been with me since about 2018 and I was in need of some TLC and a bit of a makeover to match more of my style and home decor.
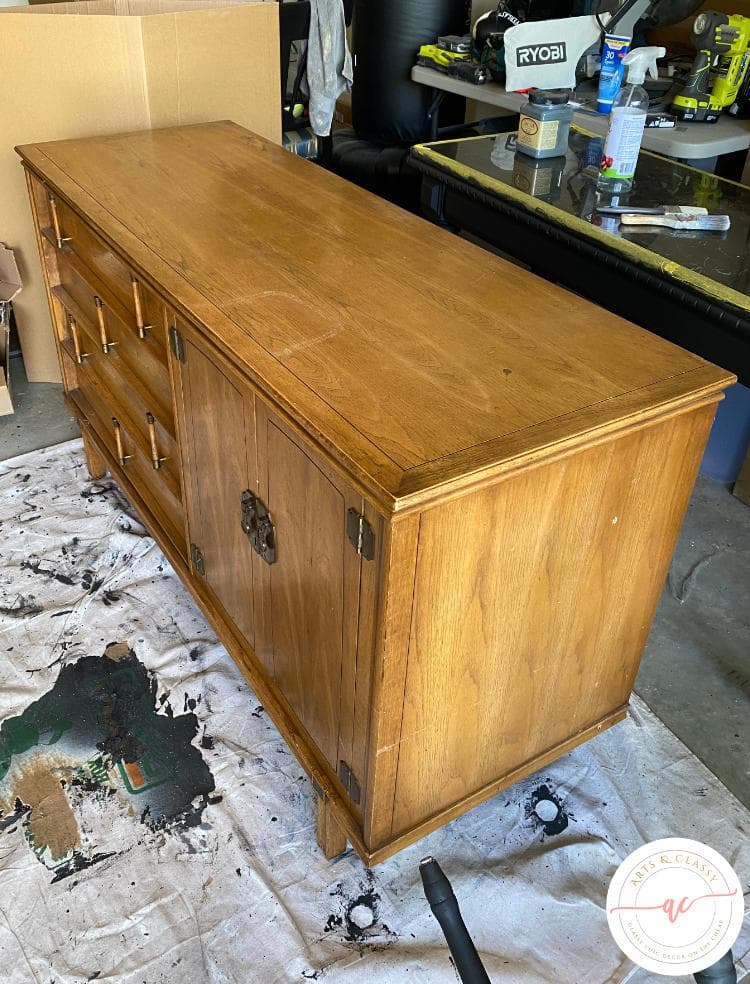
Now I know there will be some horrified that I painted this wood piece, but hear me out. It was really dated and had a water stain on the top.
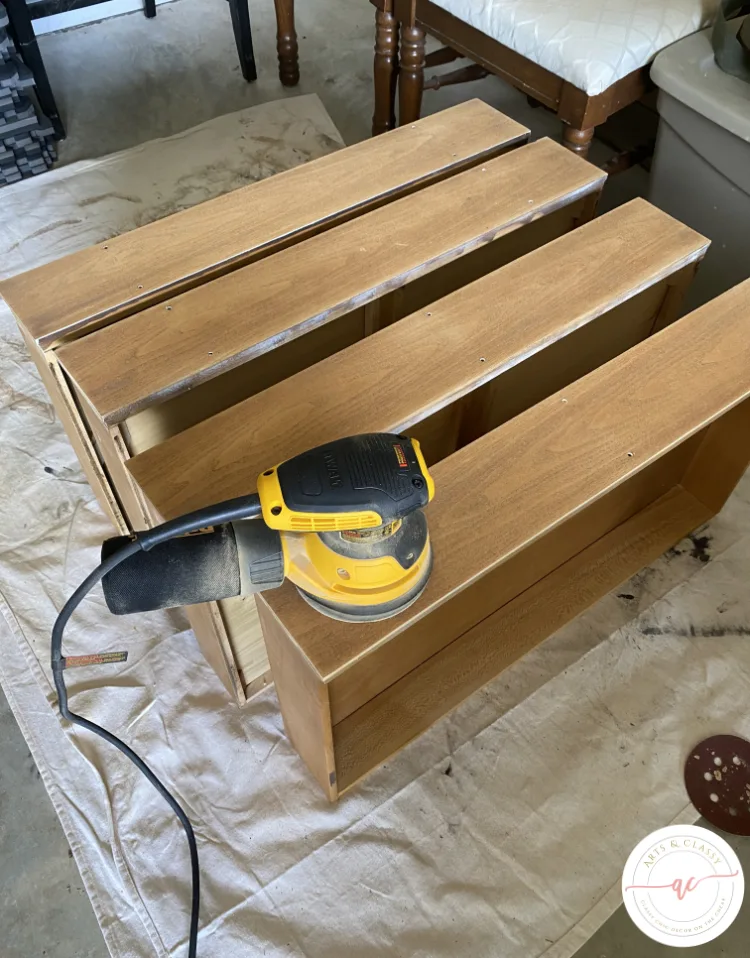
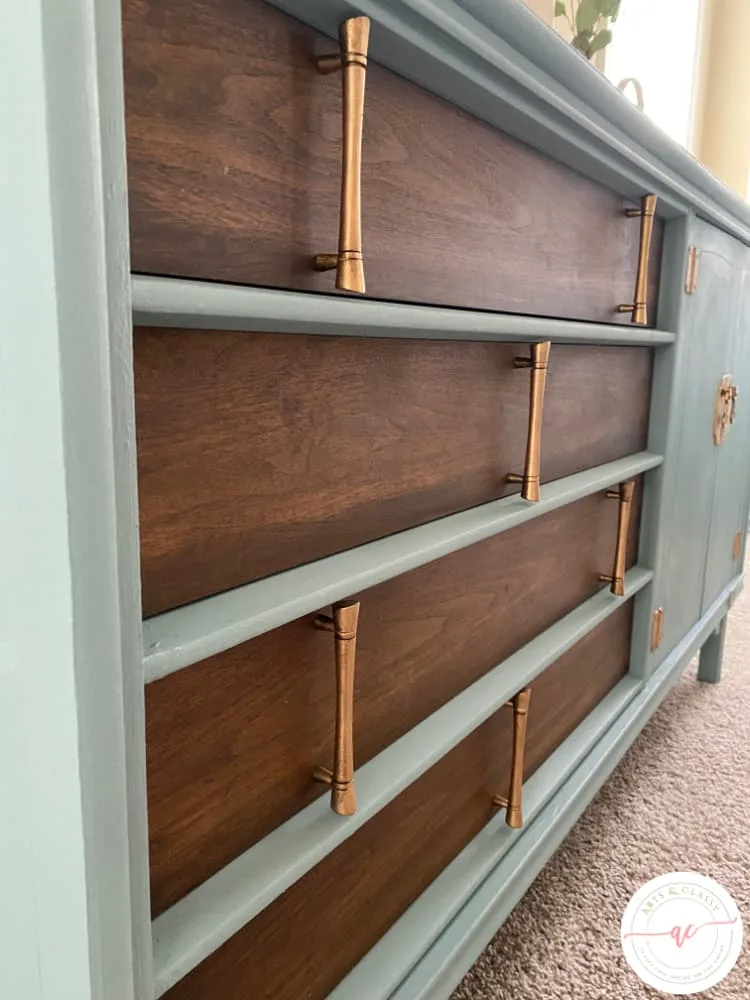
To be honest, sanding and restaining the whole sideboard was not something I wanted to do at this time. But, I am happy to say that I did compromise. I was willing to sand and restain the drawers!
This post contains some affiliate links. I may earn a small commission if you purchase through one of these links. See more information in my full disclosure policy.
What supplies do I need to repaint furniture?
- A Rag or cloth towel
- Multipurpose cleaner and degreaser
- Kilz Primer
- Small Paint Foam Roller
- Screwdriver
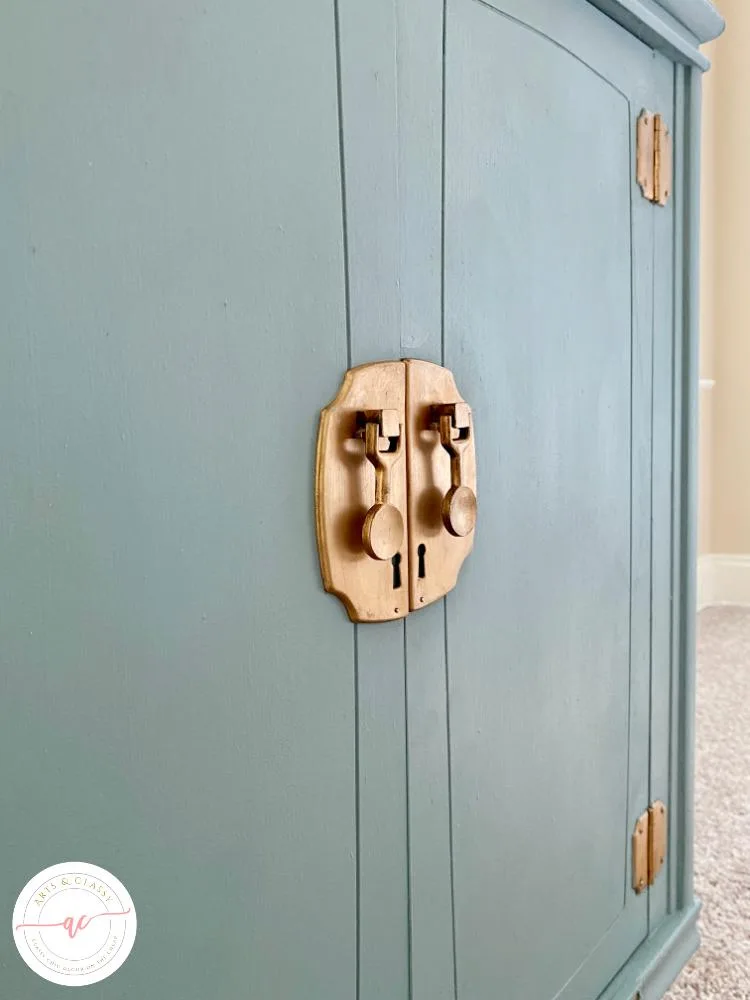
- Rub and Buff – Antique Gold
- Behr Rustic Brown Transparent Wood Effects Water-Based Interior Wood Stain
- Angled paint brush
- Dixie Bell Chalk Paint – Duck Egg
- Dixie Bell Best Dang Wax
- Wax Brush
- Orbital Sander
- Sanding pads
How I Transformed My Inherited Buffett: The Effortless Makeover?
Explore how I transformed my dated, inherited vintage buffet into a stunning, restored piece of furniture worthy of any stylish home. Follow the creative process step-by-step to achieve the perfect ‘before and after’ showpiece makeover.
1. The Search For the Perfect Buffet Makeover Inspiration
When looking for buffet makeover before and after makeover ideas, it’s important to remember that there are a variety of factors to consider. Oftentimes, contemporary trends such as bold colors and geometric shapes can be used to create a stunning statement, while a more classic aesthetic might include a monochrome palette and timeless materials.
The perfect buffet makeover before and after requires finding the right balance between current and timeless design principles, making sure to keep the design consistent with the other furnishings and decor in the room. It’s about striking the right notes with both form and function so that the resulting look is both stunning and practical.
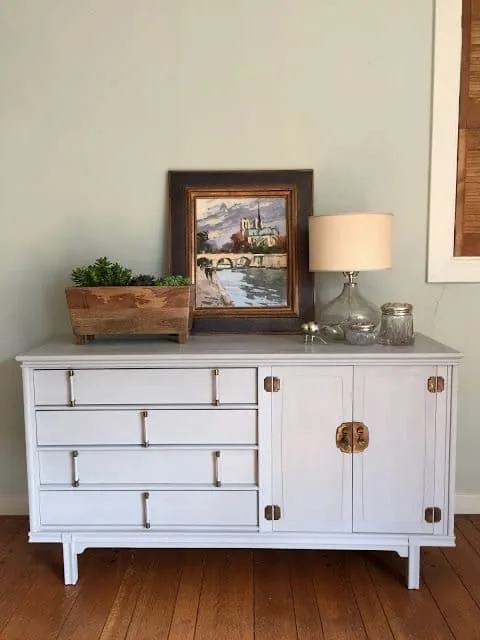
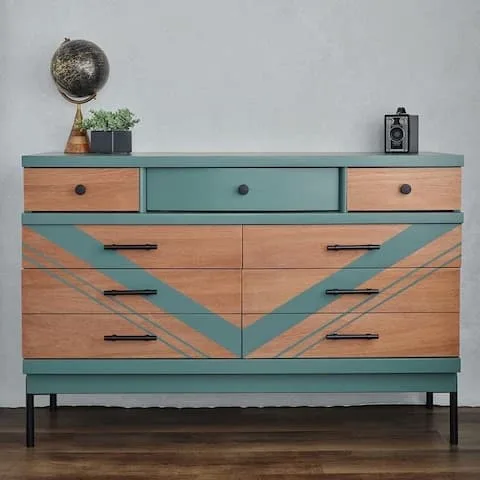
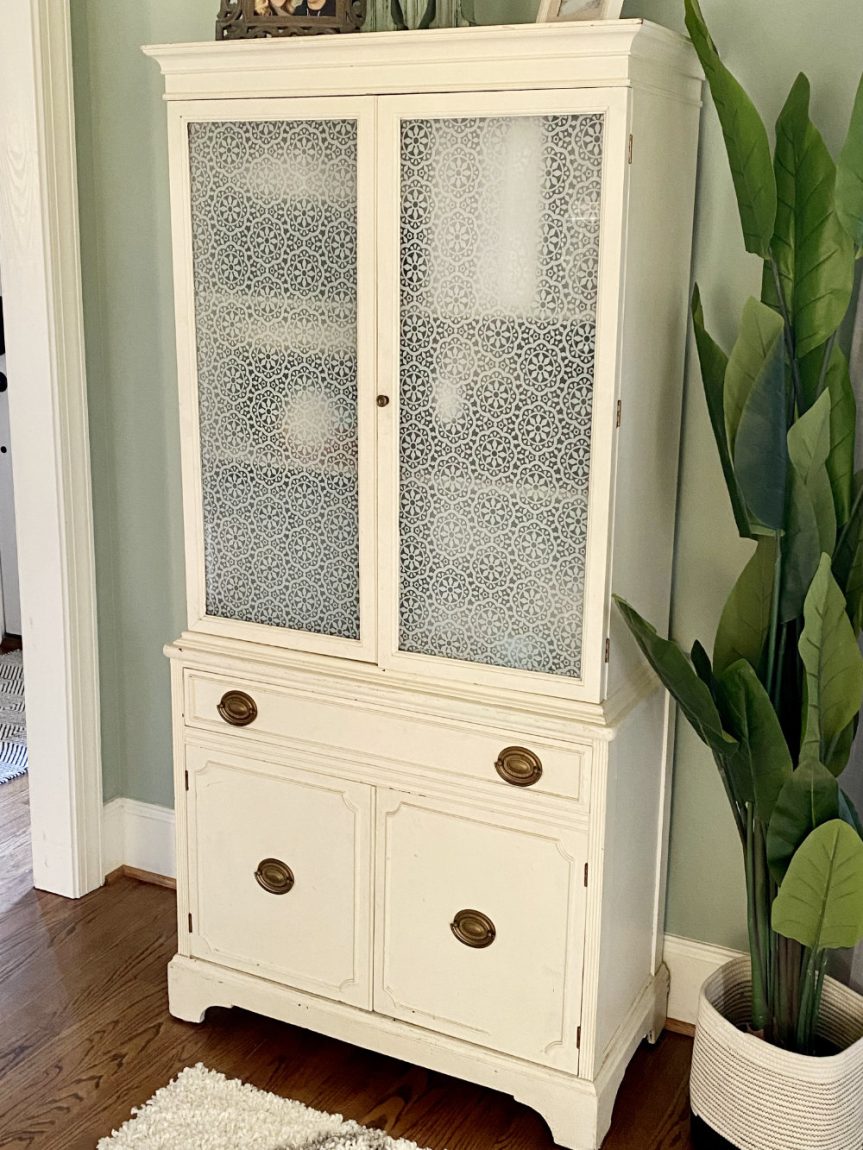
I took to Pinterest to start searching for inspiration. I found two things. One was the exact same buffet that I have that was painted all white! I was excited to see what my buffet could look like if I went in that direction, but then I stumbled upon another source of inspiration. I wanted to share them here.
2. Dissessembling the Hardware, Initial Cleaning, and Sanding Drawers
Disassembling the vintage buffet can be a daunting task. It’s important to take the time to carefully remove any hardware and set it aside. After the hardware is removed, the next step is to give it a thorough cleaning.
A damp cloth and some mild detergent should remove any dirt and grime that has accumulated over the years. After the dirt and grime have been removed, the final step is to sand the drawers. Using medium to fine grit sandpaper, lightly sand in the direction of the wood grain. This will remove any remaining dirt, preparing the surface for painting or staining.
3. Priming the Buffet and the Cabinets with Kilz Primer and a Foam Paint Roller
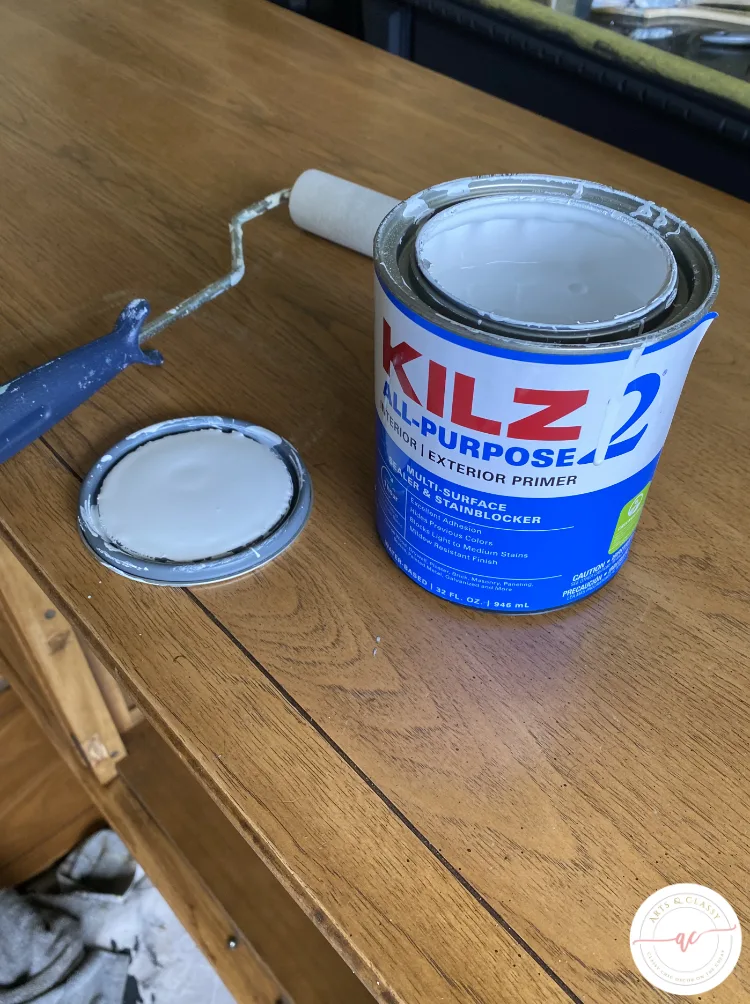
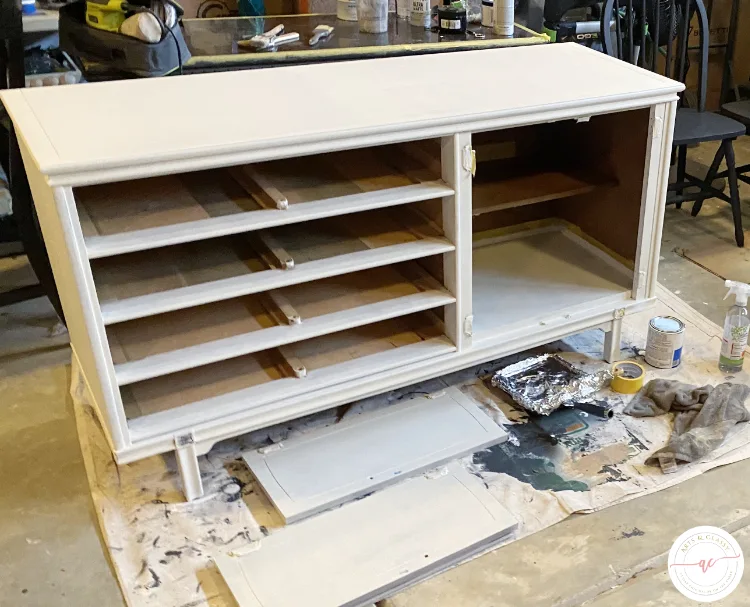
Using Kilz Primer and a foam paint roller, you can make sure that the cabinets and the buffet furniture are priming perfectly. Kilz is a high-hiding water-based primer that bonds to nearly any surface and seals in odors and stains, while the foam paint roller provides a smooth, even finish. I love using this primer when there is a previous wood stain so it helps block the stain from bleeding through.
4. Using Dixie Bell Chalk Paint to Achieve the Perfect Mid-Century Buffet Showpiece
Adding the perfect Mid-Century touch to your buffet is easy with Dixie Bell Chalk Paint. I am still new at using this chalk paint. I really like it! It has great coverage. It is more of a medium-priced chalk paint brand but definitely worth it. This easy-to-use paint requires no sanding or priming, and it goes on smoothly without streaking or clumping.
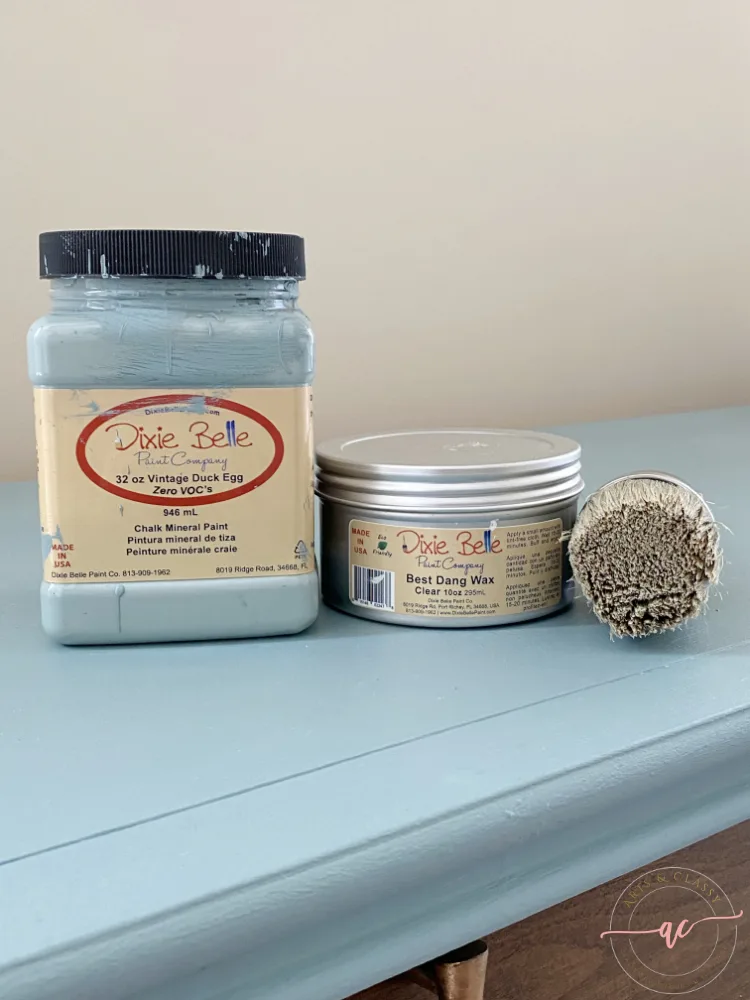
It also gives a beautiful matte finish that can be sealed with any of Dixie Bell’s sealants for extra protection. Plus, with its wide range of colors, you can create a unique look for your buffet that oozes vintage modern style. Once I painted the buffet all over, I wanted to make sure I sealed it to protect the paint job. I used Dixie Bell’s Best Dang Wax to help with this and a round wax brush to make x-shaped motions on the surface. I also used a rag to buff it into the little details and crevices.
5. The Grand Reveal: The Mid-Century Modern Buffet Makeover Before and After
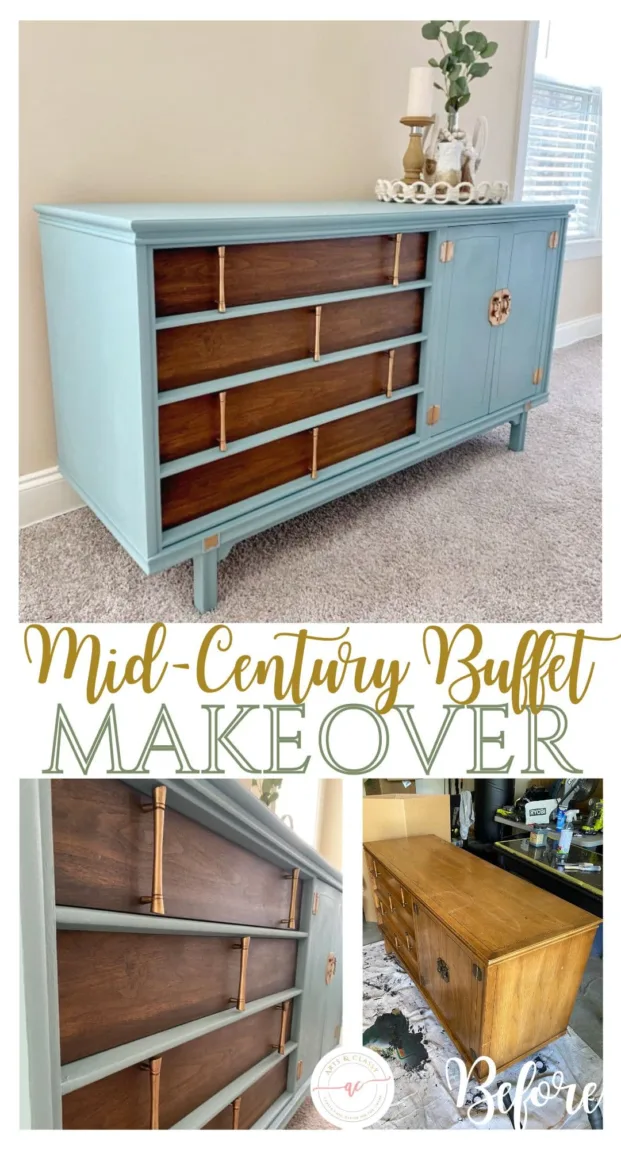
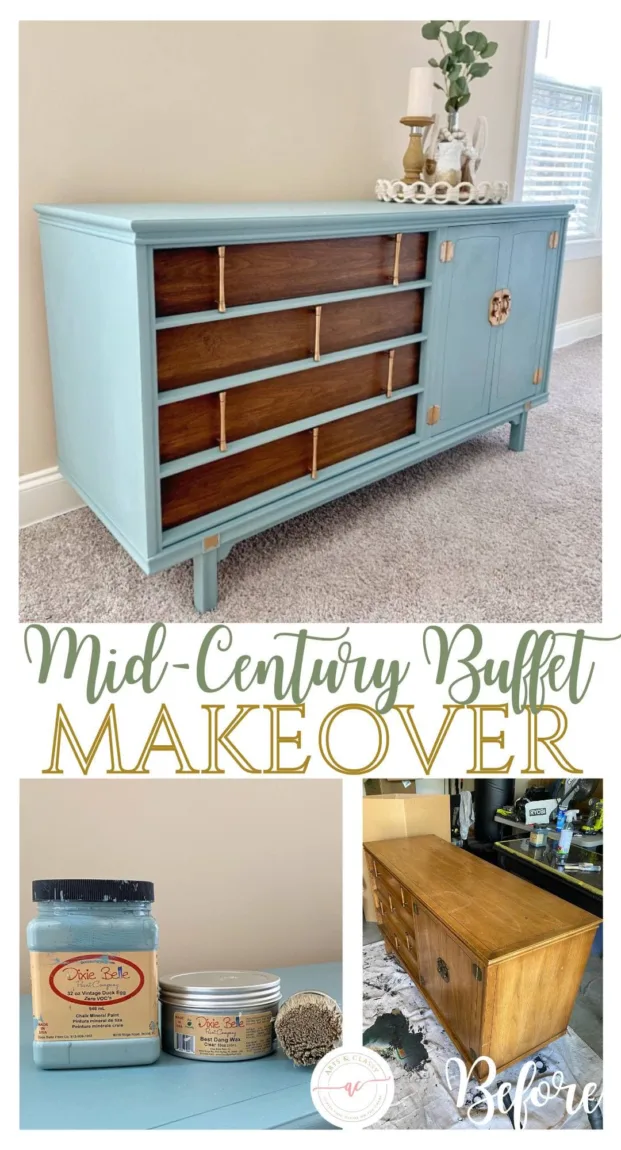
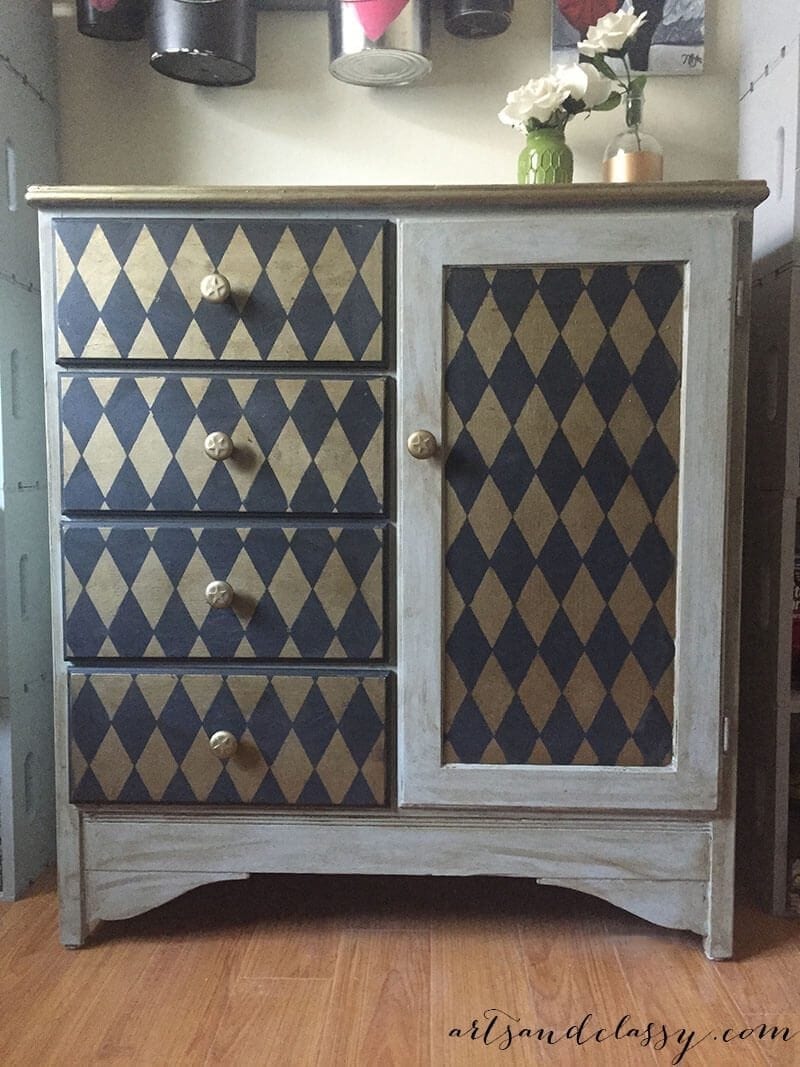
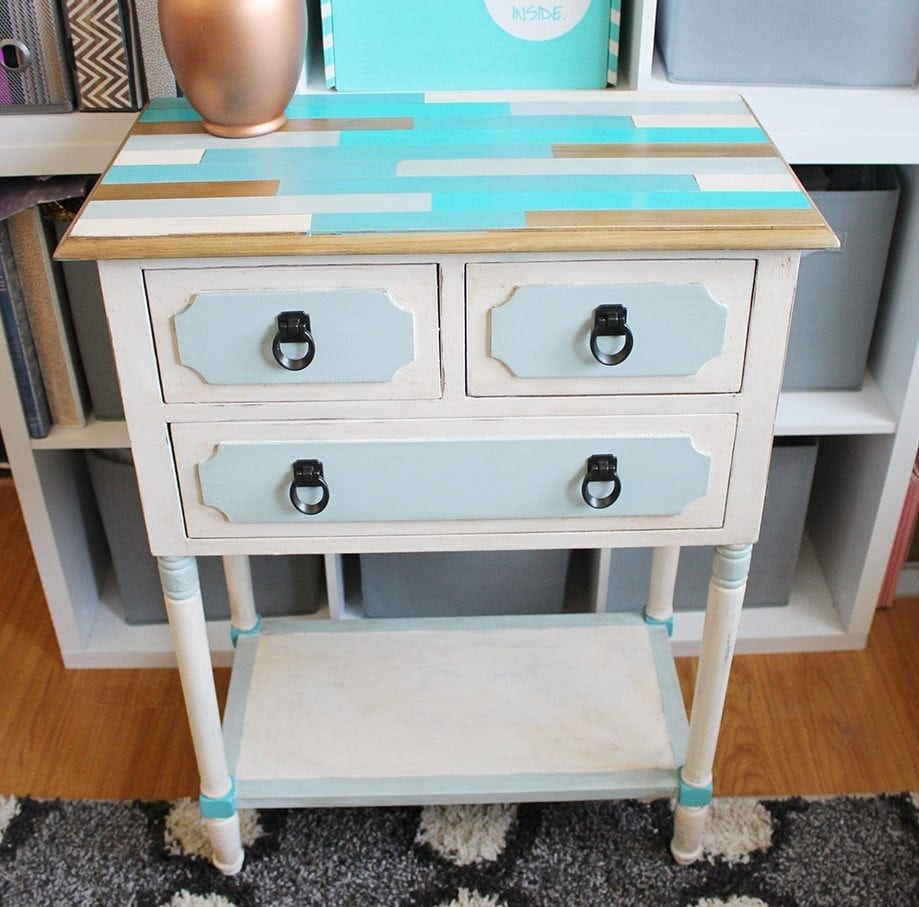
As you can see, the mid-century modern buffet has been transformed from something rather drab to something extraordinary. The original piece was painted a deep grey and had its original wooden knobs, but after a few coats of paint, the Same hardware coated with rub and buff, and a stained wax finish – this piece is nothing short of stunning.

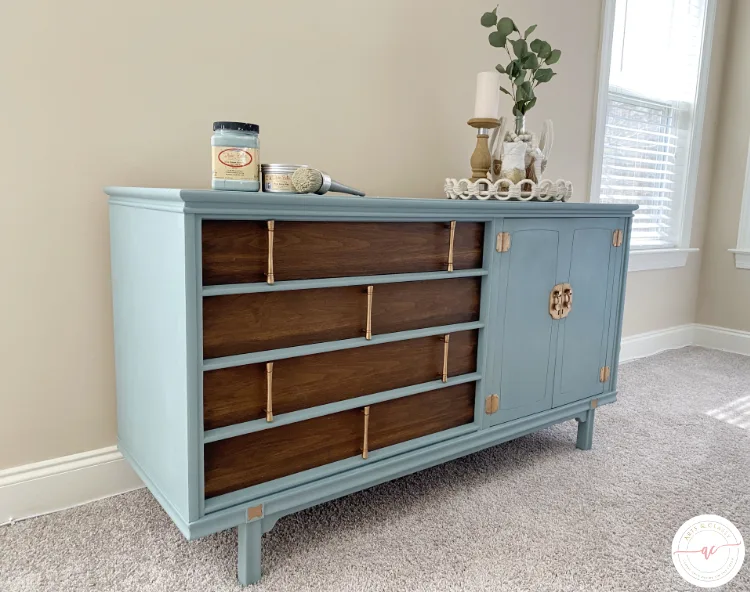
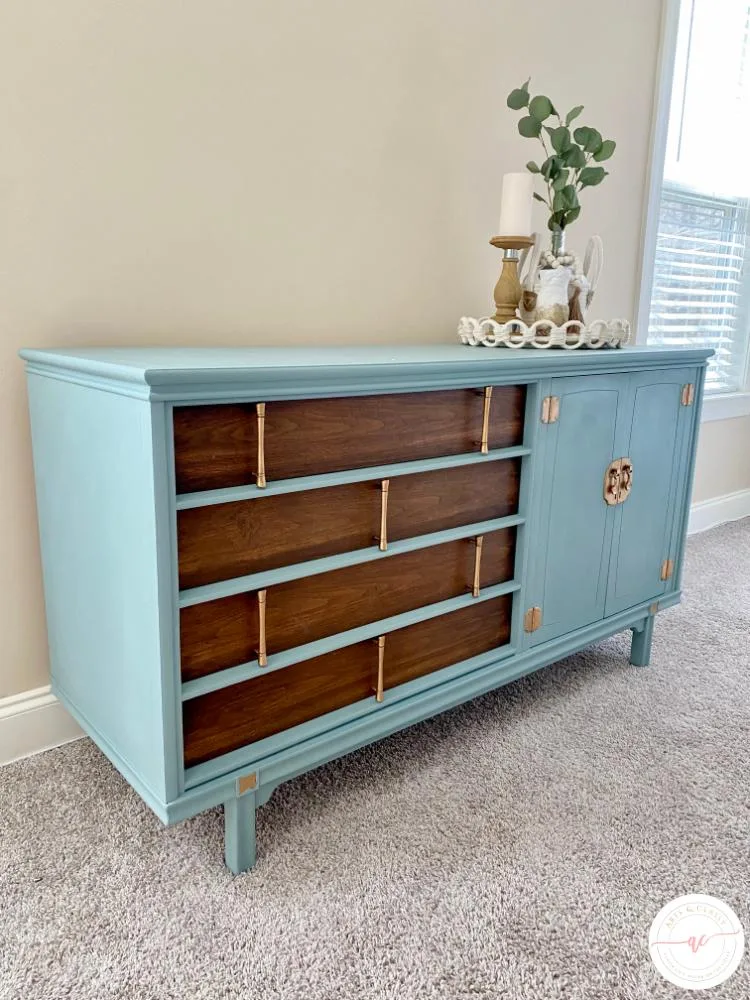
If you’re looking for a way to bring a tired piece of furniture back to life, this mid-century modern buffet makeover is a great way to start. With a few simple steps and some imagination, you can make a stunning statement piece in your home.
It’s easier than you might think to turn a vintage piece of furniture into a stunning vintage work of art.
So go ahead and let your creative spirit fly – you may just be surprised at what you can accomplish. As always, the key to success lies in patience and hard work, so don’t give up until your piece has truly achieved the look you’ve been dreaming of. And, as Maya Angelou said, “You can’t use up creativity. The more you use, the more you have.”
If you liked this project, you might also like:

Don’t forget to pin this project for later or to share it with others! I appreciate it.

GORGEOUS
Thank you so much for taking a moment to share your positive feedback! I appreciate the support!
The buffet looks amazing! nicely done. Last fall I had a dresser project, my it was a lot of sanding.
Thank you so much, Vicki! Yes, some of these vintage pieces require a lot of work and care but the end result is worth it. 🙂 It’s a labor of love.