How To Make Yarn Pumpkins (Fun And Easy!)
Fall is a great time to get crafty and add some seasonal touches to your home. If you’re looking for an easy way to decorate your dining room table, why not try making yarn pumpkins? These smaller pumpkin projects are simple only take a few minutes to complete and are budget-friendly for fall or Halloween decor.
This post contains some affiliate links. I may earn a small commission if you make a purchase through one of these links. See more information in my disclosure policy.
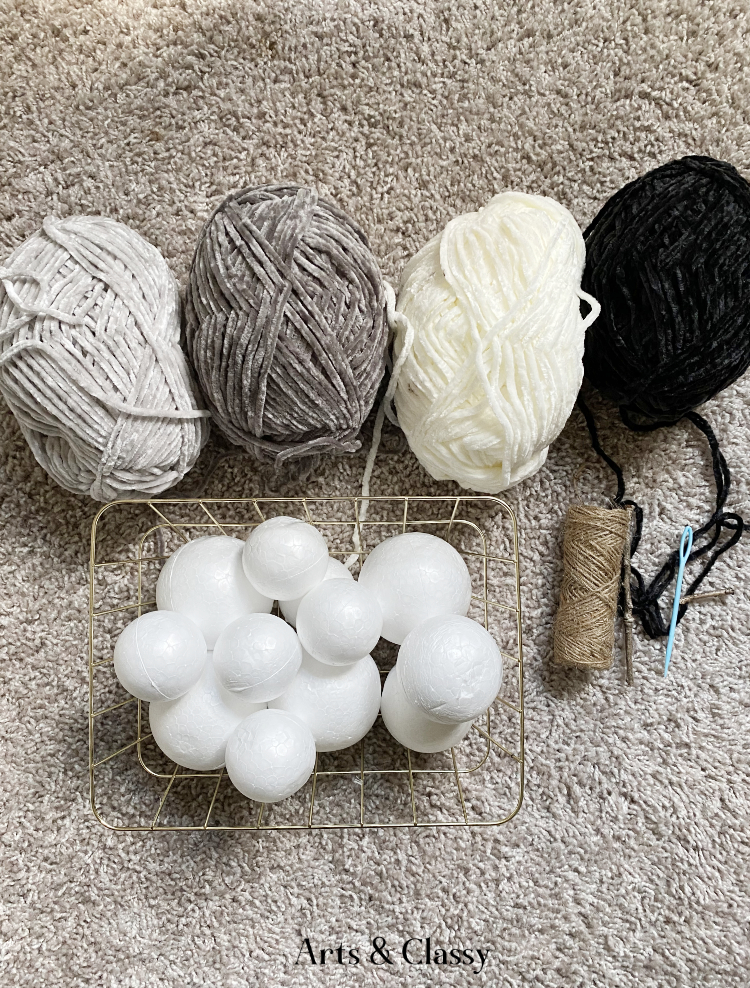
To make DIY yarn pumpkins crafts, you’ll need:
- Yarn in various colors – I chose pieces of yarn that were chenille yarn in 4 neutral colors.
- Styrofoam balls in various sizes
- A plastic yarn needle
- Scissors
- Sticks or twigs – I got mine from my backyard and they work great as a pumpkin stem.
- A dough bowl
- Small wood vase filler
- Hot glue gun (optional)
SHOP DIY SUPPLIES
1. Start by prepping yarn around your fingers and threading it through a plastic needle.
Making yarn pumpkins is a fun and easy project that is perfect for Fall. It’s finally that time of year again! Fall is upon us, and that means it’s time to start thinking about Halloween decorations. One of my personal favorites is yarn pumpkins.
They’re easy to make, and they add a touch of whimsy to any space.
Plus, they’re perfect for using up any leftover yarn you might have to lie around. So, if you’re feeling crafty, here’s how to make your own yarn pumpkins.
Start by prepping yarn around your fingers and threading it through a plastic needle. Then, simply stitch the yarn in and out of the pumpkin until it’s completely covered. When you’re finished, knot the yarn at the top and trim away any excess.
That’s it! You’ve now created your very own yarn pumpkin.
Display it proudly on your mantle or use it as part of a festive centerpiece. Either way, enjoy your handiwork and happy crafting!
2. Create a hole in the middle of the ball that goes from one end to another.
Simply create a hole in the middle of the ball that goes from one end to another. Thread your needle with yarn and feed it through the hole in the center of the styrofoam ball.
Tie a knot to secure the yarn to the styrofoam pumpkin ball.
Then, start wrapping the yarn around the ball, working your way from the center out. When you reach the end, cut the yarn and tuck it under one of the wraps.
You can use different colors of yarn to create a unique look or even add a ribbon or googly eyes for extra personality. These yarn pumpkins will surely be a hit with family and friends alike.
So get crafting and enjoy the Fall season!
3. Continue to thread the yarn through the center hole of the ball.
Start by prepping yarn around your fingers and threading it through a plastic needle. Then, simply stitch the yarn in and out of the pumpkin until it’s completely covered.
When you’re finished, knot the yarn at the top and trim away any excess.
That’s it! You’ve now created your very own yarn pumpkin. Display it proudly on your mantle or use it as part of a festive beautiful centerpiece. Either way, enjoy your handiwork and happy crafting!
4. Add the stem to each pumpkin.
These yarn pumpkins are so cute and easy to make! I love how they turned out, and they were really simple to put together. The next step is to add the stem to each pumpkin.
I took a twig and broke it into smaller pieces to create the stem for my pumpkins.
I didn’t need glue for this step but you can add it if you think it’s needed. Once the stems are in place, your yarn pumpkins are complete! These would make such cute decorations for your home, or they would be perfect as gifts for friends and family.
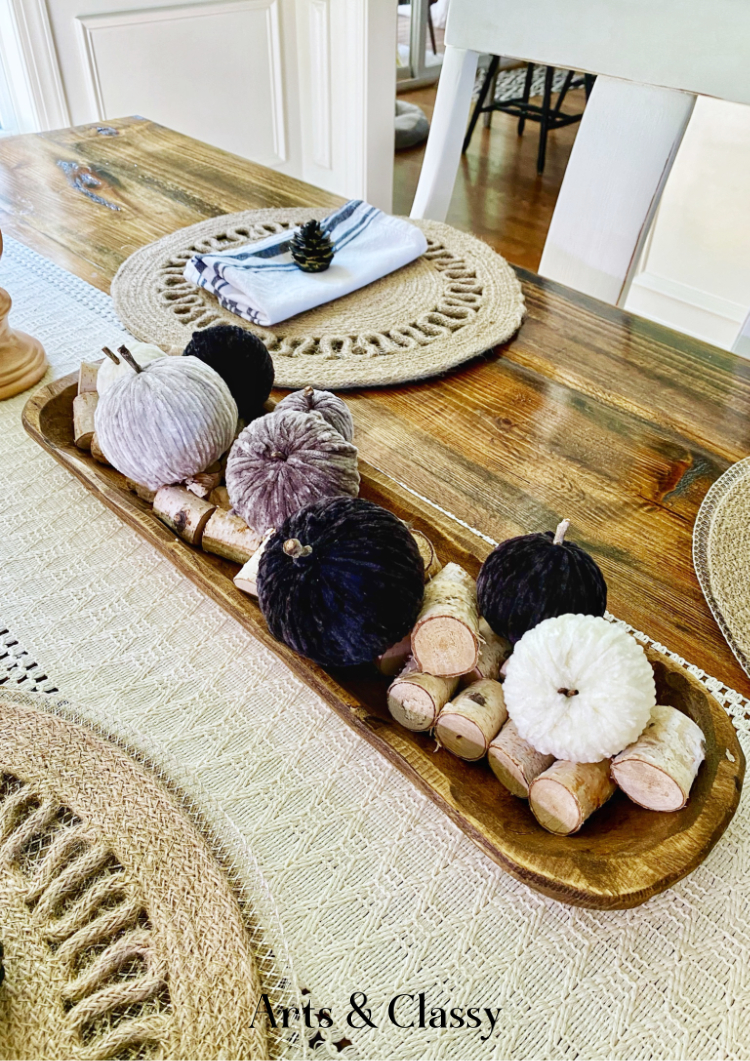
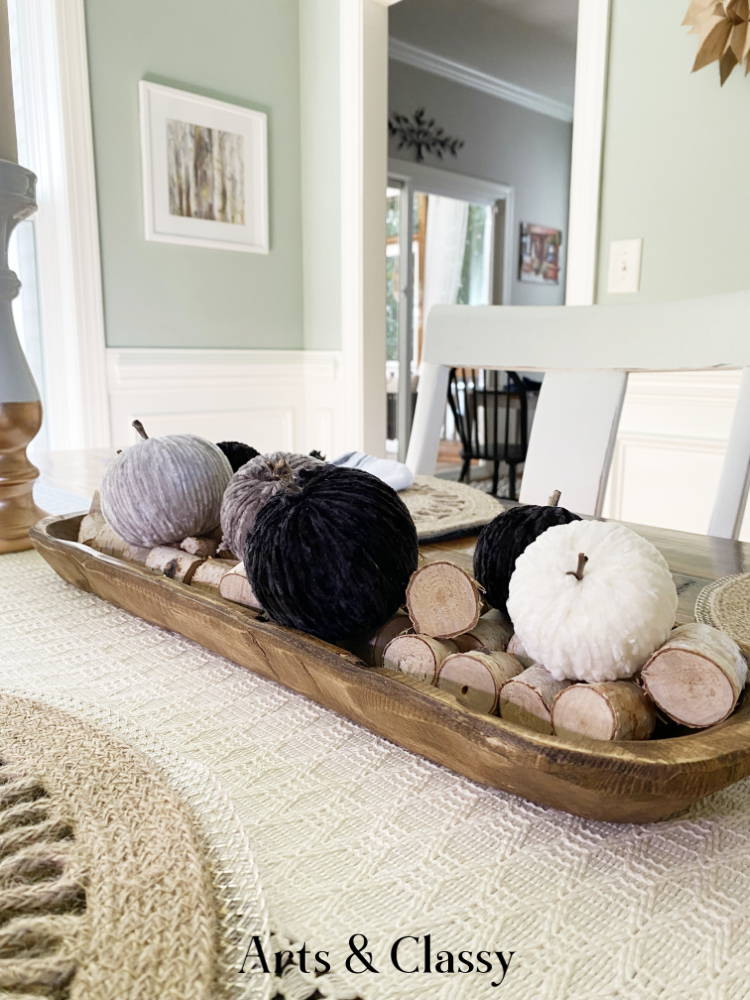
Your finished yarn pumpkins will add some festive charm to your dining room table this fall!
So what are you waiting for? I hope you have the inspiration and tutorial you need to get started on your own fall craft yarn pumpkin project!
Follow me on Instagram, Pinterest, Facebook, and TikTok for more ideas. I can’t wait to see what you create – share your photos with me using #artsandclassy.
Have fun making these adorable yarn pumpkins and happy crafting!
If you enjoyed this cute pumpkins blog post, you might also enjoy…
Yes, you can! Experiment with different balloon shapes to create unique pumpkins. For smaller pumpkins, use smaller balloons. To make larger pumpkins, use larger balloons or multiple layers of yarn.
Choose a yarn that is thick and durable, such as chunky or worsted-weight yarn. Avoid using yarn that is too thin, as it may be difficult to work with.
Incorporate natural elements like twigs, leaves, or pine cones. You can also use burlap or twine to wrap around the pumpkin. For a more weathered look, distress the yarn by pulling on it or using a pumice stone.
This project was also featured on The House on Silverado! Make sure to check it out and other talented bloggers connect there each Sunday!


