Upcycling Idea: Goodwill-Find Bathroom Storage Shelf Makeover!
I love any upcycling idea! Can I just tell you how much? I love to see people’s creative juices flowing to make a functional and original piece of decor or furniture.
It is actually becoming an obsession of mine. I thought I would share with you a fun and easy way to upcycle a drab bathroom storage shelf and re-purpose it for whatever your living situation needs.
For example, I used to live on the second level of an apartment building, but my front door is on the 1st level at the bottom of a flight of stairs (very townhouse-like). There really wasn’t room for an entry table to store items like my purse, keys, etc.
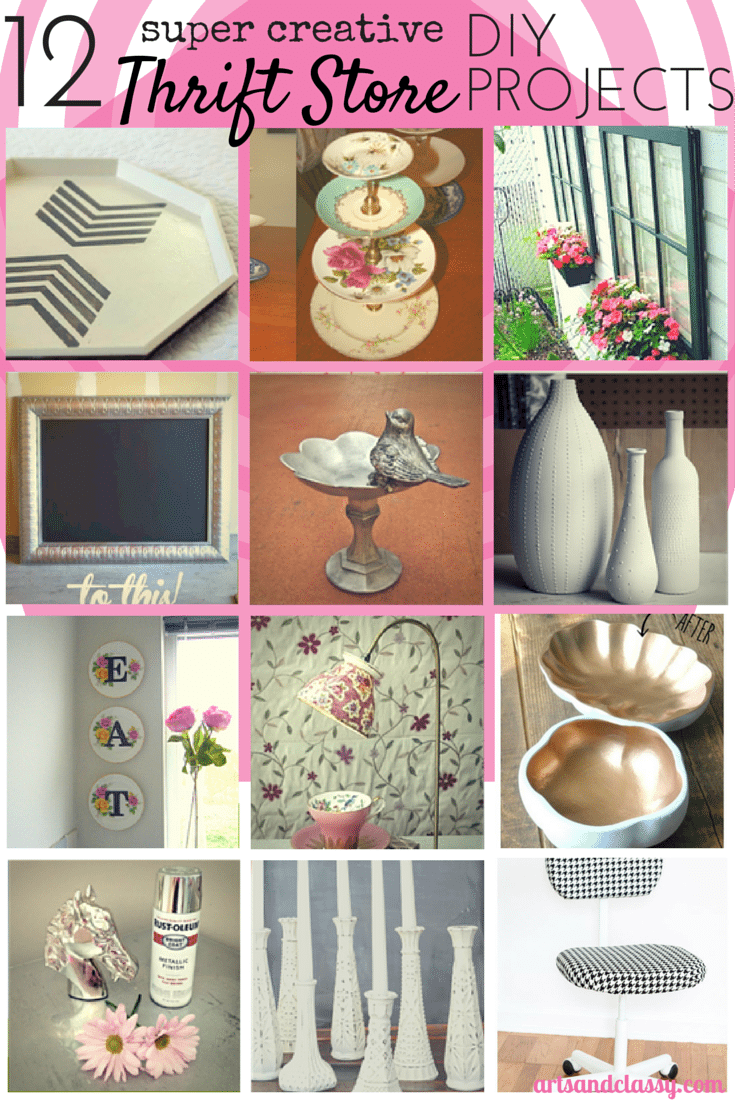
Related: Instead of trashing old furniture or home decor, get creative and find a way to reuse it. Get inspired with these 10 upcycling home decor projects that are stylish and affordable.
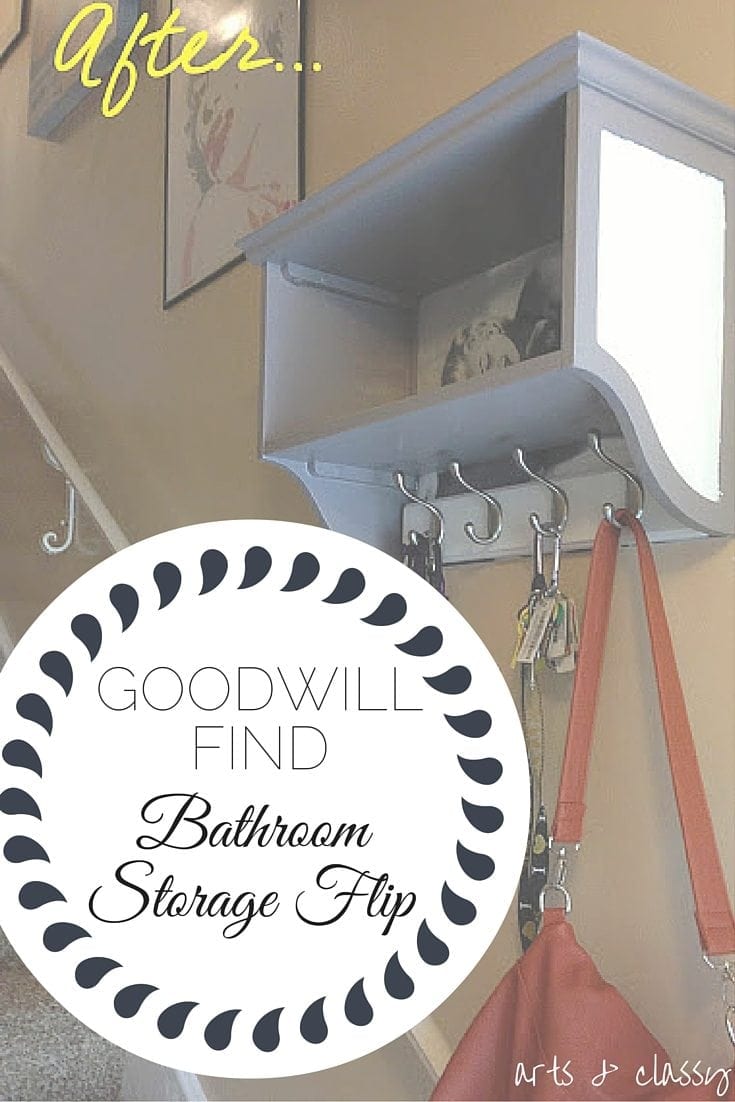
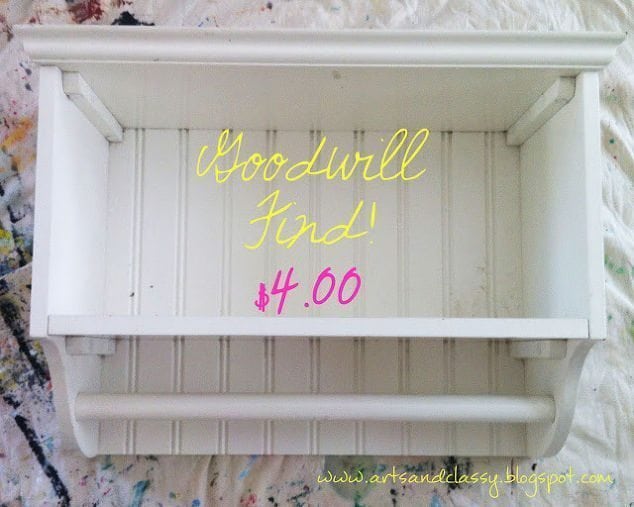
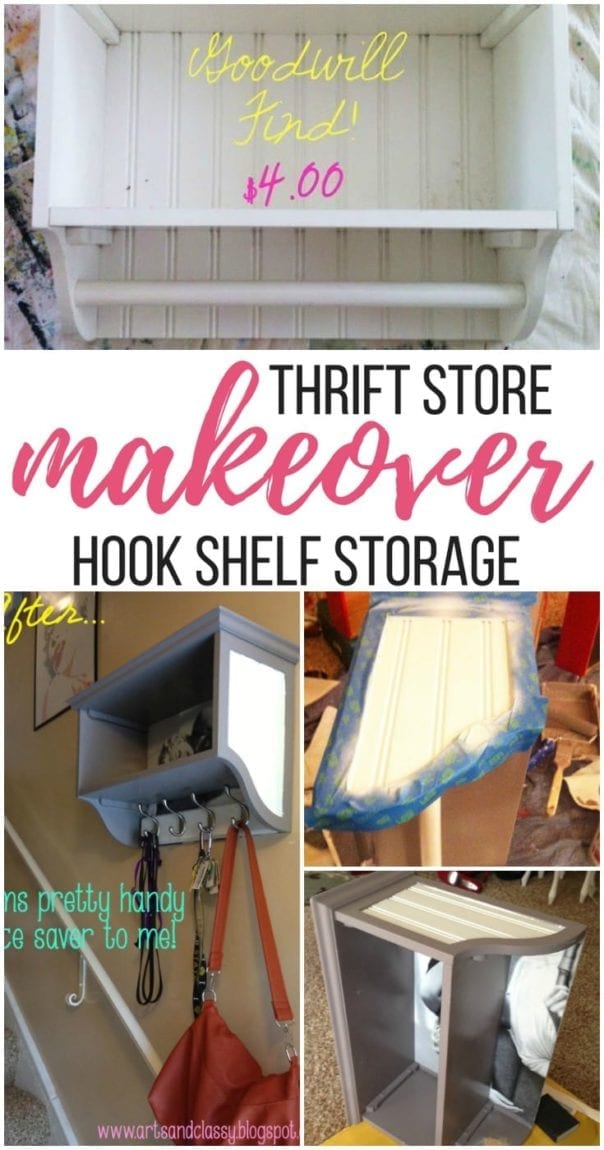
I had to problem-solve. I went to my local Goodwill and found this wall-mounted storage shelf usually used in bathrooms, but I decided to get creative!
Before
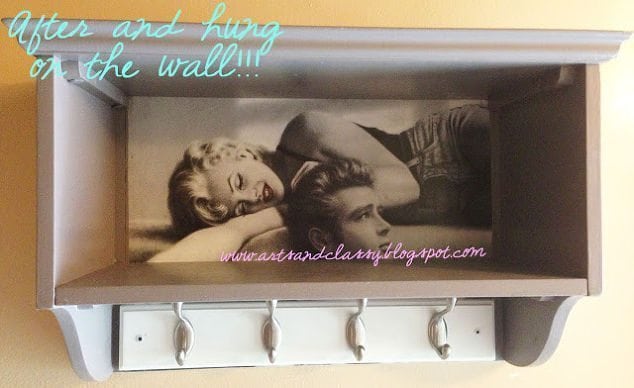
After
Materials you will need:
- Paint roller kit
- Kilz Water Based Primer/Sealer
- Sandpaper 3M Wetordry
- Makita Power Drill
- Spray Adhesive
- Hacksaw
- ScotchBlue Painter’s Tape
- Wood Filler Putty
- Latex Acrylic Semi-Gloss Black – I used the brand Olympic “Pewter Mug”
- High Performance Enamel Gloss White Spray Paint
- 13 Piece Black Oxide Split Point Twist Drill Bit Case
- Angled Paintbrush
Step 1 – Disassembly
- Disassemble the entire piece – I used a Makita Power Drill to take out all the screws keeping this together.

Step 2 – Sanding
- Sand down the areas you want to paint
- Tape the areas you want to mask off

Step 3 – Adding a Poster
I decided to re-purpose an old Marilyn Monroe Poster I had to tie in the shelf with the rest of my “Marilyn-themed” stairwell entryway.
- I used Spray Adhesive to mount the poster to the backing of the shelf.
- Then mounted the backing back onto the shelf.
Step 4 – Spray Painting
- After painting the main part of this shelf, I went back and masked off the sides in order to spray paint the decorative inlay.


Step 5 – Remove the Dowel
- I removed the dowel in the shelf with a hacksaw.
- Filled the holes that the dowel sat in with wood putty.


Step 6 – Prime and Paint
- Prime the area to cover the wood putty
- Let that dry
- Paint 2 Coats of Acrylic Paint


Step 7 – Add Coat Rack
- I purchased a Wall Mount Coat Rack and installed it into the wall with the shelf using my Makita Power Drill
- And TA DAHHHHH!!! All done!

Let me know if you have any questions in the comments below.

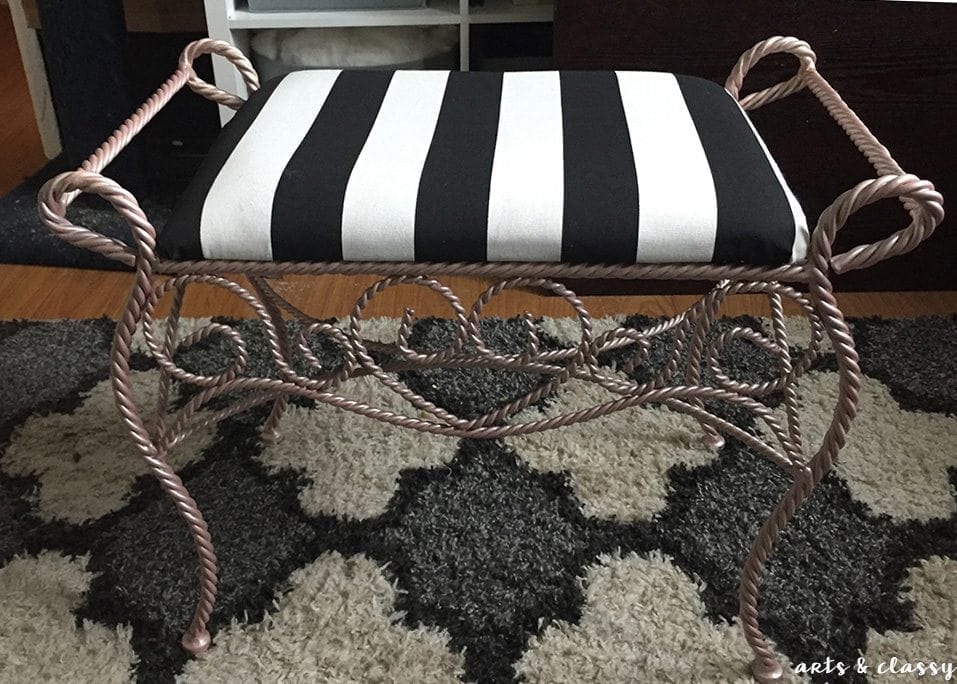
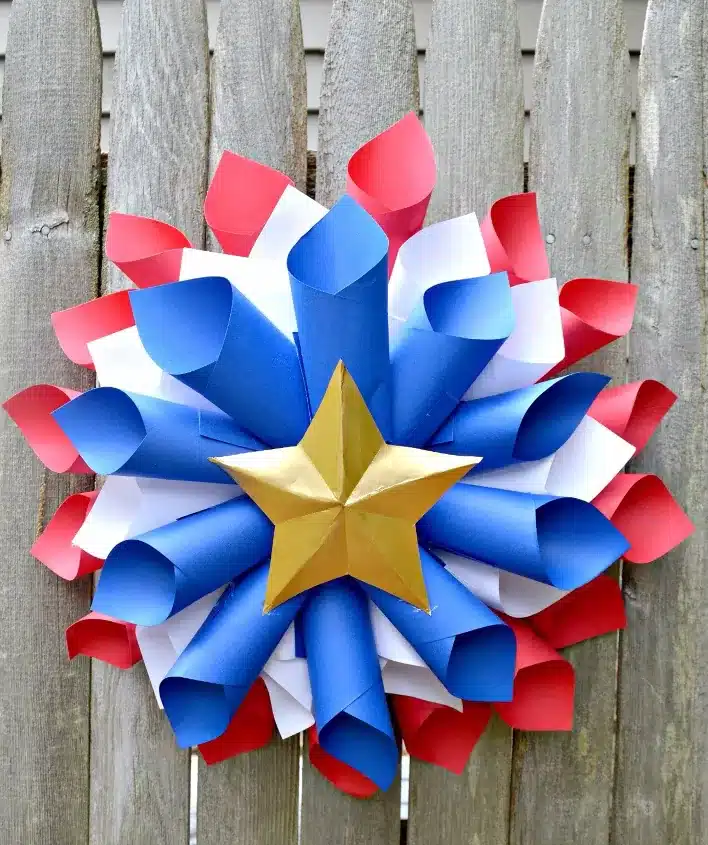
Here are a few more Thrift Store makeovers I think you’ll love:
