Mid Century Modern Table Makeover with Modern Masters
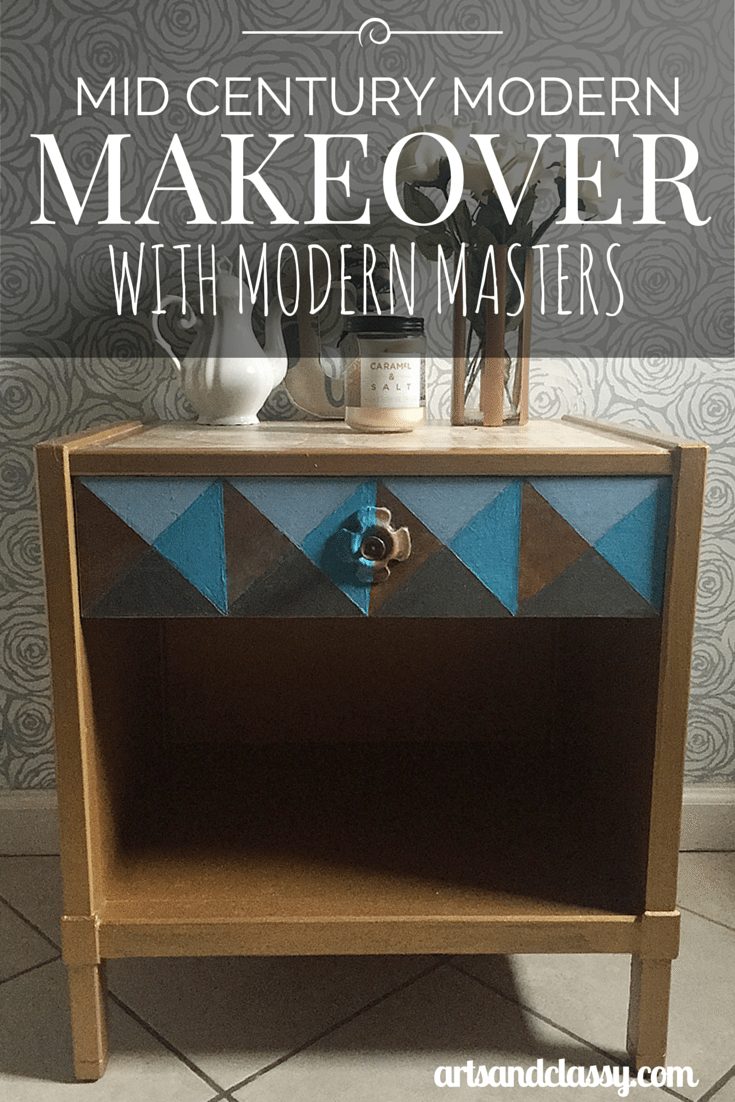
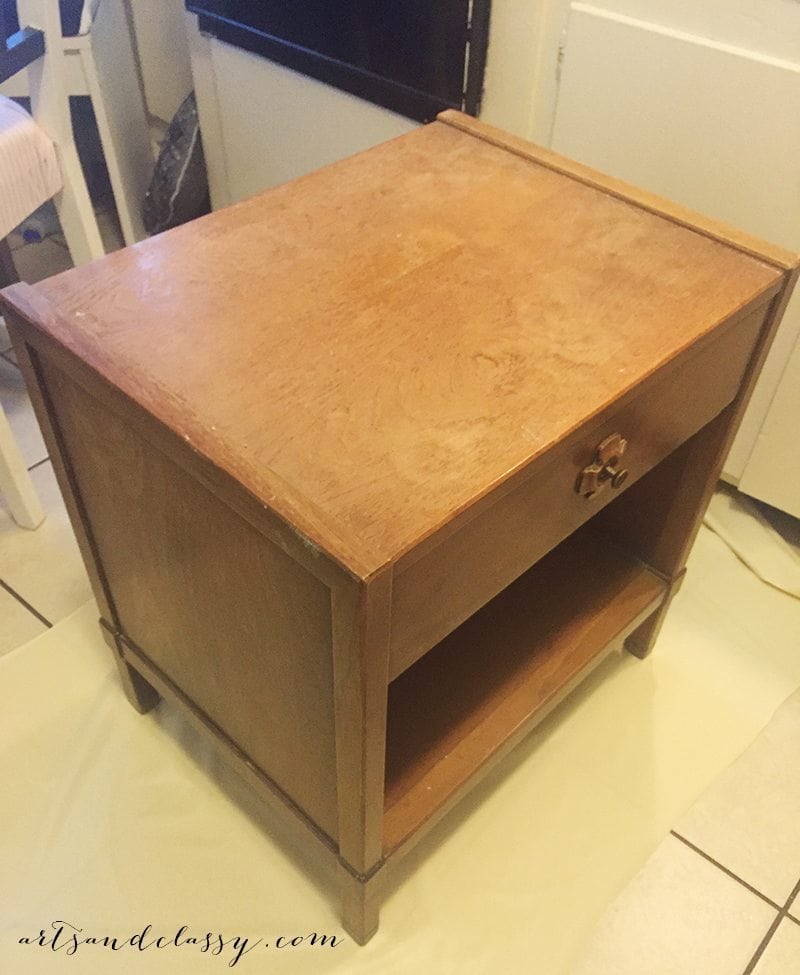
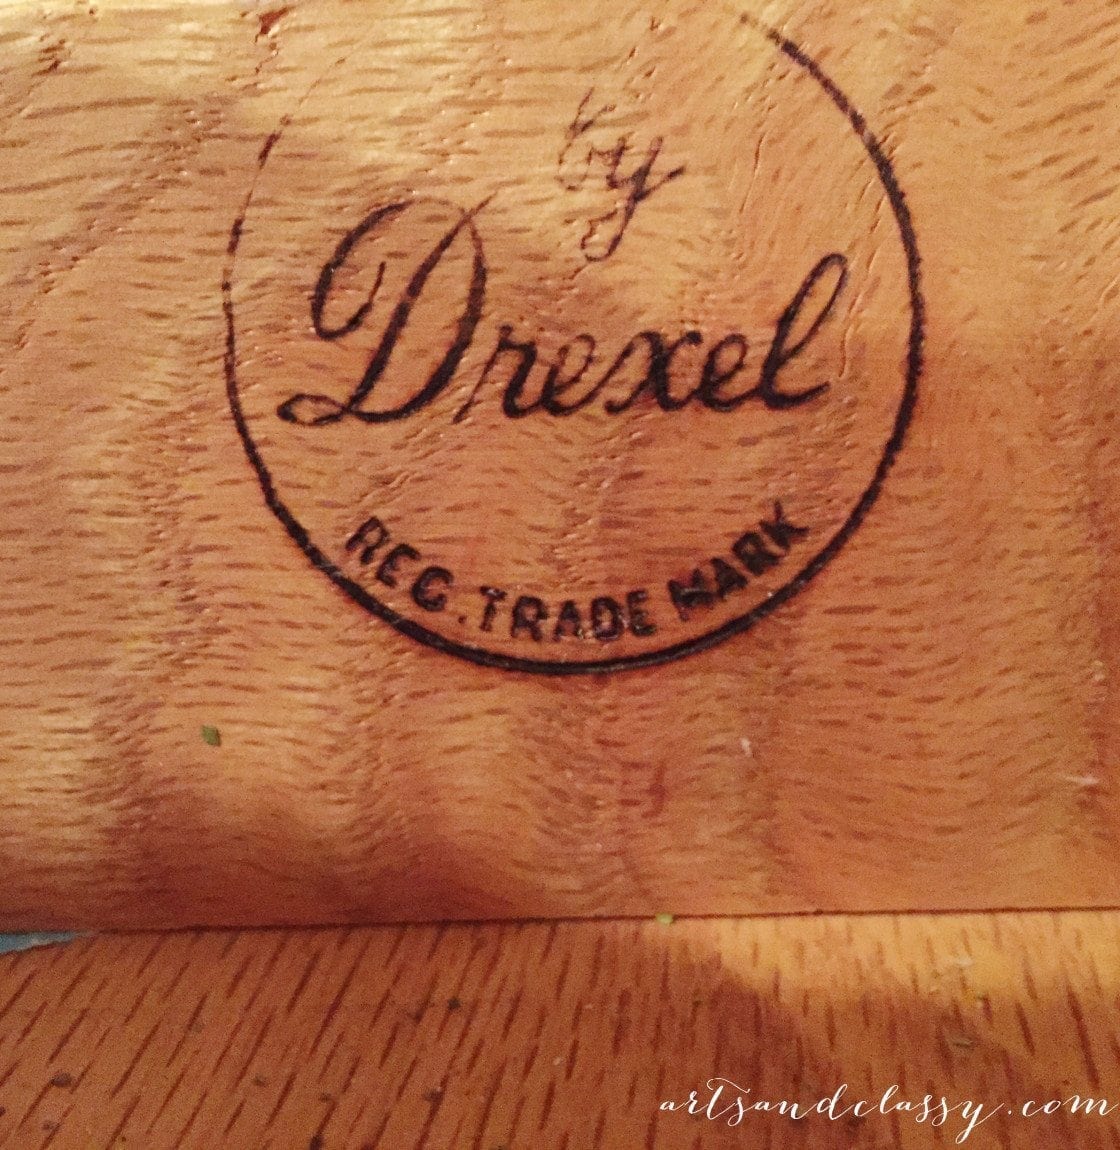
That always makes my day when I can find something that is free, can fit in my car, and that is in decent shape. Well, this Drexel side table was on Craigslist one day…FOR FREE! Can you believe it? I had to snag that table up before anyone else did and was able to pick it up the same day on my way home from work.
Then it sat in my office being unused for about a year. I could not for the life of me figure out what I wanted to do with this piece. I know many would have told me to sand it down, stain, and refinish since it is a mid century modern piece. This style usually goes for a larger price tag with an original looking wood finish. But to me, this is boring.
I had a feeling that this table had another destiny. I have these moments in my day to day life when creative ideas strike. Only then will I know exactly what I want to do with my project!
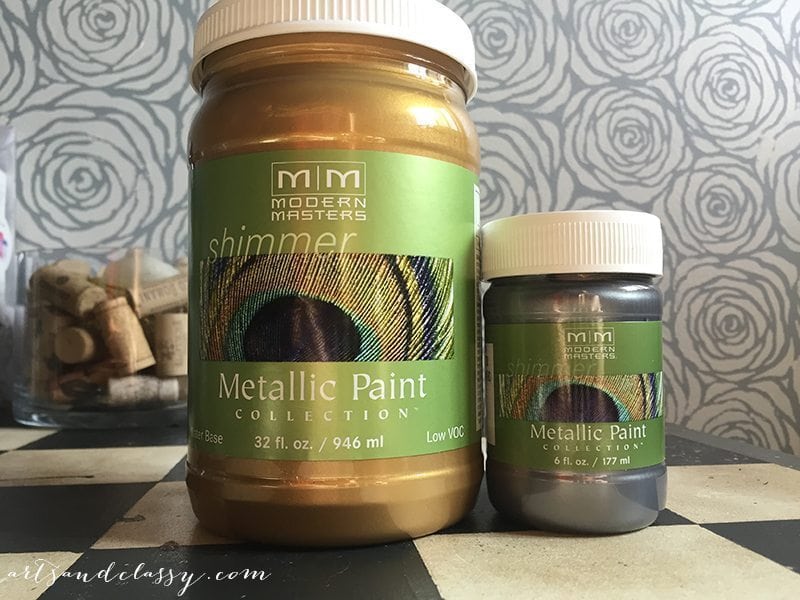
The reason this table is finally being made over is that I was inspired by some amazing product. Modern Masters Metallic paint was sent my direction for me to try out. I was instantly reminded of my Drexel table upon receiving this amazing paint. I received gold and pewter metallic colors.
I decided to get crafty with this table. I also had some inspiration from Pinterest that inspired the result.
Supplies I used for this makeover:
- Modern Masters metallic paint – Olympic Gold & Pewter
- 2 colorful craft acrylic paint
- Paint brushes – large and small
- Frog Tape
- Sand Paper – multiple grits
- Xacto Knife and blades
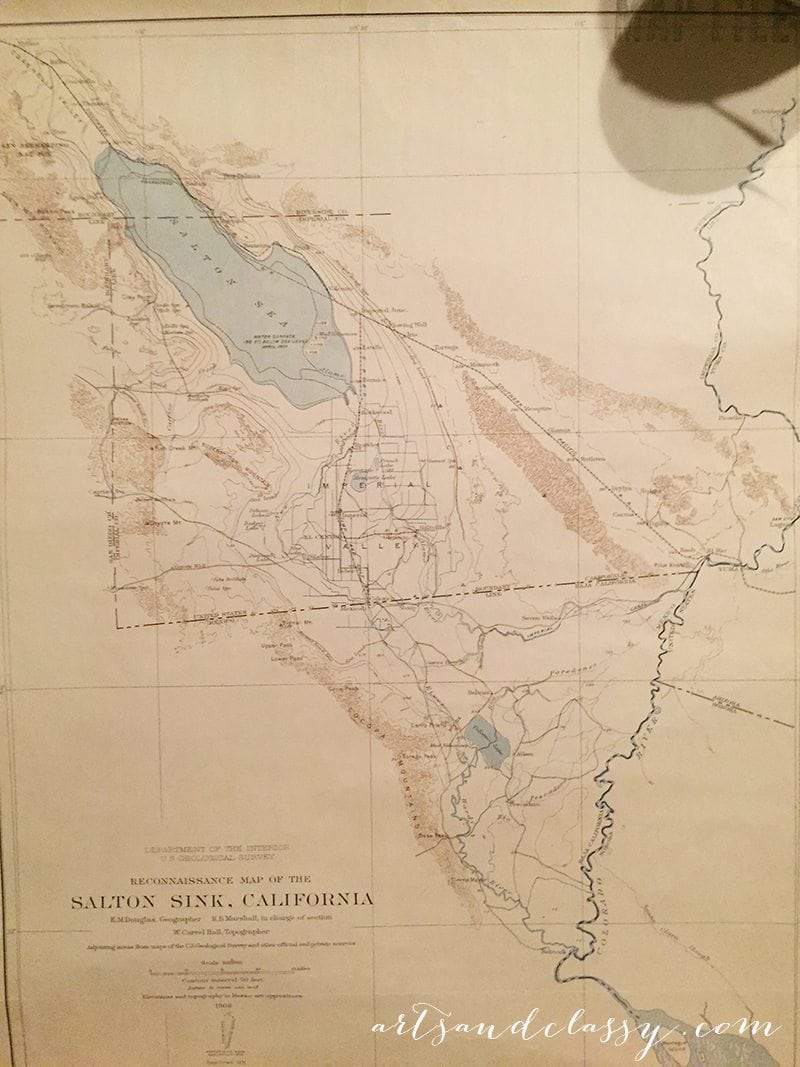
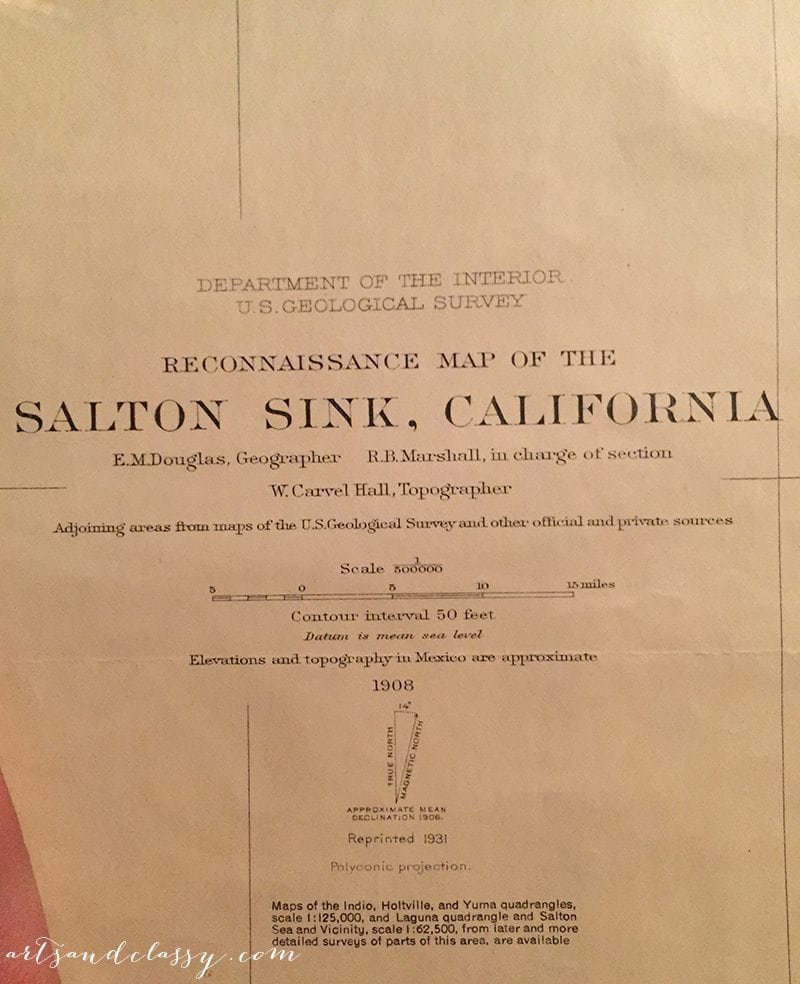
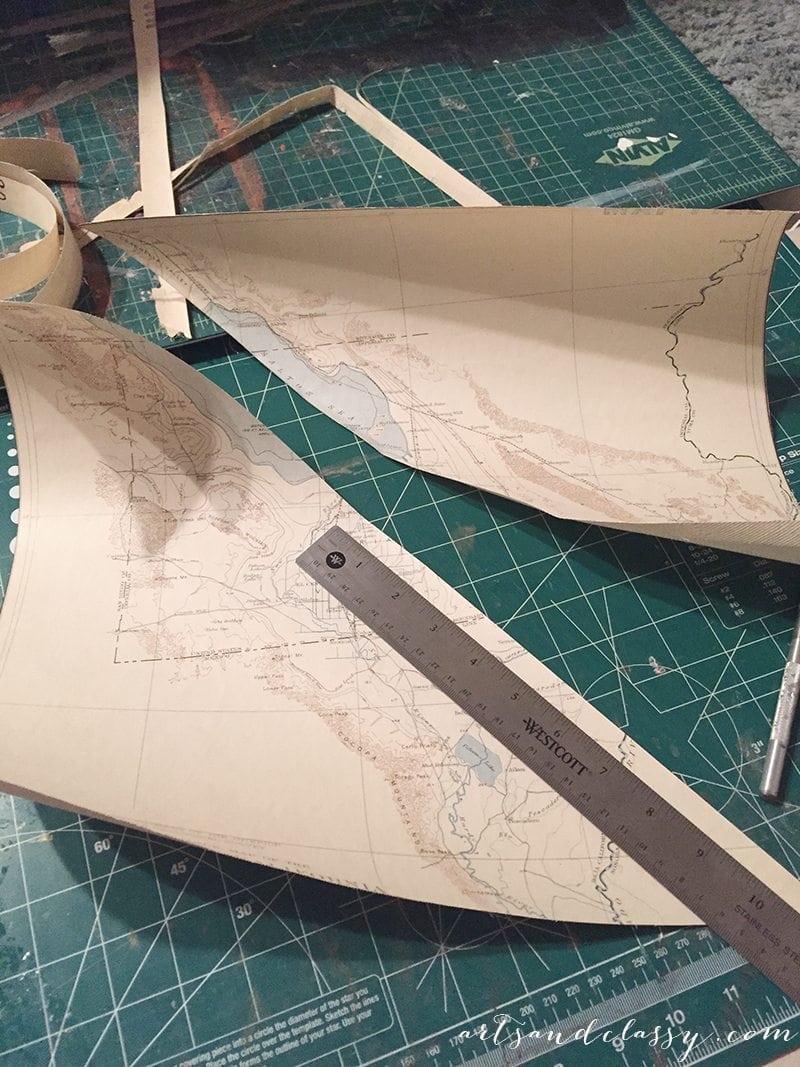
- Vintage Maps – I stepdad got these for me at a library sale. They are from the 1930’s-1940’s.
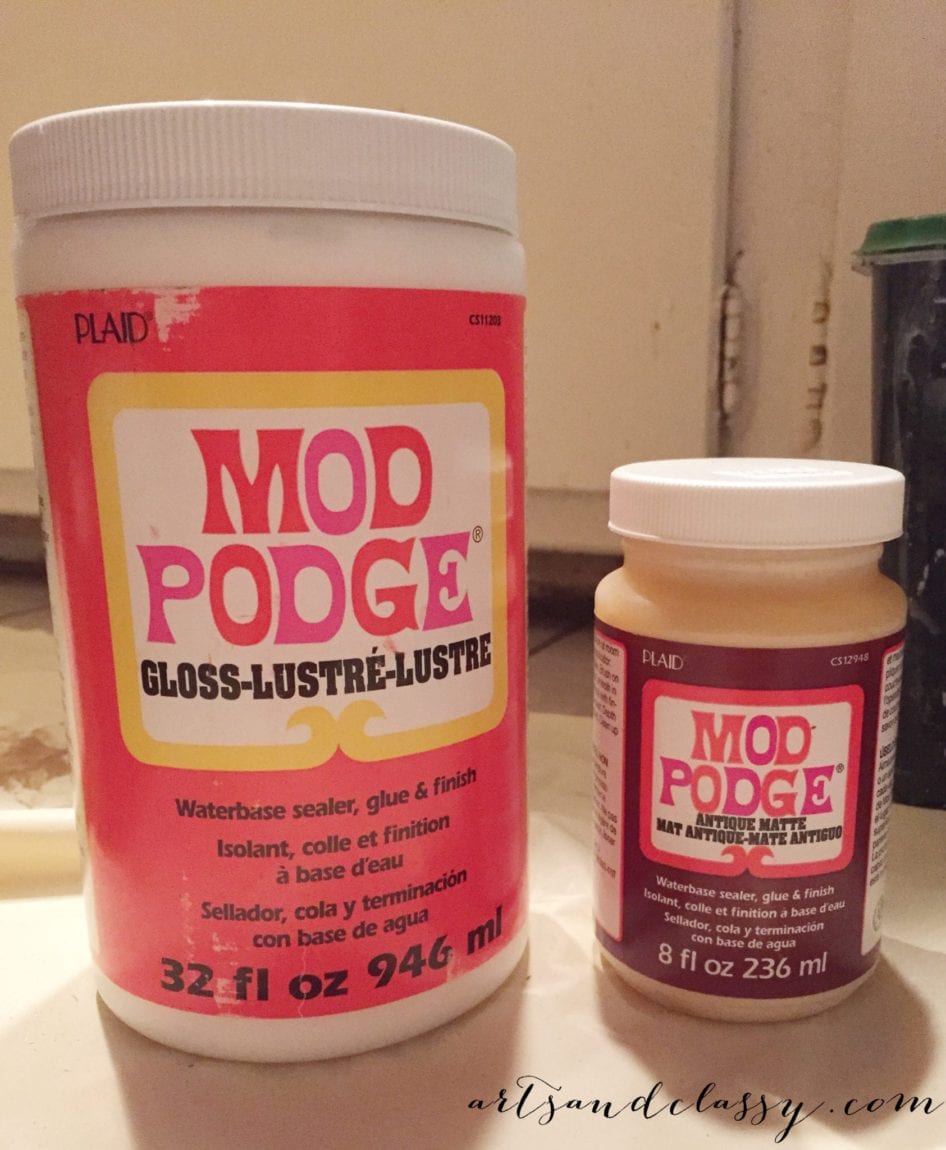
- Mod Podge – Glossy finish
- Paper Plates
- Tacky Glue
- White Chalk
- Tape Measure
- Straight Edge Metal Ruler
STEP 1
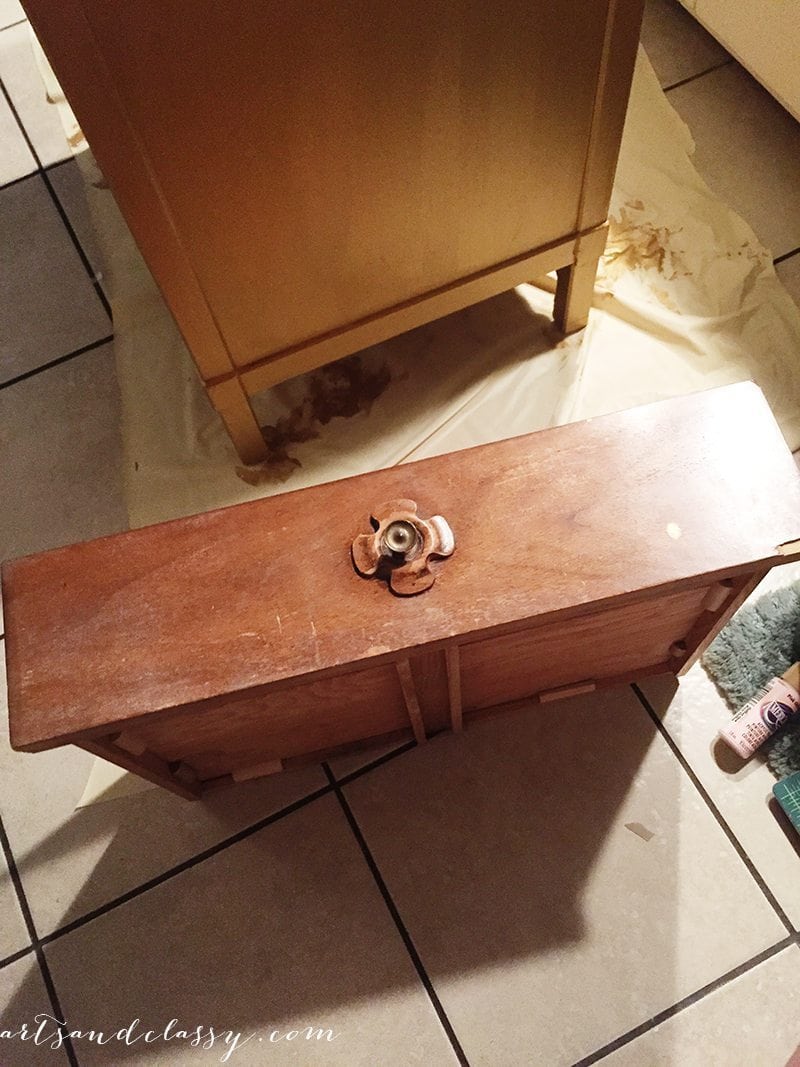
I sanded the entire table and removed the hardware.
STEP 2
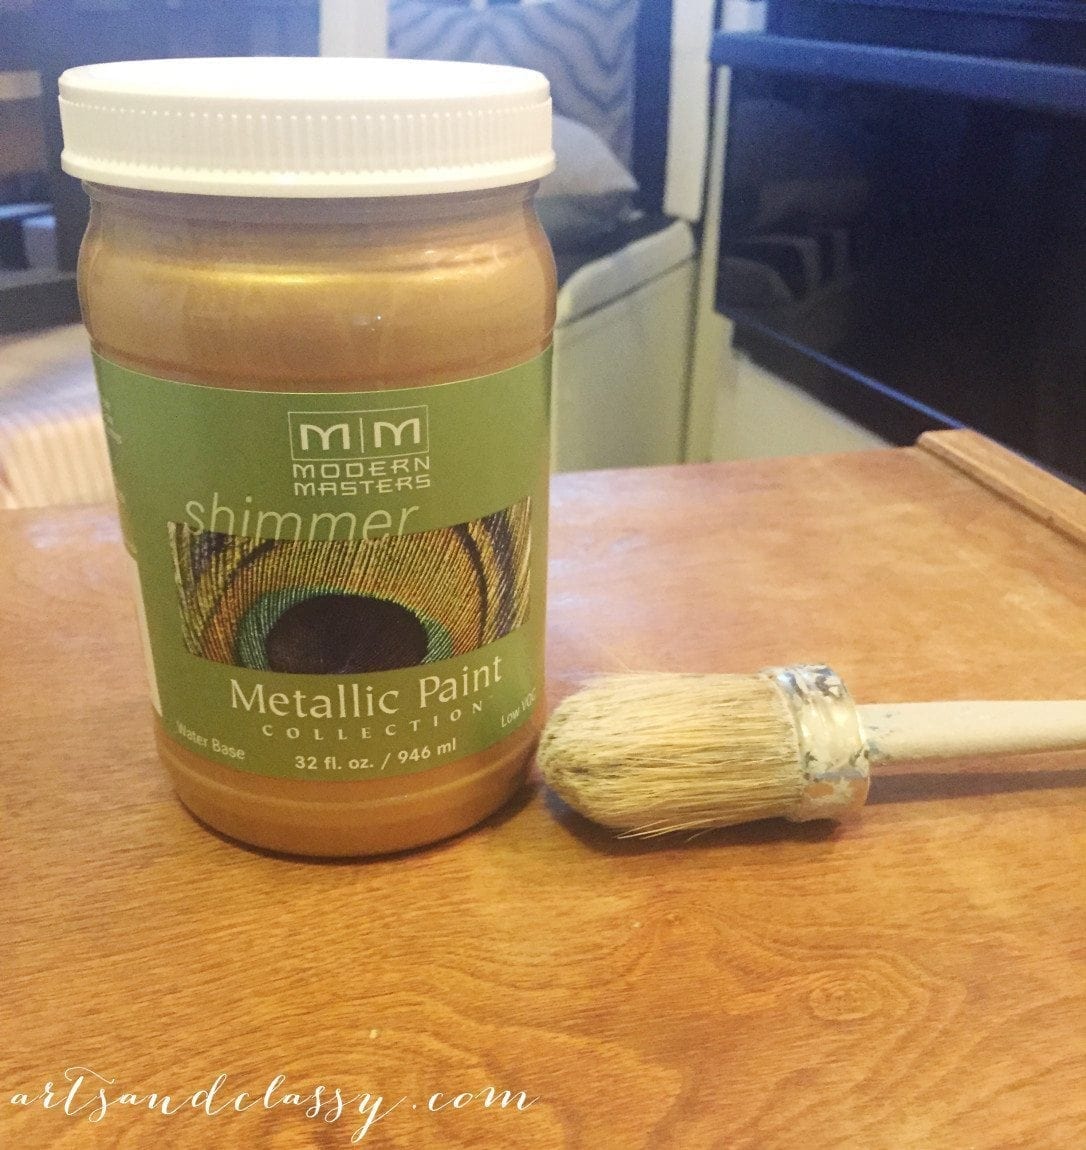
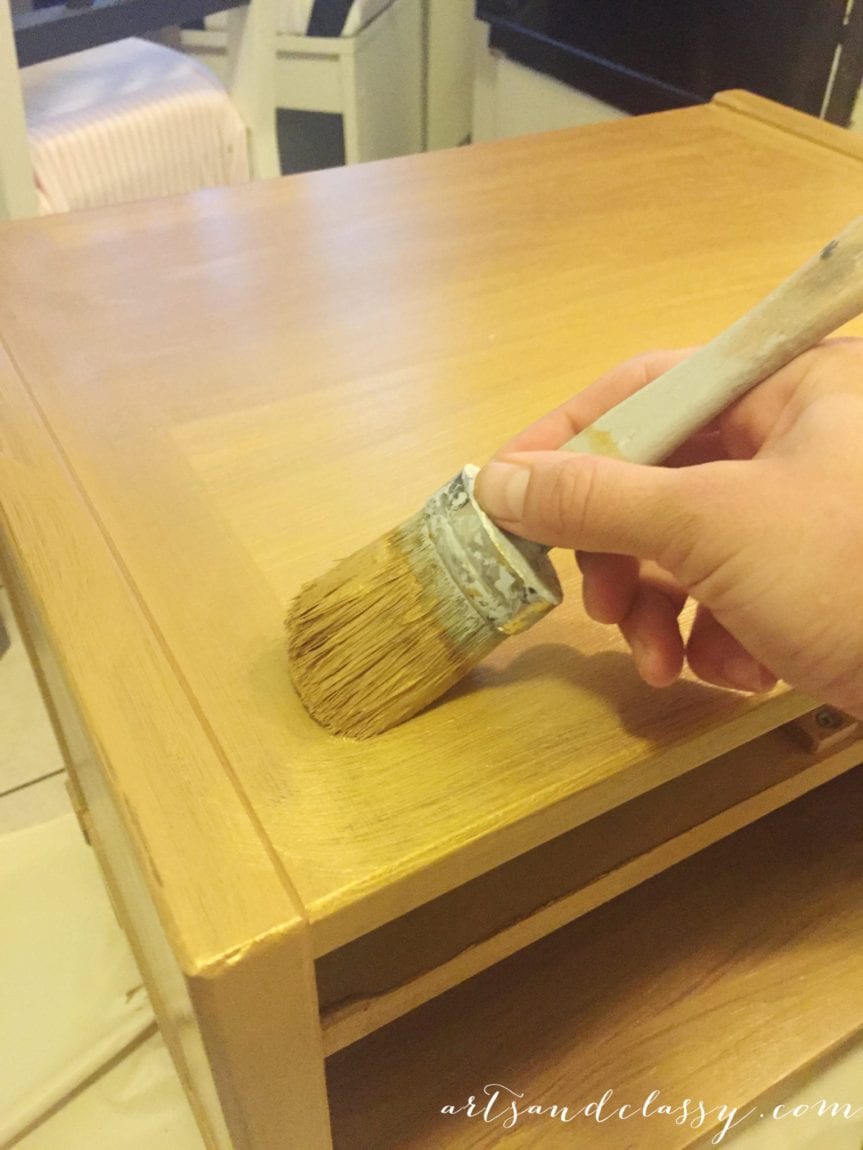
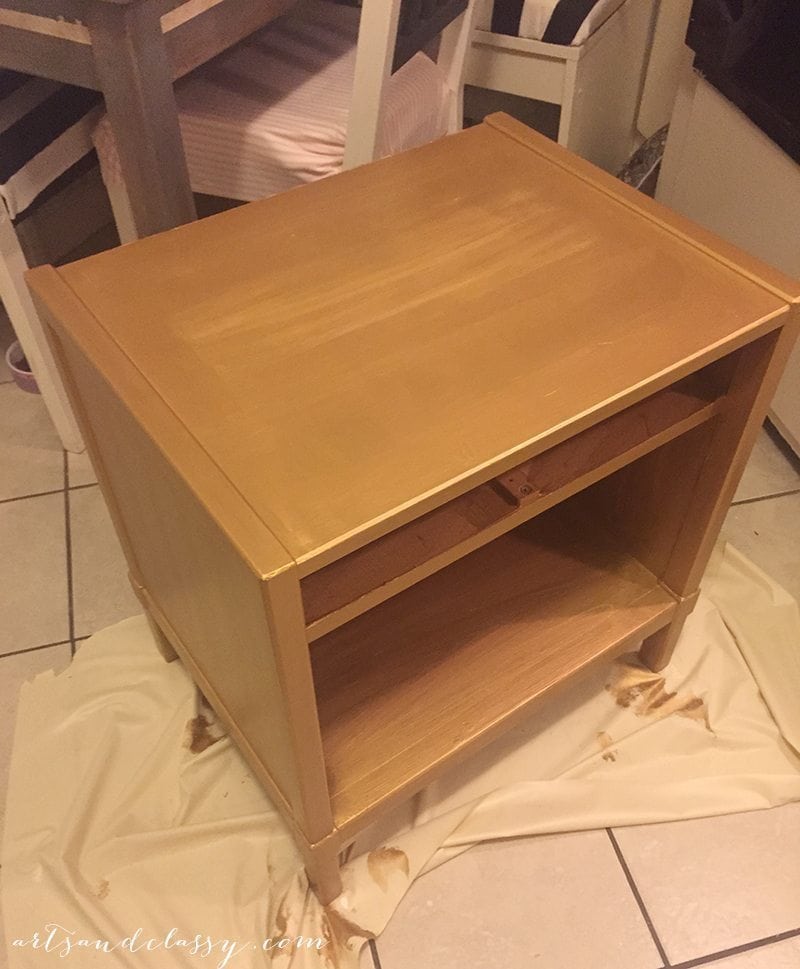
I painted the whole table (except for the drawer) with the metallic gold Modern Masters paint. I did a few coats with a chalk paint brush. I really enjoyed working with this paint. It is not too thick or watery. It has a great texture and the layers make the color more vibrant. I love the metallic finish it has.
STEP 3
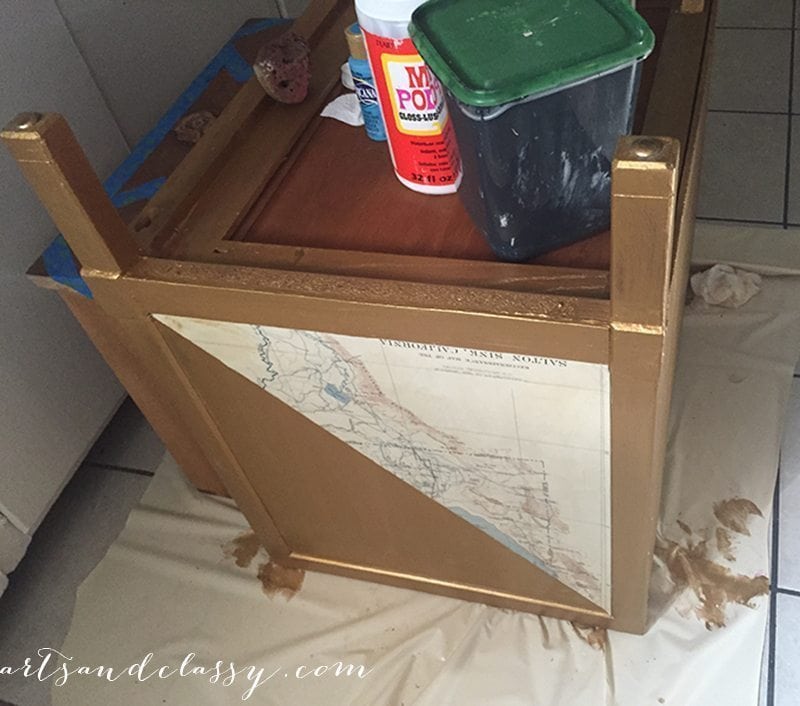
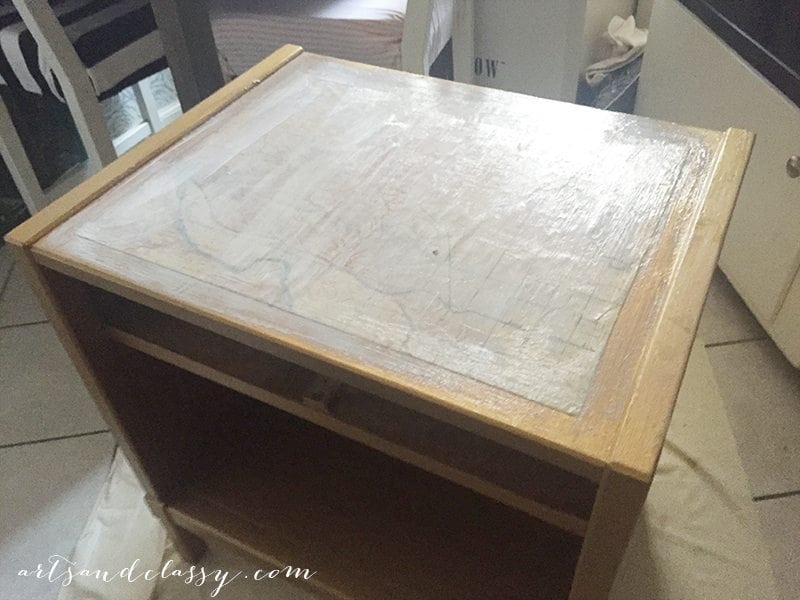
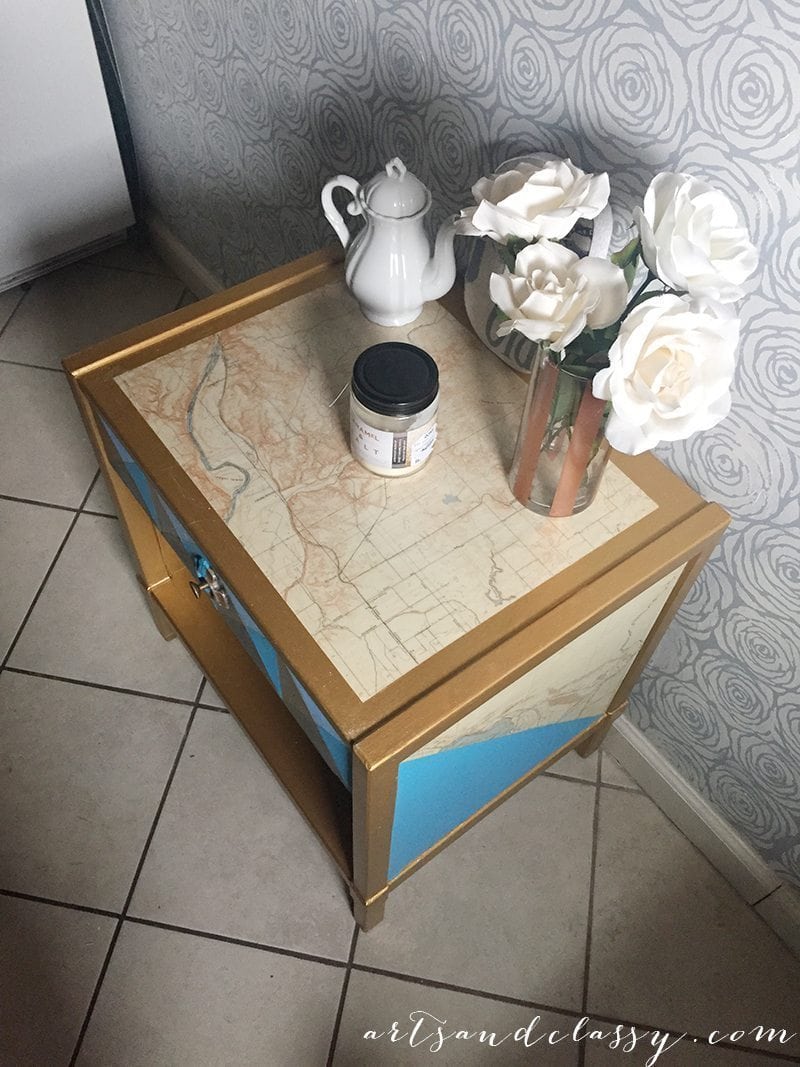
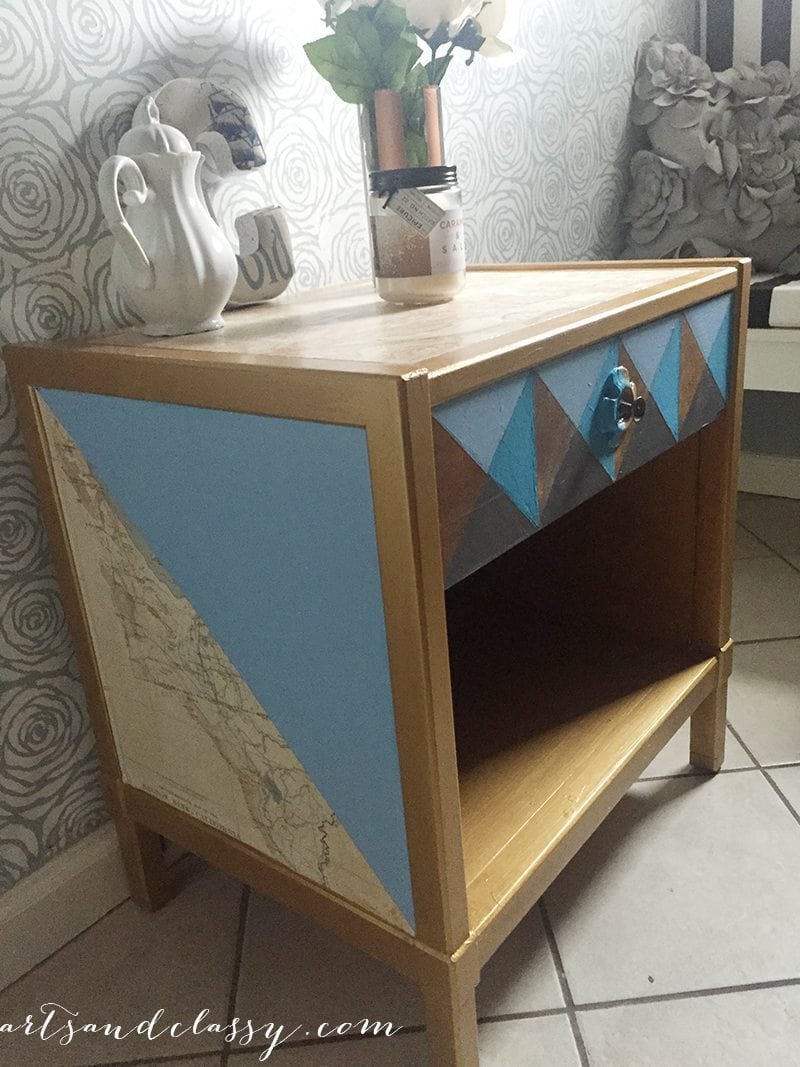
After letting the gold paint dry, I took my vintage maps and cut them into triangle shapes for the inlays on either side and top of the table. I used my tacky glue and mod podge to adhere the maps and seal them as part of the table. I let it dry overnight.
STEP 4
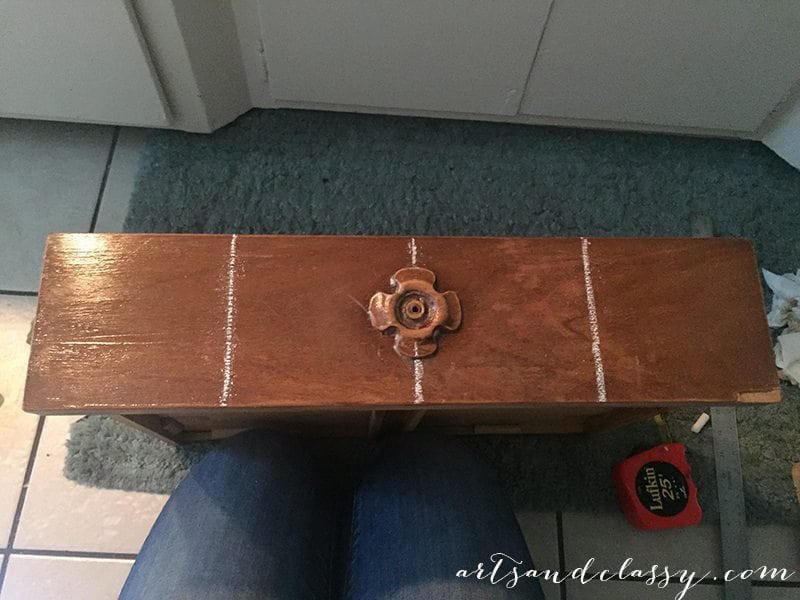
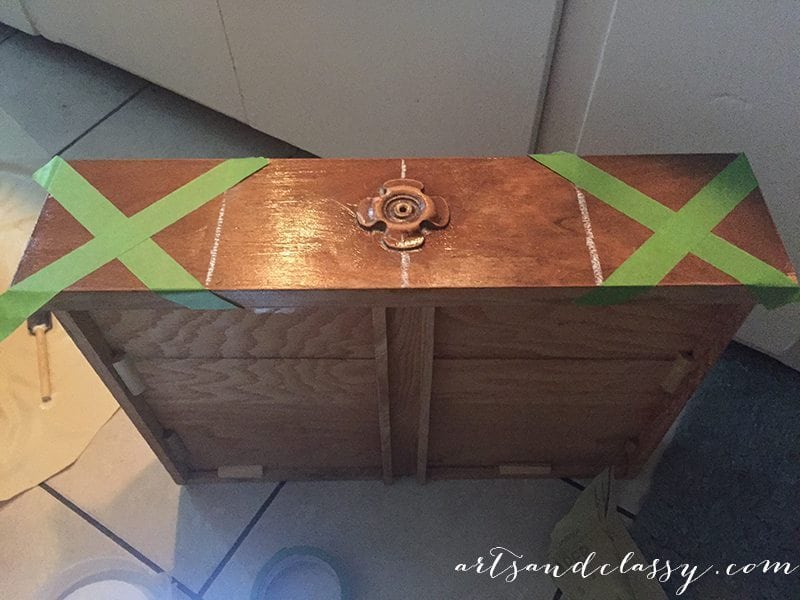
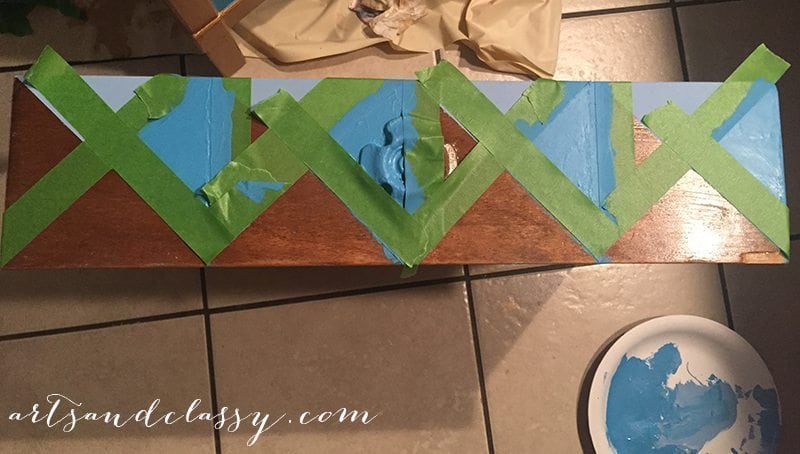
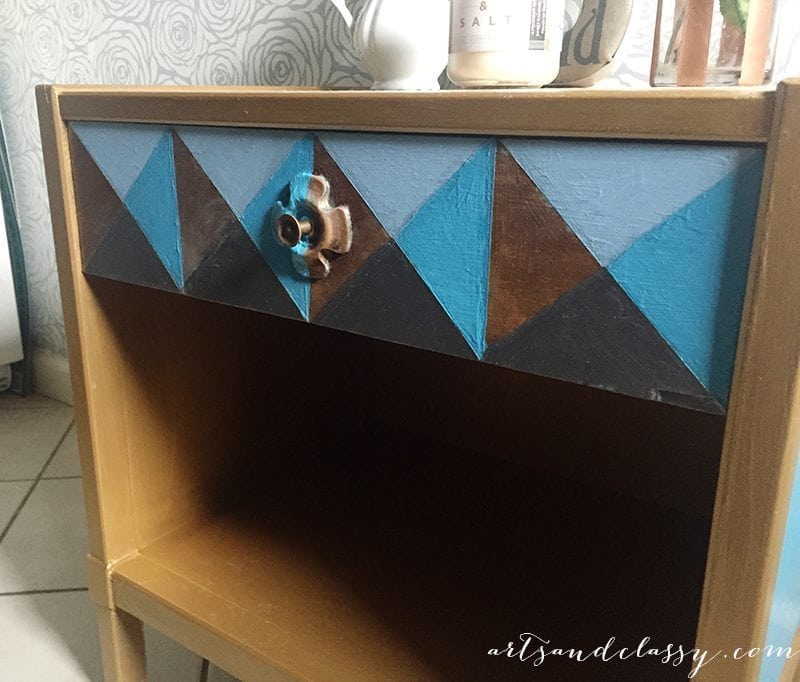
I took my drawer, chalk, and my frog tape and measured out 4 squares to create my geometric pattern.
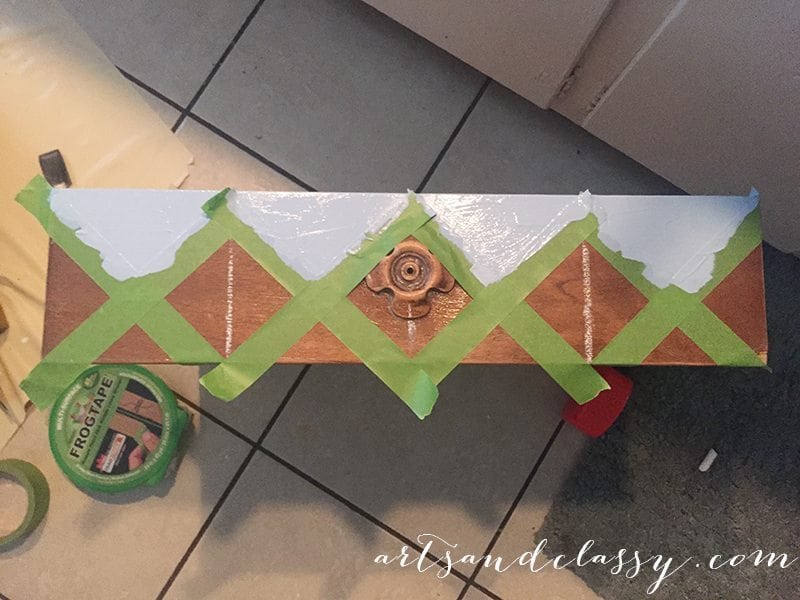
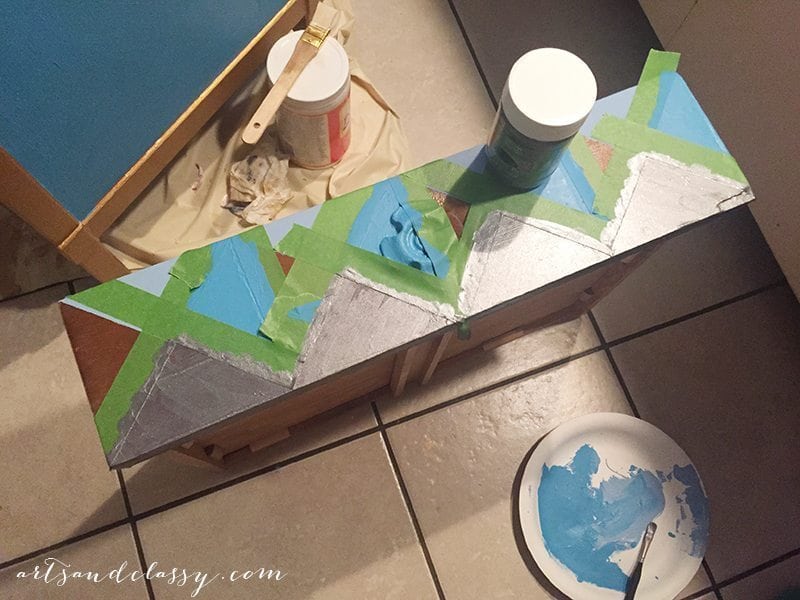
Then I taped off the first section of the triangles.
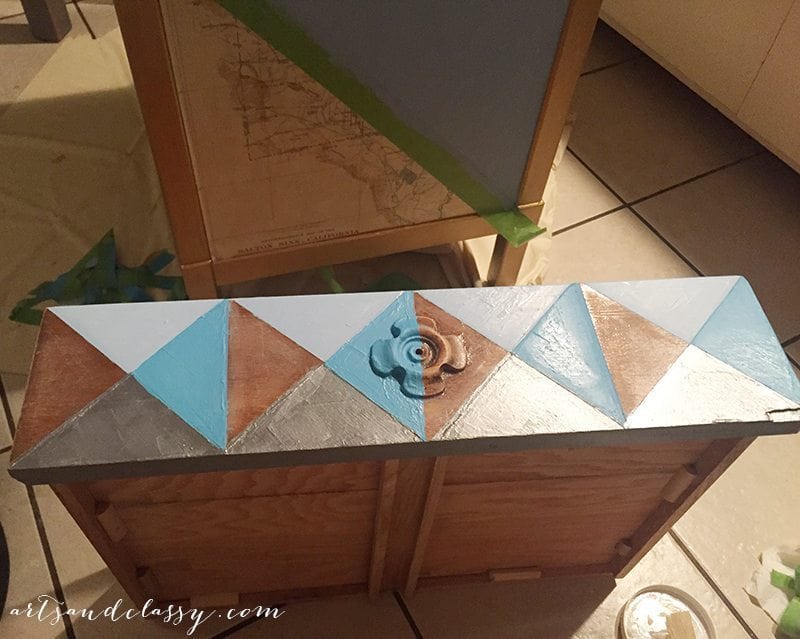
This is where my other 2 colors came into play. I used two different shades of blue.
I also used my Modern Masters pewter metallic paint for the 3rd triangle.
After several coats and making sure my lines were clean I finally put a layer of mod podge over the paint to seal it. I wanted there to be a little bit of a glossy finish to this piece.
STEP 5
I put the hardware pullback in the drawer
STEP 6
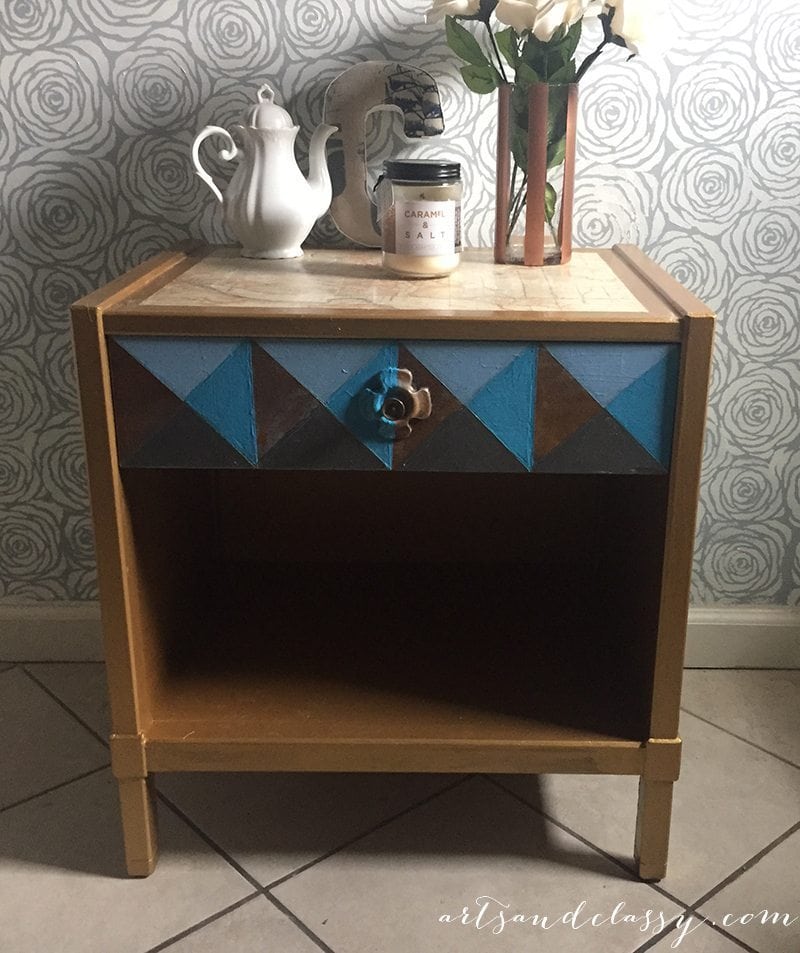
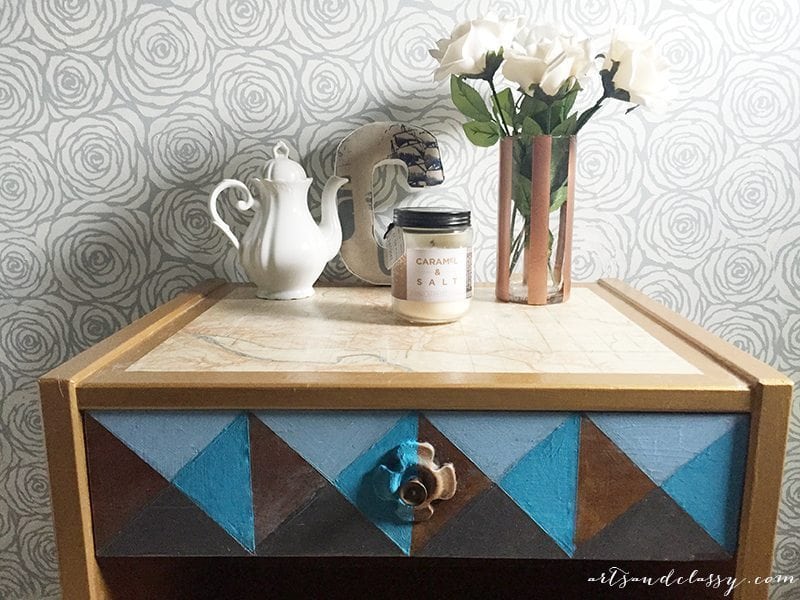
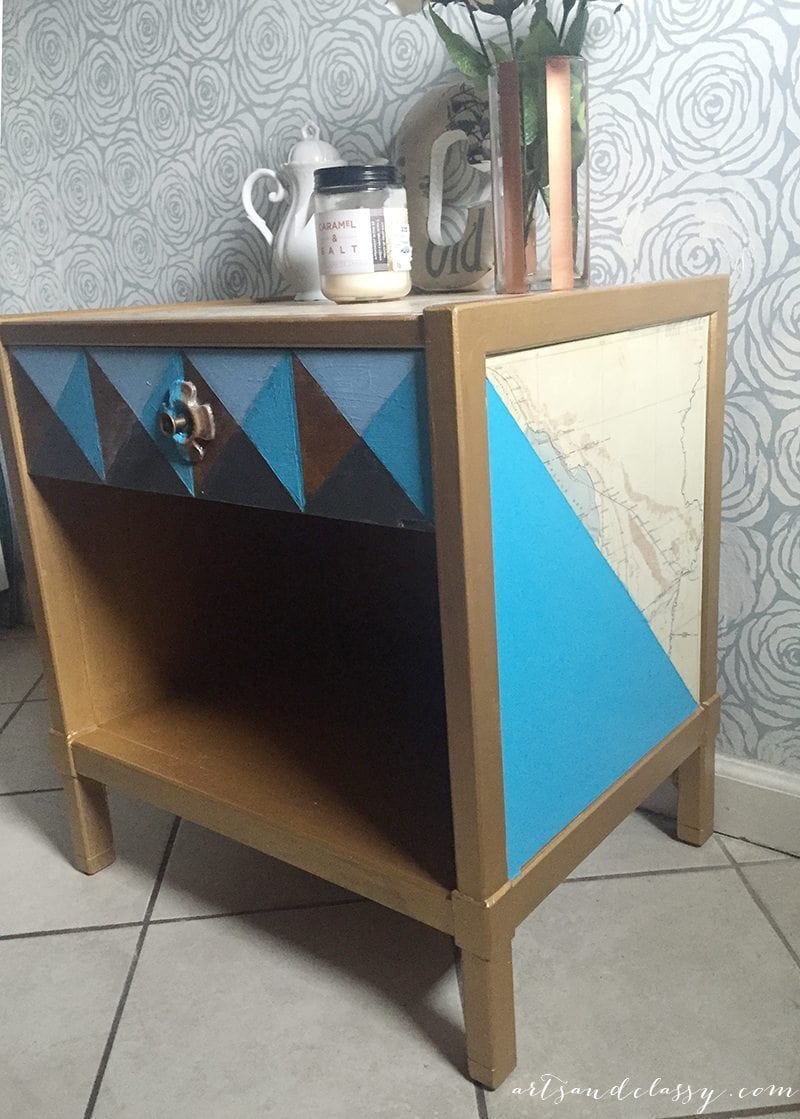
Voila! It is done! Doesn’t this look so much better than before? I am so happy with how this table turned out.
I am ecstatic about my Modern Master paint! You can find out more FAQs and shop on their website. You can also find your closest Modern Masters retailer to you.
Check out Top 5 Tips for Working with Metallic Paints – A Modern Masters Café Blog Post!!

