Why Are These Tiny Flies Ruining My Houseplants? (And How to Stop Fungus Gnats!)
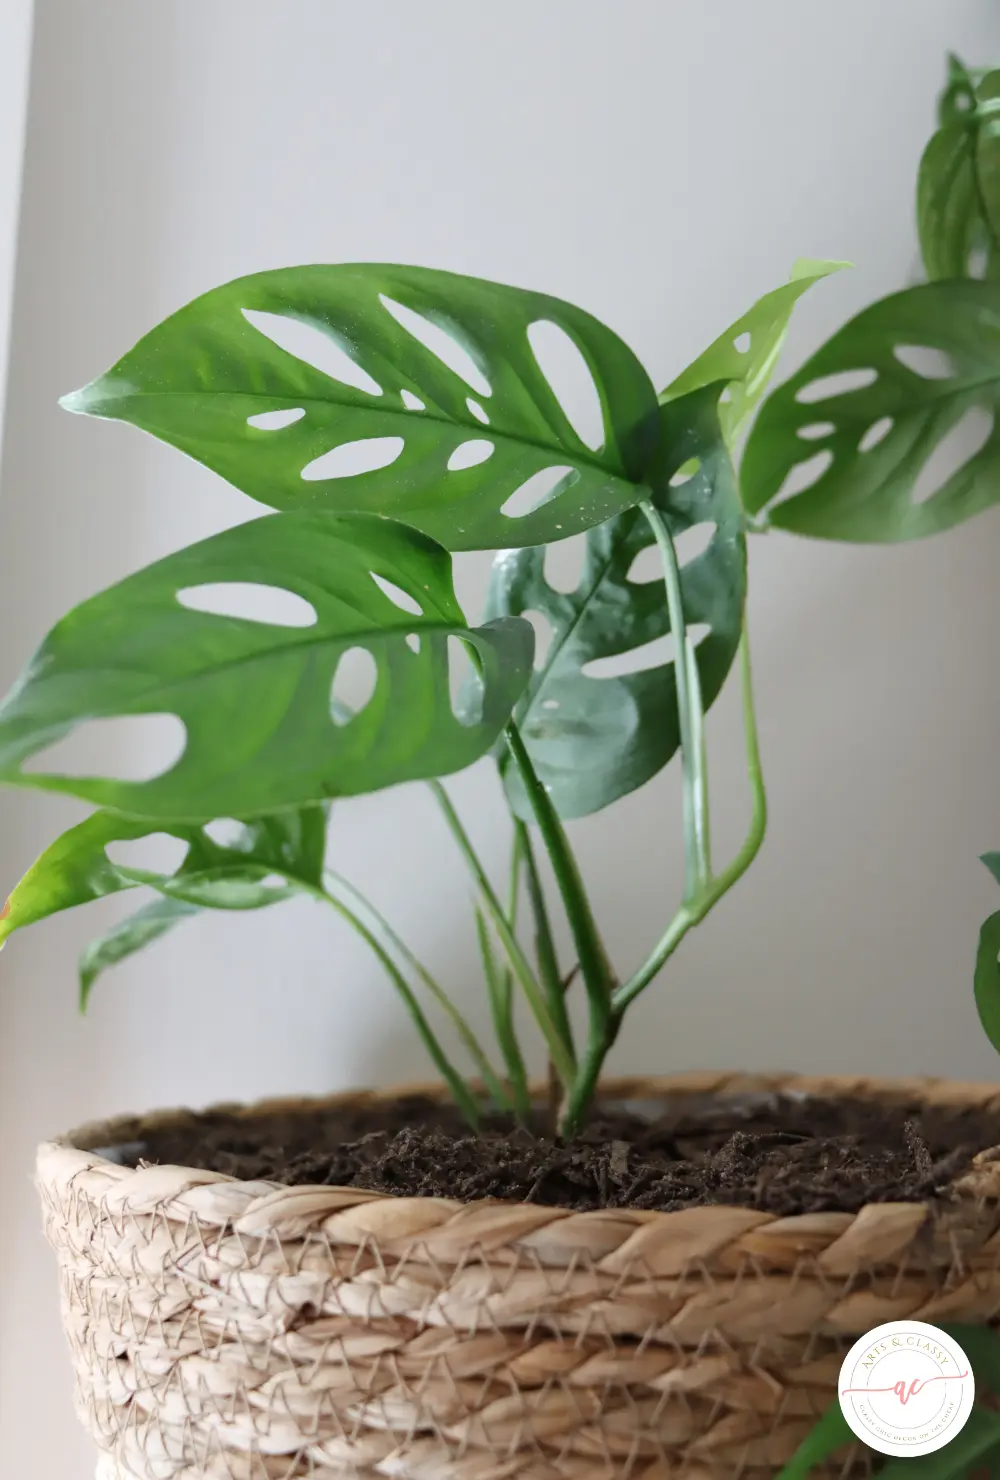
My love affair with houseplants started innocently enough. A little green here, a touch of nature there, bringing life and vibrancy into my home. I reveled in the unfurling of new leaves, the steady growth, the feeling of nurturing something beautiful. But then, a dark cloud descended upon my indoor oasis–or rather, a dark swarm. Tiny, frustrating flies, often known as fungus gnats, began to hover around the soil of my beloved houseplants, their presence an incessant annoyance!
At first, I shrugged it off. Maybe a few stray fruit flies?
But their unwavering dedication to my potted companions, their irritating habit of buzzing right in my face as I admired my green babies, told a different, more sinister tale. I had been invaded. And the culprits? The dreaded fungus gnats are all over my houseplants!
If you’ve landed on this page, chances are you’re experiencing the same vexation. That seemingly endless cloud of minuscule black flies that dance above your precious plant babies, their larvae secretly wreaking havoc beneath the soil’s surface.
Trust me, you’re not alone in this horticultural headache. My initial reaction was a mix of bewilderment and rising panic. What were these things? Were they harming my plants? And more importantly, how could I make them stop? I am still new to gardening, especially indoor gardening, so this has been a valuable learning experience.
Well, fellow plant lover, you’ve come to the right place. Because after my own frustrating journey of discovery, through online research rabbit holes and hands-on experimentation (with a few moments of sheer exasperation thrown in), I finally cracked the code. I emerged victorious from the fungus gnat fray.
And today, I’m here to share my hard-won insights, the methods that truly worked, and a healthy dose of empathy to help you banish these tiny terrors from your beloved houseplants once and for all.
Unmasking the Enemy: What Exactly Are These Tiny Flying Menaces?
To effectively combat these unwelcome guests, we first need to understand who, or rather, what they are. Knowing their lifecycle and what makes our houseplants such an attractive target is the first crucial step in our defense strategy.
The Fungus Gnat Exposed: Their Size, Appearance, and Sneaky Life Cycle
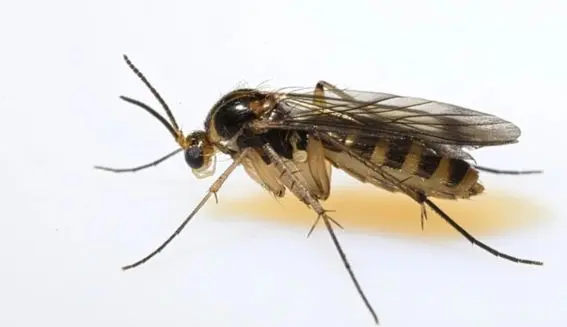
These aren’t just your run-of-the-mill flies. Fungus gnats are small, typically around 1/8 inch in length, with a dark, almost delicate appearance. They sport long, spindly legs and wings that are either clear or have a light, smoky hue. You’ll often spot the adult flies fluttering near the soil surface of your indoor plants or lazily drifting around your living space. However, don’t be fooled by their seemingly harmless demeanor. The real trouble lies beneath the surface, with their larvae.
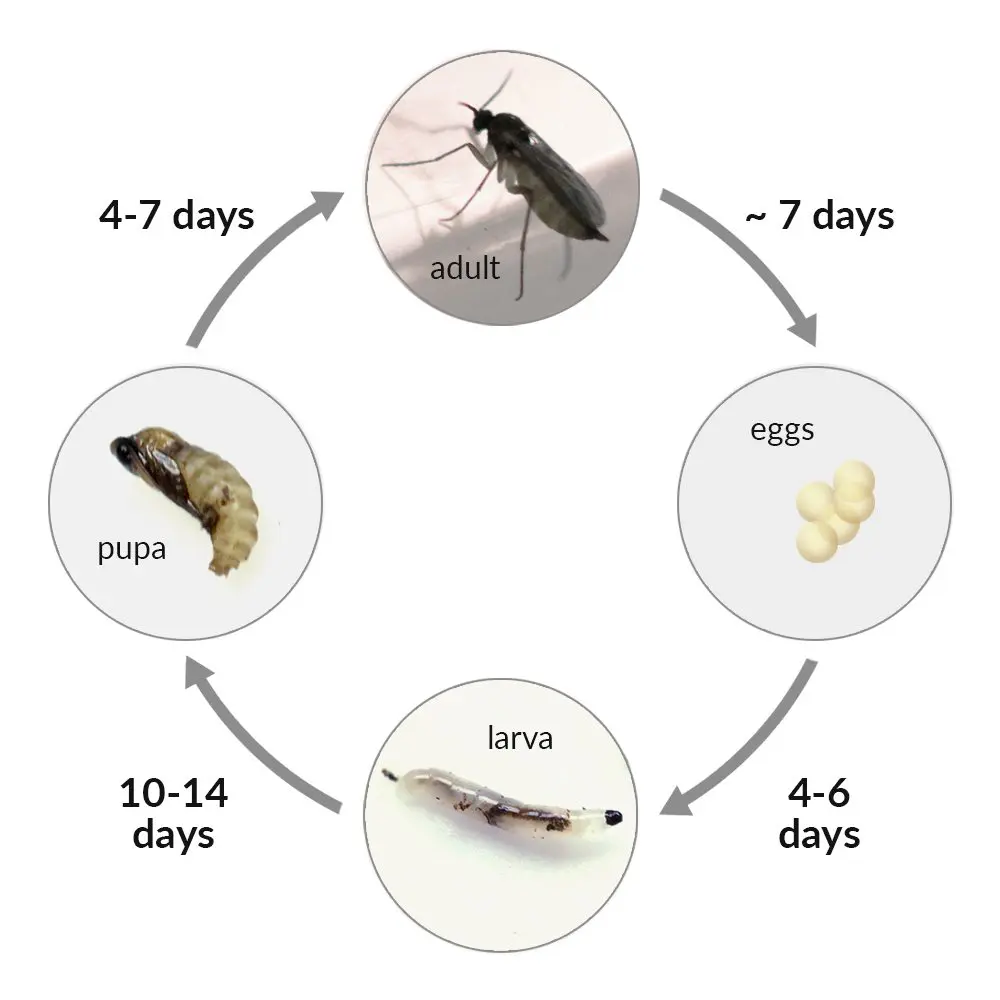
The life cycle of a fungus gnat might be short, but it can feel like an eternity when your plants are under siege:
- The Egg Stage: It all begins with the adult females laying their minuscule, translucent eggs in the moist soil or among decaying organic matter. These eggs are often laid in clusters, setting the stage for a future infestation.
- The Larval Stage: The Hidden Threat: Once hatched, the larvae are small, legless creatures with clear or whitish bodies and a distinct black head. These are the underground villains, feeding on fungi, decaying plant material, and alarmingly, sometimes the delicate roots of your plants. This root feeding is where they can cause significant damage, particularly to young seedlings and more vulnerable plants.
- The Pupal Stage: Transformation Time: After their feeding frenzy, the larvae enter the pupal stage, usually within the soil. Here, they undergo metamorphosis, transforming into the adult flying form.
- The Adult Stage: The Annoying Perpetrators: Finally, the adult flies emerge from the pupae, ready to mate, lay more eggs, and continue the cycle of irritation and potential plant harm. This entire process can take as little as two to four weeks, which is why small initial fungus gnats sightings can quickly explode into a full-scale infestation in your houseplants if left unchecked.
RELATED: Upcycled Herb Garden Ideas: Creating My Outdoor Herb Garden
Why Your Houseplants Are the Perfect Target for These Tiny Invaders
So, what is it about our carefully curated indoor gardens that makes them such a haven for these tiny flying fiends? Here are the key factors that draw fungus gnats to our precious plants:
- The Allure of Moisture: This is the primary magnet. Fungus gnat larvae thrive in consistently damp soil that is rich in organic matter. When we overwater our houseplants, we inadvertently create the perfect breeding ground for them. The perpetually moist upper layers of soil provide both a readily available food source (fungi and decaying organic material). It’s also an ideal environment for the adult females to lay their eggs.
- The Temptation of Organic Matter: Many common potting mixes contain a significant amount of peat moss, compost, or other organic materials. While beneficial for plant growth in moderation, these materials also retain moisture. They serve as a delicious food source for fungus gnat larvae.
- The Problem of Poor Drainage: Pots that lack adequate drainage holes allow excess water to accumulate in the soil. This is keeping it consistently wet and is incredibly inviting to fungus gnats. Without proper drainage, the soil stays soggy, creating a larval paradise.
- The Drawback of Decay: Fallen leaves or other decaying organic matter left on the soil surface can also attract these pests. They provide a convenient food source for both the adult flies and their hungry larvae.
- The Contribution of Crowding: While not a direct issue, overcrowded plant conditions can sometimes lead to poor air circulation. This lack of airflow can contribute to the soil staying moist for longer periods. Thus, creating a more favorable environment for fungus gnats.
Understanding these attractants is the first critical step in our battle plan. By making our plant environments less appealing to these tiny invaders, we can significantly reduce their numbers and prevent future infestations.
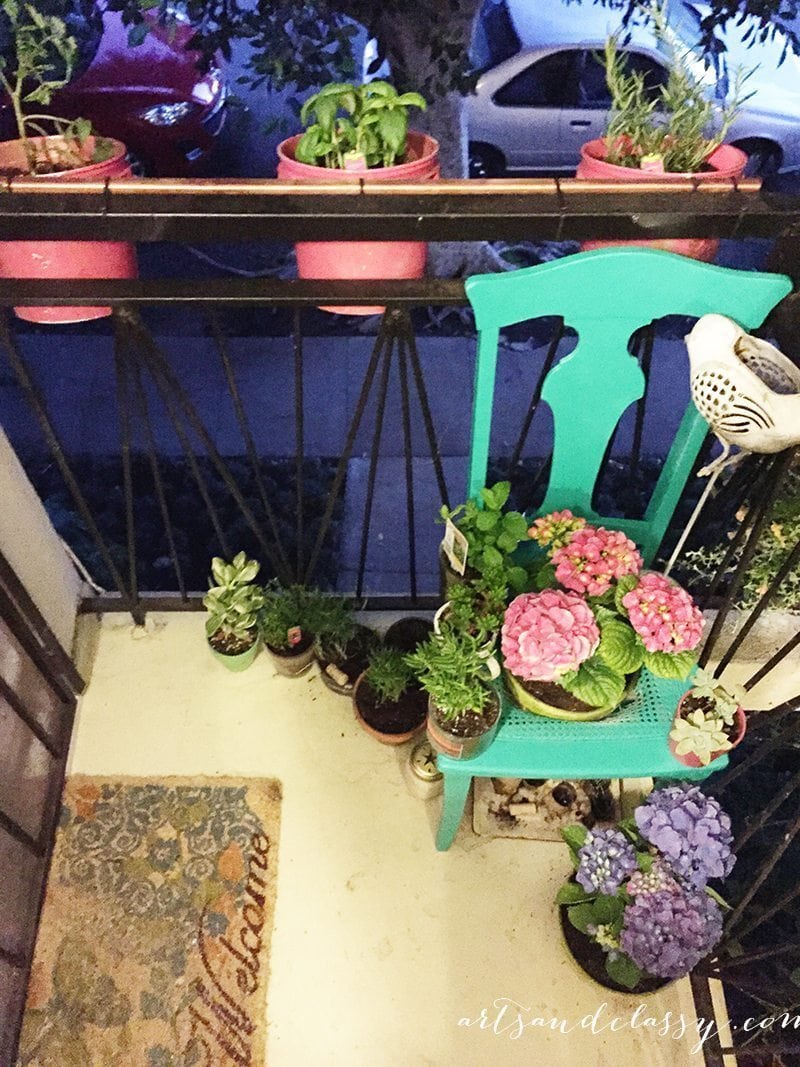
RELATED: Have You Experienced The Joy Of A #BalconyGarden Yet?
My Battle Plan: The Strategies That Sent These Tiny Flies Packing (Finally!)
Through my trial-and-error process, I discovered that a multi-faceted approach was the most effective way to evict these fungus gnats from my houseplants. Here’s a breakdown of the tactics that ultimately led to my victory over the fungus gnats:
Strategy 1: The Dry Soil Defense: Starving the Larvae
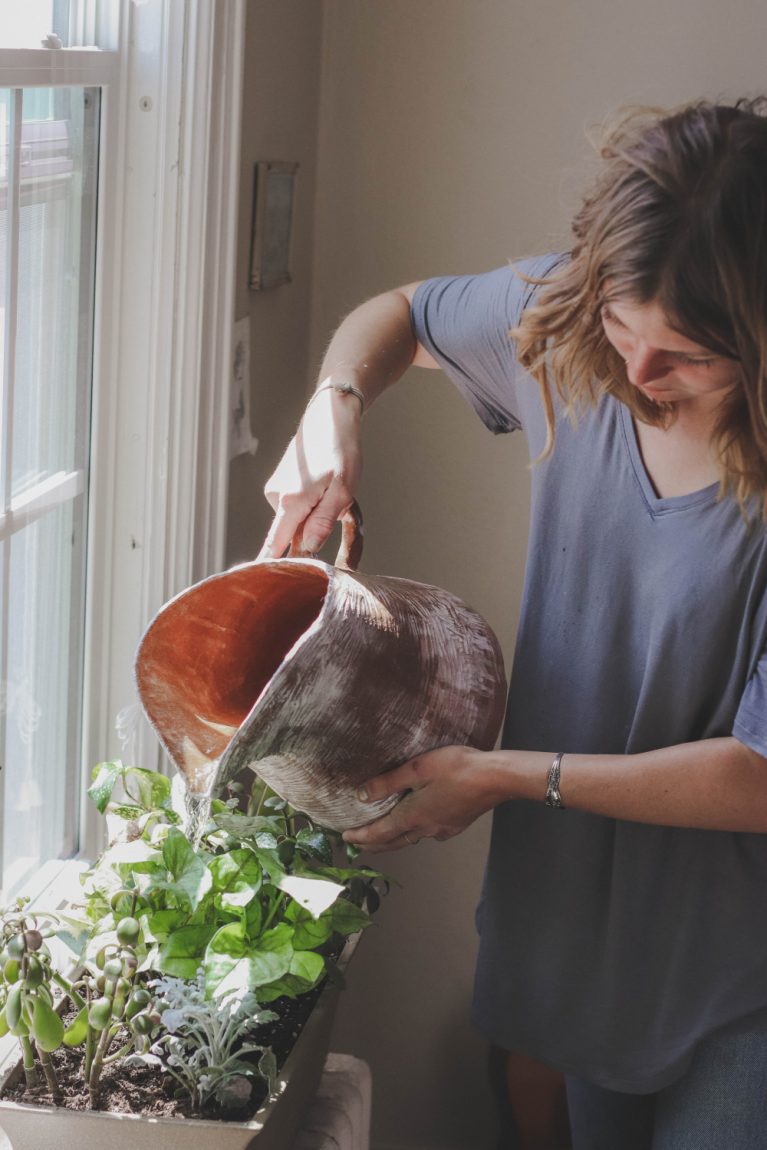
This might seem like a simple step, but it’s absolutely fundamental. Given that fungus gnat larvae thrive in moist soil, the most logical first line of defense is to make their environment less hospitable.
I allowed the top inch or two of soil to dry out completely between waterings, you’re essentially cutting off their food supply and making it a less desirable place to live.
- How I Implemented It: I became much more diligent about checking the soil moisture before watering. Instead of watering on a set schedule, I would insert my finger about an inch or two into the soil. If it felt dry, I’d wait another day or two before watering. For my larger pots, investing in a moisture meter proved to be a game-changer.
- Important Consideration: While drying out the soil is crucial, it’s vital to know your plants’ individual needs. Some plants are more tolerant of dry conditions than others. You need to find a balance that deprives the fungus gnat larvae without causing undue stress to your green companions.
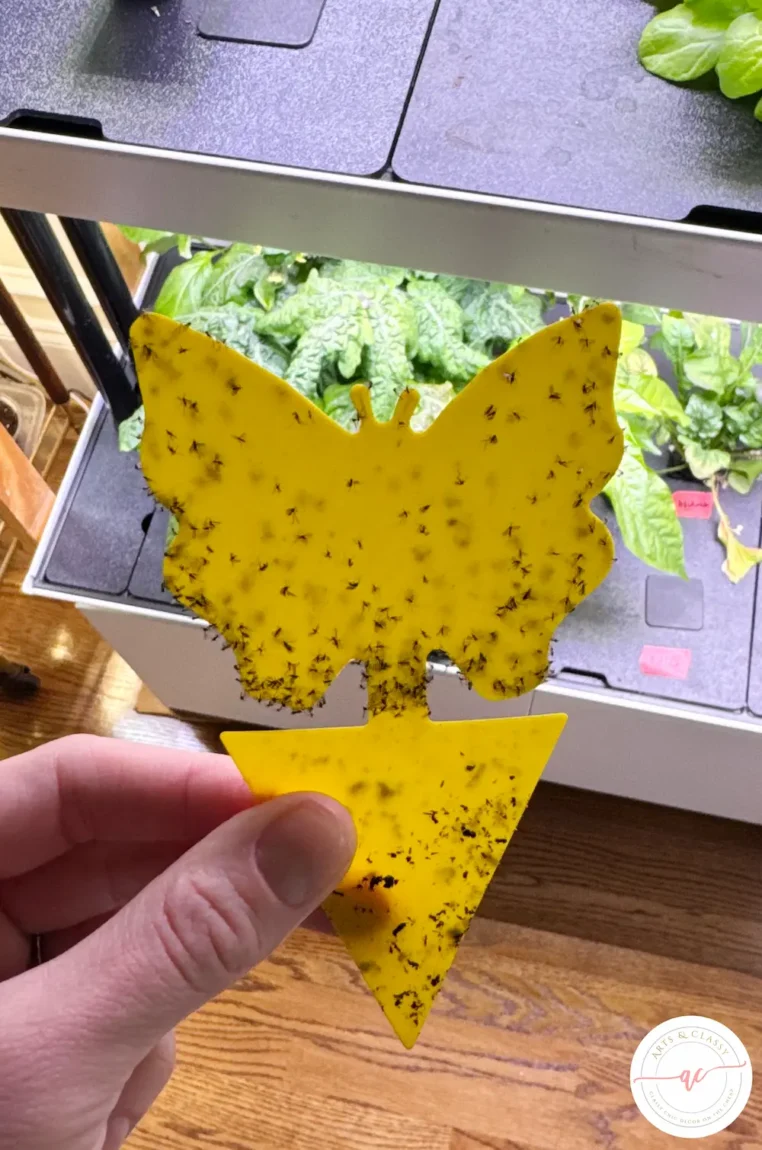
Strategy 2: The Sticky Trap Ambush: Capturing the Adult Fungus Gnats
These unassuming yellow cards coated in a non-toxic adhesive are surprisingly effective at trapping the adult fungus gnats. The adults are instinctively drawn to the bright yellow color, and once they land on the sticky surface, they’re caught.

- My Deployment Method: I purchased a pack of these sticky traps online, peeled off the white protective film on each side, and placed them in the soil of each plant.
- Why They’re a Valuable Tool: While sticky traps won’t eliminate the larvae lurking in the soil, they play a crucial role in reducing the adult population. By capturing the adults, you’re preventing them from laying more eggs and continuing the infestation cycle. Plus, there’s a certain satisfaction in seeing those tiny black bodies accumulating on the yellow surface – a visual confirmation that you’re making progress!
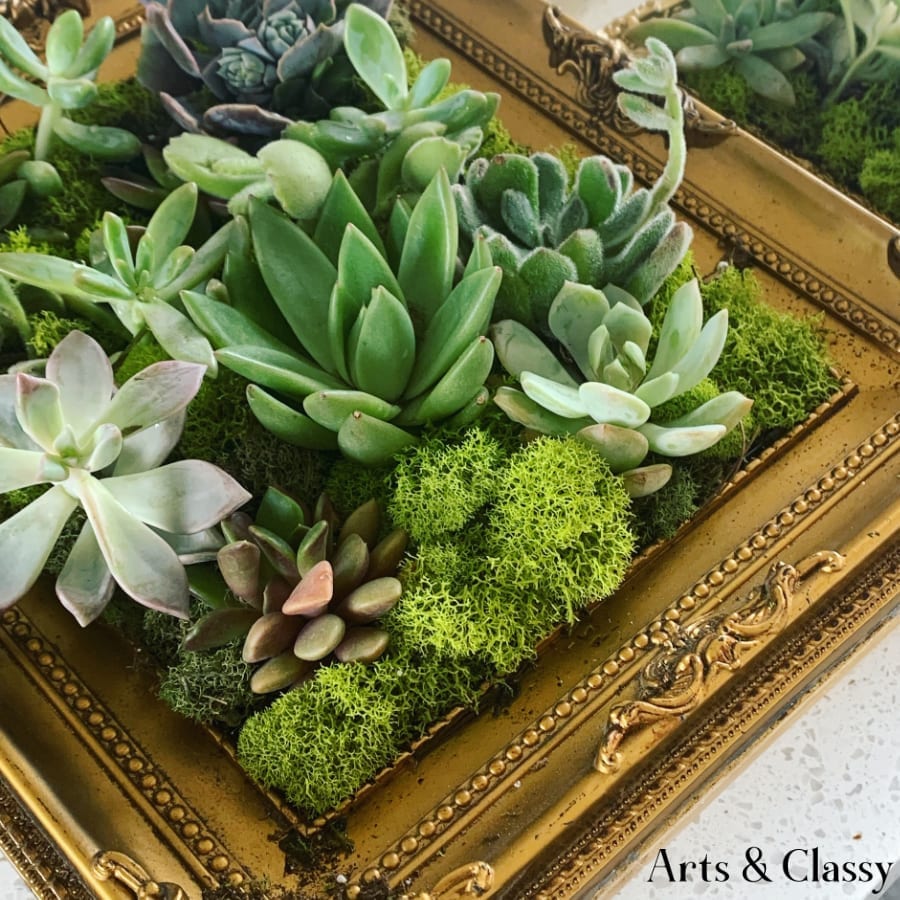
RELATED: Easy DIY Living Succulent Frame Tutorial
Strategy 3: The Hydrogen Peroxide Flush: Targeting the Larvae Directly
Hydrogen peroxide can be a surprisingly effective weapon against the fungus gnats larvae in the soil of houseplants. When diluted with water and applied to the soil, it releases oxygen. This increased oxygen level can be fatal to the anaerobic larvae without harming your plant’s roots when used correctly. This strategy wasn’t as effective for me, but if you are dealing with an early infestation of fungus gnats in your houseplants, then this might be an effective strategy for you. Doesn’t hurt to try it.
- My Application Technique: I carefully mixed one part 3% hydrogen peroxide (the standard drugstore concentration) with four parts water. Then, I slowly poured this diluted solution into the soil of my affected plants, ensuring that the top few inches were thoroughly saturated. You might notice some fizzing – this is the oxygen being released and is a good sign that it’s working!
- Frequency of Application: I initially applied this solution every few days for a week or two to get the infestation under control. Once the numbers started to dwindle, I reduced the frequency to about once a week as a preventative measure.
- Crucial Caution: Always ensure you dilute the hydrogen peroxide properly. Using a higher concentration can damage your plant’s delicate root system.
Strategy 4: The Topsoil Barrier: Sand and Diatomaceous Earth
Use this natural method by creating a physical barrier on the top layer of soil can make it significantly more challenging for adult fungus gnats to lay their eggs and for the larvae to emerge once they hatch. I experimented with two primary materials for this purpose:
- Coarse Sand: A layer of coarse sand, about an inch thick, spread over the top of the soil creates a dry and inhospitable environment for egg-laying. Adult fungus gnats generally dislike laying their eggs on the gritty texture, and the larvae find it difficult to burrow through the sand to reach the soil below.
- Diatomaceous Earth (DE): This is a naturally occurring powder composed of the fossilized remains of diatoms, a type of algae. It’s completely non-toxic to humans and pets but deadly to insects with exoskeletons. The microscopic sharp edges of DE act like tiny shards of glass, piercing the insects’ outer layer, causing them to dehydrate and die. Important: Make sure you use food-grade diatomaceous earth.
- My Application Method: For sand, I simply poured a layer evenly over the top of the soil. For DE, I sprinkled a thin, even layer over the dry soil surface. It’s absolutely crucial to apply DE to dry soil, as it’s only effective in its dry state. You will need to reapply it after watering.
- Important Note on DE: Be cautious when applying diatomaceous earth, as the fine powder can be irritating to your respiratory system. Wear a mask during application to avoid inhaling it.
Strategy 5: The Beneficial Nematode Invasion: Natural Predators to the Rescue
This was a true turning point in my battle! Beneficial nematodes are small, soil-dwelling worms that are natural predators of a wide range of soil-borne pests, including the larvae of fungus gnats. They are completely safe for your plants, your family, and your pets.
- My Deployment Protocol: You can purchase a package of Steinernema feltiae nematodes (this species is particularly effective against fungus gnat larvae) online. The package came with detailed instructions on how to mix them with water. I then used this nematode-infused water to thoroughly water all of my affected plants.
- Why They’re Such a Powerful Ally: The beneficial nematodes actively seek out and parasitize the fungus gnat larvae. Once they find a larva, they release bacteria that kill it. This tackles the problem directly at its source – the larval stage. This might take a few weeks to see the full impact! But this is a very sustainable and natural solution for long-term control.
Strategy 6: The Mosquito Bits Brigade: A Biological Larvae Blocker
During my research, and recommended by my friend, another highly recommended product for tackling fungus gnat larvae: Mosquito Bits. Despite their name, these bits aren’t just for mosquitoes; they contain Bacillus thuringiensis israelensis (BTI), a naturally occurring bacterium that is toxic to the larvae of various flying insects, including fungus gnats. What’s fantastic about BTI is that it’s very specific in its action, meaning it’s generally safe for beneficial insects, earthworms, pets, and people when used as directed on houseplants.
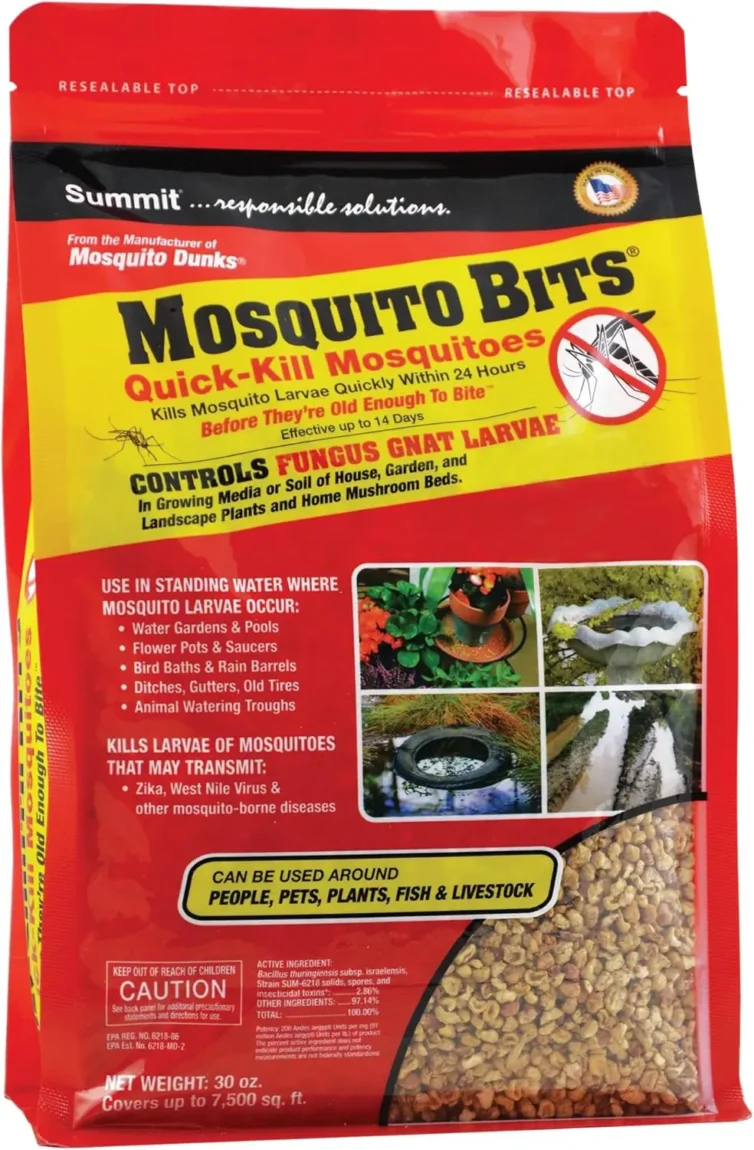
- How I Deployed Them: Mosquito Bits typically come in a granular form. There are a couple of ways to use them:
- Sprinkling: I sprinkled the granules directly onto the surface of the soil of my affected plants, following the instructions on the packaging. When I watered the plants, the BTI would leach down into the soil, where the larvae would ingest it.
- Soaking: Another effective method I tried was soaking the Mosquito Bits in water overnight. This allows the Bti to be released into the water. Then, I used this treated water to water my plants. This ensures even distribution of the Bti throughout the soil.
- Why They’re a Great Option: Mosquito Bits offer a more targeted and longer-lasting approach to larval control compared to hydrogen peroxide, which primarily works on contact. The Bti remains active in the soil for a period, continuing to kill larvae as they hatch. This can be particularly helpful for persistent infestations or as a preventative measure.
- Frequency of Use: I initially used Mosquito Bits with each watering for a few weeks to get the infestation under control. Once the numbers decreased significantly, I reduced the frequency to about once every two to four weeks as part of my ongoing preventative strategy. Always refer to the product instructions for the recommended dosage and application frequency.
RELATED: Paper Tube Seed Planting + How To Create An Upcycled Herb Garden
Tactics That Didn’t Quite Deliver With My Fungus Gnats Infestation in My Houseplants:
While the methods above were my primary weapons for ridding myself of these fungus gnats in my houseplants, I also experimented with a few other remedies that didn’t yield significant results in my particular situation:
- Cinnamon Sprinkle: I read that sprinkling ground cinnamon on the soil surface could have antifungal properties and deter fungus gnats, but I didn’t observe a noticeable reduction in their numbers.
- Vinegar Traps: Inspired by fruit fly traps, I tried setting out small dishes of apple cider vinegar with a drop of dish soap. While these traps did catch a few adult gnats, they were nowhere near as effective as the yellow sticky traps.
- Essential Oil Treatments: Some sources suggested diluting essential oils like peppermint or neem oil in water and applying it to the soil. While neem oil can be beneficial for certain plant pests, I didn’t find it to be particularly effective against my fungus gnat infestation.
RELATED: Secrets of Thriving Houseplants: How To Fertilize Indoor Plants Naturally
Fortifying Your Defenses: Preventing Future Fungus Gnat Invasions
Once I finally managed to evict the fungus gnats on my houseplants, my focus shifted to ensuring they didn’t stage a comeback. Here are the key preventative measures that I now diligently follow:
The Golden Rule: Mindful Watering
As we’ve learned, overwatering is the number one enabler of fungus gnats. I’ve made a conscious effort to adjust my watering habits, erring on the side of underwatering rather than overwatering. I always check the soil moisture level before reaching for the watering can.
- My Current Watering Philosophy: For most of my houseplants, I allow the top inch or two of soil to dry out completely before watering again. For my succulents and cacti, I let the soil dry out even more thoroughly.
Ensuring Proper Drainage: Letting Excess Water Escape
Making sure all your pots have adequate drainage holes is absolutely essential. Excess water needs to be able to escape freely to prevent the soil from becoming waterlogged.
- My Drainage Check: I went through all my potted plants to ensure that the drainage holes weren’t blocked by soil or roots. For plants housed in decorative pots without drainage, I now use plastic nursery pots inside. This allows me to easily remove the plant for watering and let any excess water drain away completely before returning it to the decorative pot. I’ve also learned that adding a layer of pebbles or broken pottery at the bottom of a pot doesn’t improve drainage; it just raises the water table within the pot.
Choosing the Right Soil: Opting for Well-Draining Mixes
I’ve started being more selective about the potting mixes I use, opting for well-draining blends that contain less peat moss and more perlite or coco coir. These mixes retain less moisture and promote better aeration around the roots, making them less attractive to fungus gnats.
- My Soil Strategy: I often amend general-purpose potting mixes with extra perlite or orchid bark to further improve drainage and aeration.
Maintaining the Barrier: Top Dressing Tactics
For some of my plants that seem particularly susceptible to fungus gnats, I continue to use a thin layer of sand or fine gravel on the soil surface as a preventative barrier. This physical layer helps to deter adult gnats from laying their eggs in the soil.
Vigilance is Key: Spotting Trouble Early
I’ve made it a habit to regularly inspect the soil surface of my plants for any signs of those tiny flying pests. Catching a small infestation in its early stages is significantly easier than dealing with a full-blown outbreak.
- My Observation Routine: Every time I water my plants, I take a quick look at the soil and around the base of the pots. If I spot any adult fungus gnats, I immediately implement some of the control measures.
The Quarantine Protocol: Isolating New Plants
Whenever I bring a new plant into my home, I now keep it isolated from my existing plant collection for a week or two. This quarantine period allows me to observe the new arrival for any signs of pests, including fungus gnats, before they have the opportunity to spread to my established plants.
My Final Word: You Can Conquer These Tiny Flying Foes!
Dealing with a fungus gnat infestation can be incredibly frustrating and make you feel like your beloved houseplants are under siege. Those tiny flies seem to materialize out of thin air and multiply with alarming speed. But please, take heart!
As my own experience has shown me, with a combination of understanding their habits and employing the right strategies, you absolutely have the power to win this battle and restore peace to your indoor garden.
The key is to identify what’s attracting them to your plants, target both the annoying adult flies and the damaging larvae, and implement consistent preventative measures to discourage their return. It might require some patience and effort, but the reward of seeing your houseplants thriving, free from those buzzing nuisances, is undoubtedly worth it.
So, take a deep breath, fellow plant enthusiast! Arm yourself with the knowledge and techniques shared here, and declare your independence from the tyranny of the fungus gnat. Your beautiful houseplants will thank you for it.
And who knows, one day we might even look back on this experience with a sense of accomplishment and perhaps even a touch of amusement at the great fungus gnat saga of 2025. Happy, gnat-free planting!