Makeover Edition: How to Paint a Moroccan Stencil Accent Wall
I can not even begin to express how happy I am to tell you about creating and executing this project. I have been admiring many how-to DIY stencil tutorials but was semi-intimidated by them as I am sure you are feeling too.
It is part of my January challenge to makeover my entire bedroom on a small budget to prove that decorating does not have to cost a ton of dough. With a little creativity and time, I can create a space unique to me without breaking the bank.
YOU can do it too! Here is a little back story on the lead-up to this project. It feels like in every home I move into I always put the living room as the top priority of decorating.
Then any extra space like my bedroom, dining room, or office tends to fall by the wayside if I suddenly pick up a TV show or commercial. The hours in the film industry can be rough. Very early mornings and 12+ hours and sometimes 6-day work weeks. I am sure you can appreciate where I am coming from. Not complaining… just not enough hours in a day.
I chose my bedroom to be my next project because since I moved to my current apartment my bedroom seemed small.
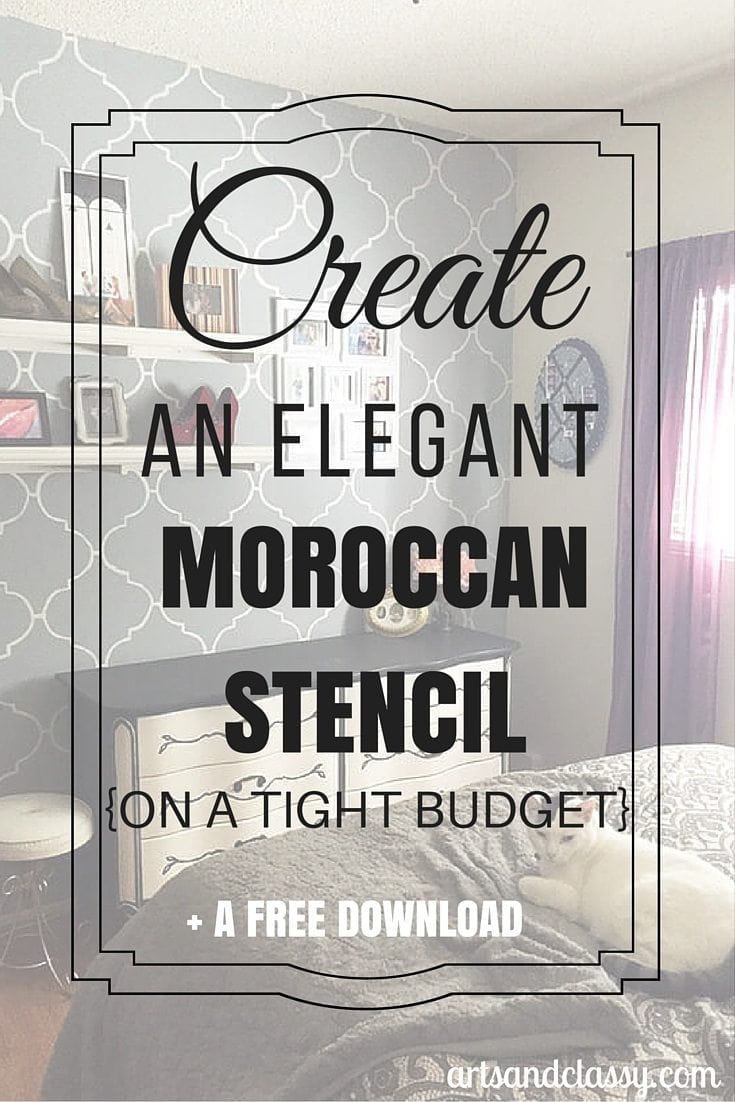
With all the furniture I had and the configuration of the room, it seemed like the best design choice. But, I quickly realized this was a bad one. Thus, my lack of care for the need to decorate the space…then I move and the cycle repeats.
The original “before photos” that I took at the beginning of this January challenge conveyed a Plain Jane bedroom.
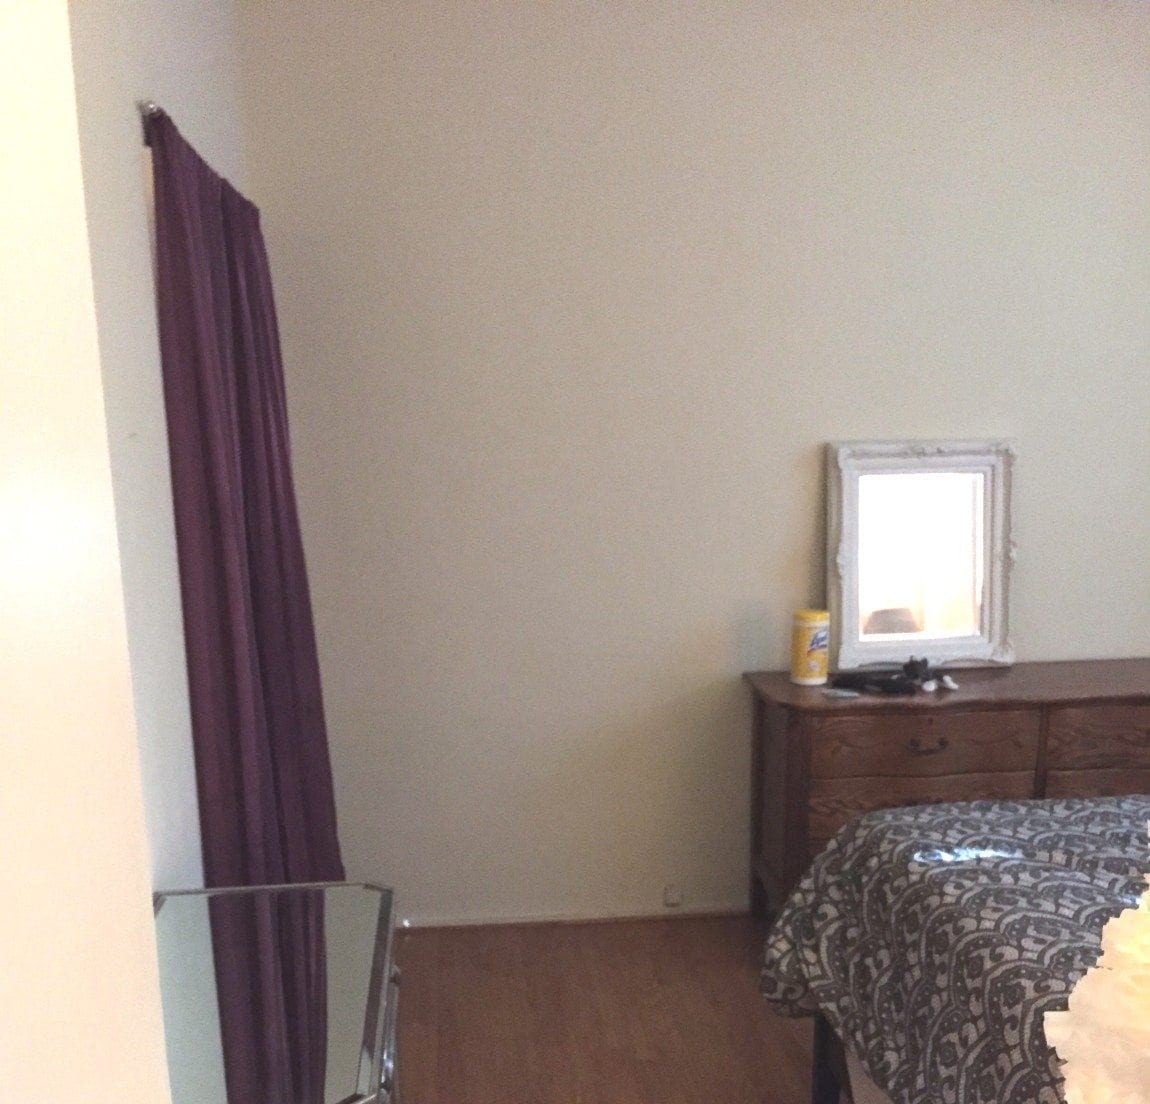
I was chatting with my good friend Alisha and was telling her about how my bedroom felt when I was in it. I described it as feeling “off” just unfinished and blah. Nothing exciting or welcoming about it.
The room wasn’t cozy or luxurious… which is how I would want my bedroom to feel. It should feel like a safe & peaceful haven.
But, there was absolutely nothing alluring with the decor in my bedroom.
Since I have struggled with incomplete decorating in a couple of my places, I decided… ENOUGH IS ENOUGH.
I need to finish the whole apartment. Here is the next step in achieving my overall vintage glam feel to my room.
As a renter, I still think you should nest in your space and make it feel homey.
If your landlord will let you…you could do some simple things to make the place your own. Paint is one of the many solutions to adding some personality to the space.
But please always restore back to its former simple design before moving out. I like to leave places looking better than when I found them. Be a good tenant and person.
To all you fancy homeowners, (totally jealous of you) you are so lucky because you can pretty much do whatever you want. Green with Envy!
But the great thing about this project is that most renters and all homeowners can do it.
An even better thing… this project cost me absolutely nothing.
Well… nothing but about 12 hours of my time doing something that I love to do. So, in my opinion, …investment and worth it!
I know you must be thinking…let’s get on with the tutorial already Meredith!!
Ahem…okay, here it is…
Supplies you will need:
- 2 Paint Colors **Tips for you**
- I chose a kind of warmer gray for my base coat. I don’t have the exact color name or formula because it was a painting that was donated to me. After sampling the 2 gray options I have in stock, I went with this one. I recommend choosing a dark base and a light accent (aka the Moroccan shape).
- The 2nd color can be whatever you want. However you could go the polar opposite and paint your wall a light color and choose a darker accent color. For my accent color, I decided to use some leftover paint from my Vintage Hutch Makeover and it seemed meant to be with the gray paint I had.
- A Computer – which I am pretty sure you already have or have access to one…if you are reading this… I am more of a Mac snob but PCs get the job done too.
- A Printer – doesn’t need to print any larger than 8.5”x 11” pages. You will be printing 4 parts of the shape on 4 separate letter-size sheets.
- Image resizing software – I use Photoshop to do a lot of my editing and resizing. You can also use a program called Affinity. It’s like Photoshop without the monthly subscription.
- Paintbrush – large angled brush and a couple of small detailed artist brushes.
- Thin cardboard or foam core (whatever you have lying around).
- Scotch Tape
- A Level
- Scissors or a Xacto knife
- Glue Stick
- Painter’s Tape
- Paint Roller Covers and Frame
- Drop Cloth or Plastic Drop
- A Pencil
Step 1
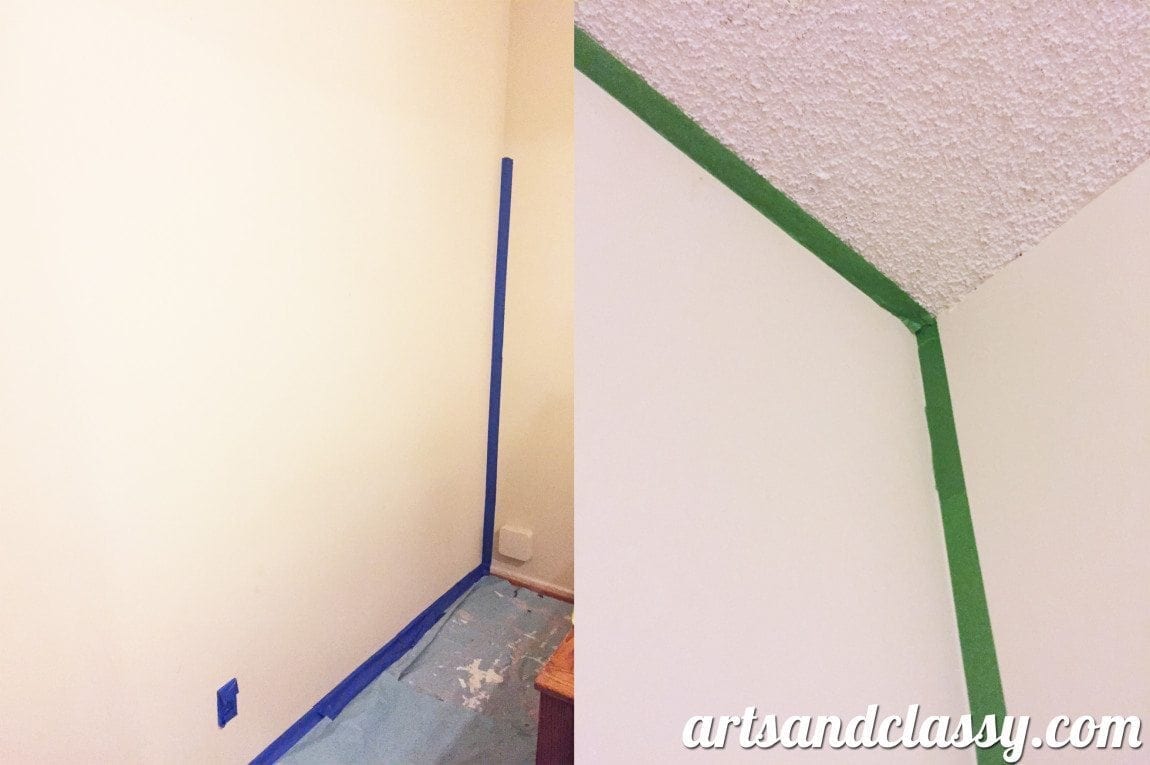
Tape off the area where you will be painting to protect other surfaces.
Step 2
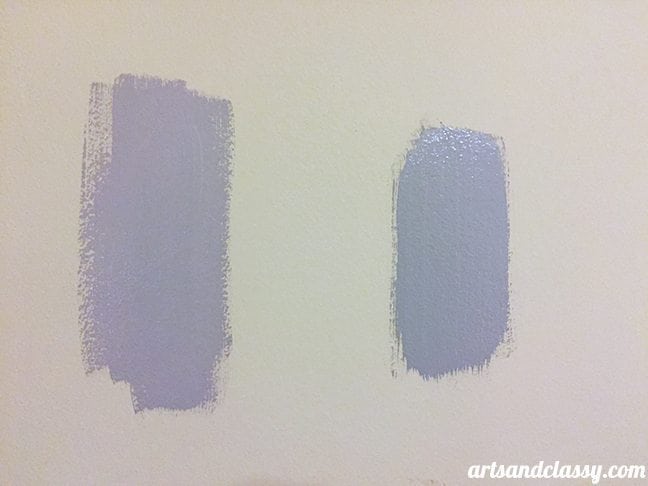
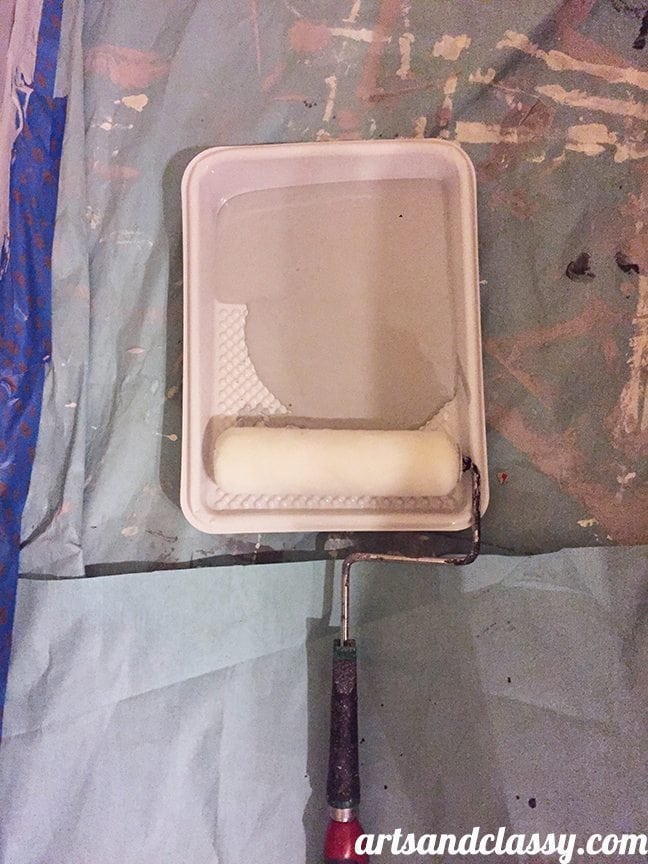
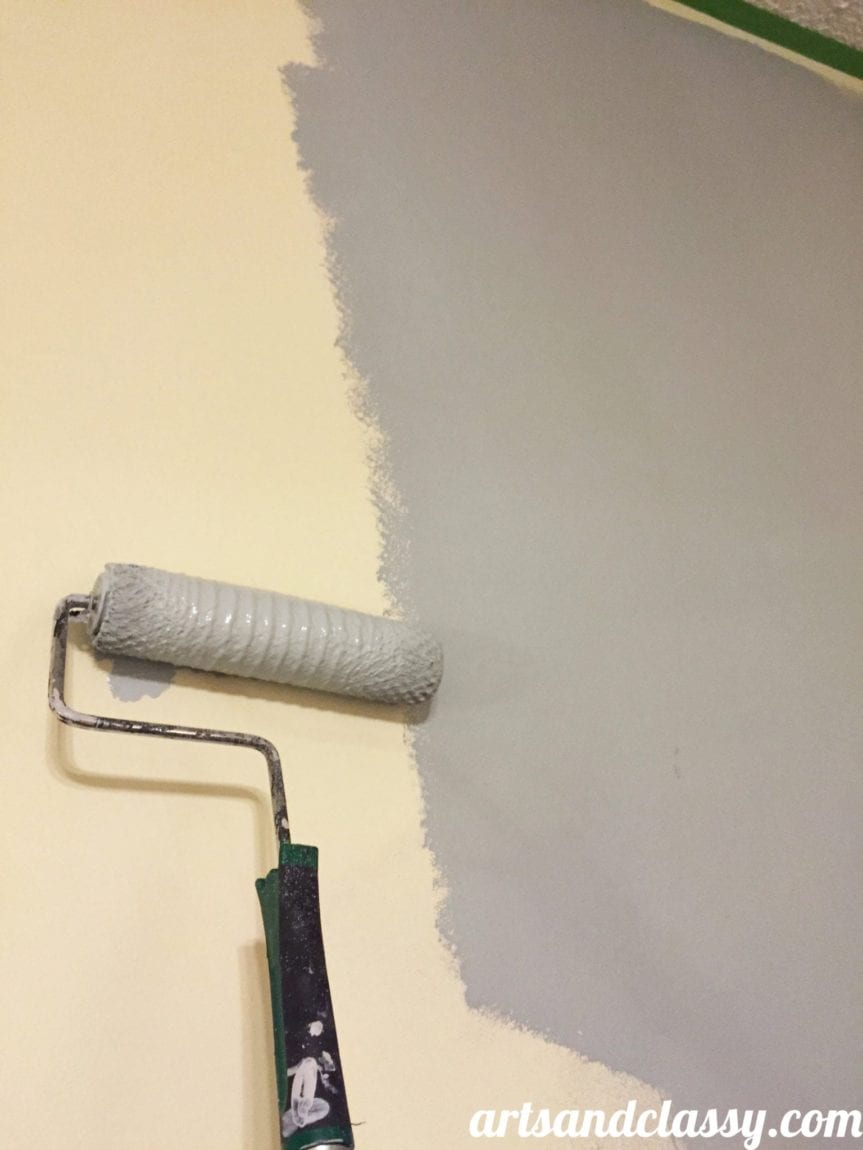
Paint a couple of coats of your flat base color. Make sure to test out a sample of the color you choose first.
I chose the one on the right (In the image below). It is slightly darker than the color on the left that is displayed on the accent wall in my living room.
Step 3
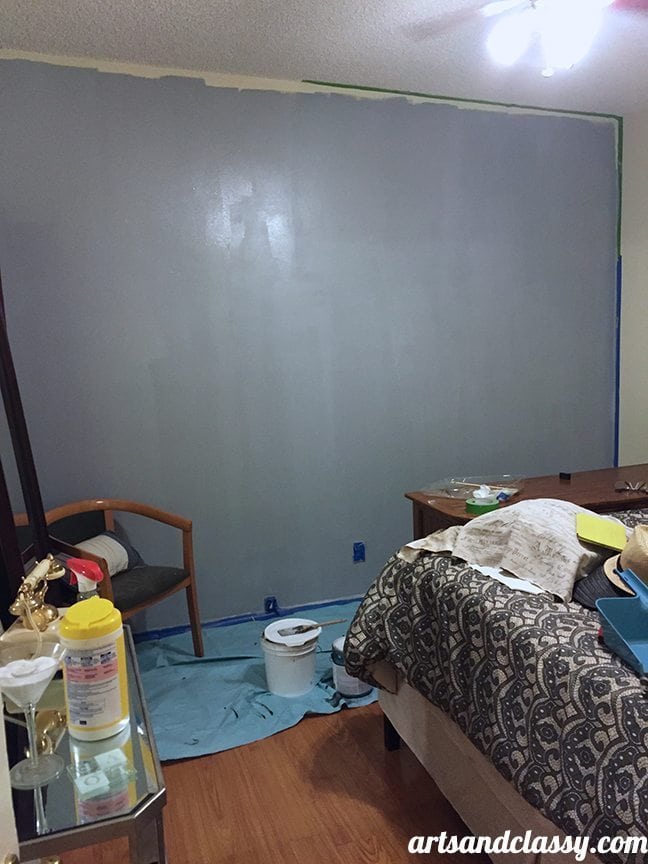
Let that dry for a few hours.
Step 4
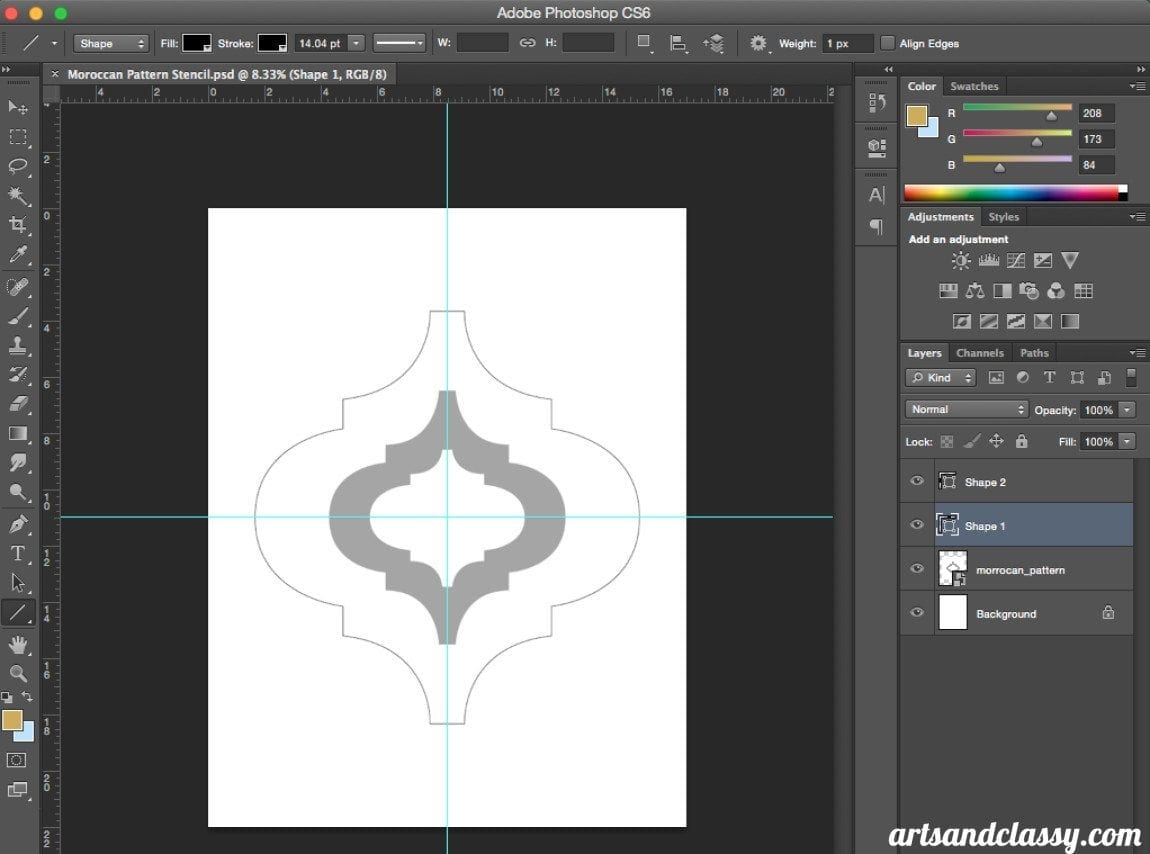
You will download the file of the Moroccan stencil shape. Both files are pre-sized to the specifications of what I wanted on my wall. Feel free to resize. Or if you don’t like this one, just do a Google search for what you are looking for.
Then you will take whatever image you choose into your image resizing program. I made my canvas the size of 4 – 8.5” x 11” sheets of paper next to one another and divided it up evenly to make it easier to print with some guidelines.
Step 5
Print parts of the shape on 4 sheets of paper.
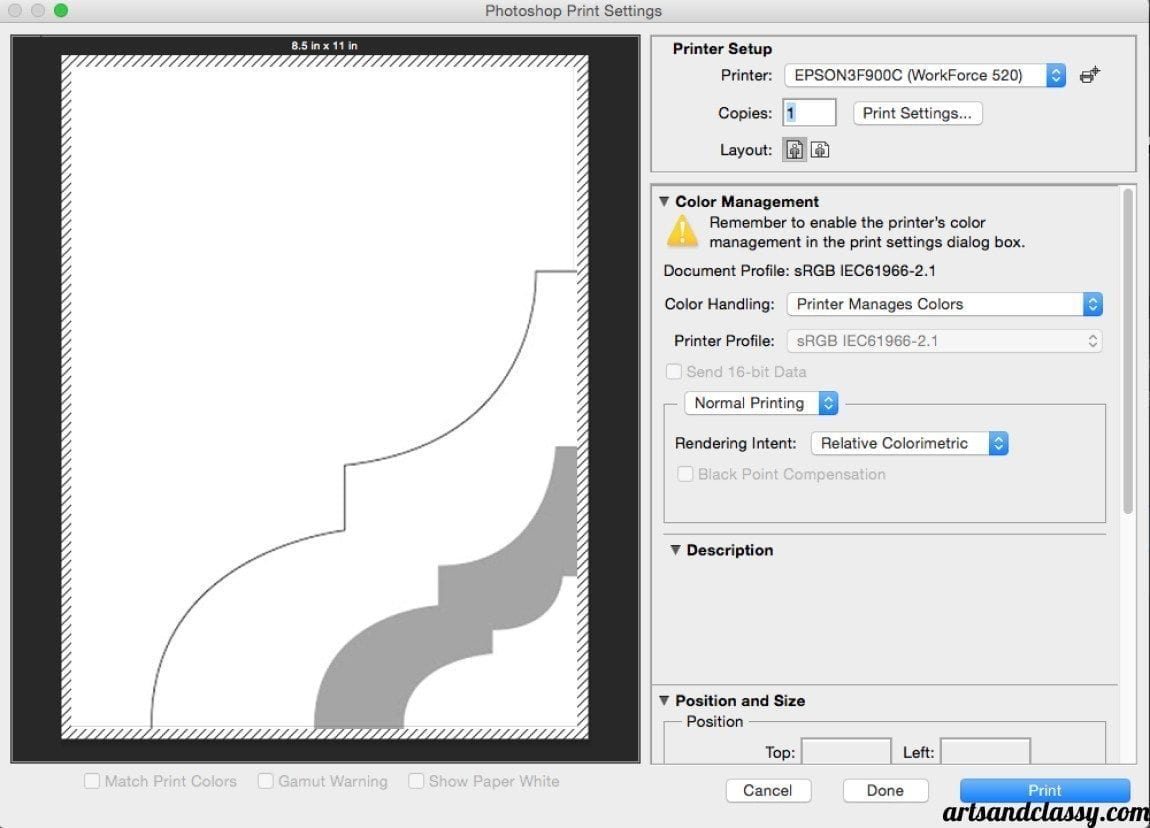
Step 6
Cut out the shape on all sheets and tape them together.
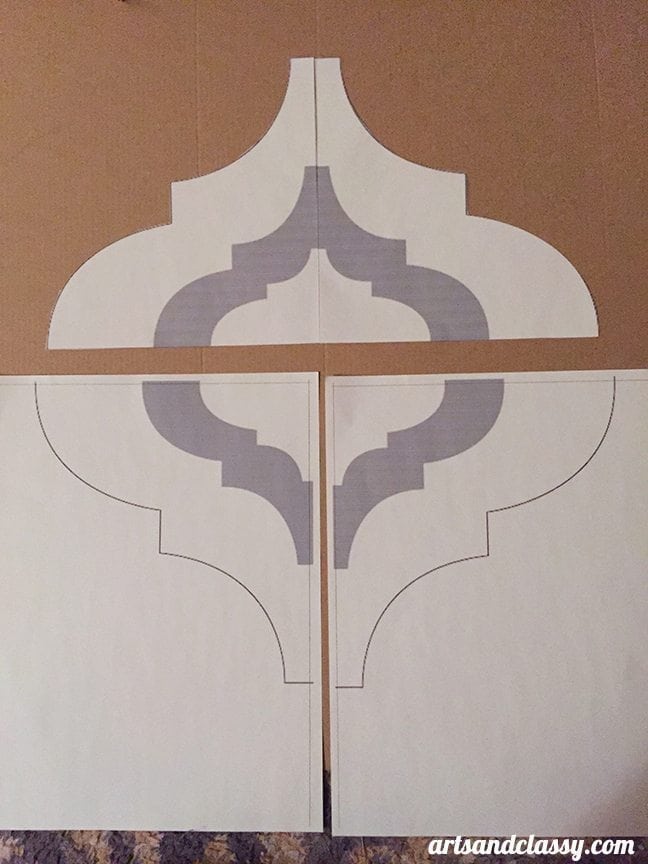
Step 7
Glue to the shape of a thin sheet of cardboard or foam core board.
Step 8
Use scissors or an Xacto blade to cut out the shape once adhered to the cardboard.
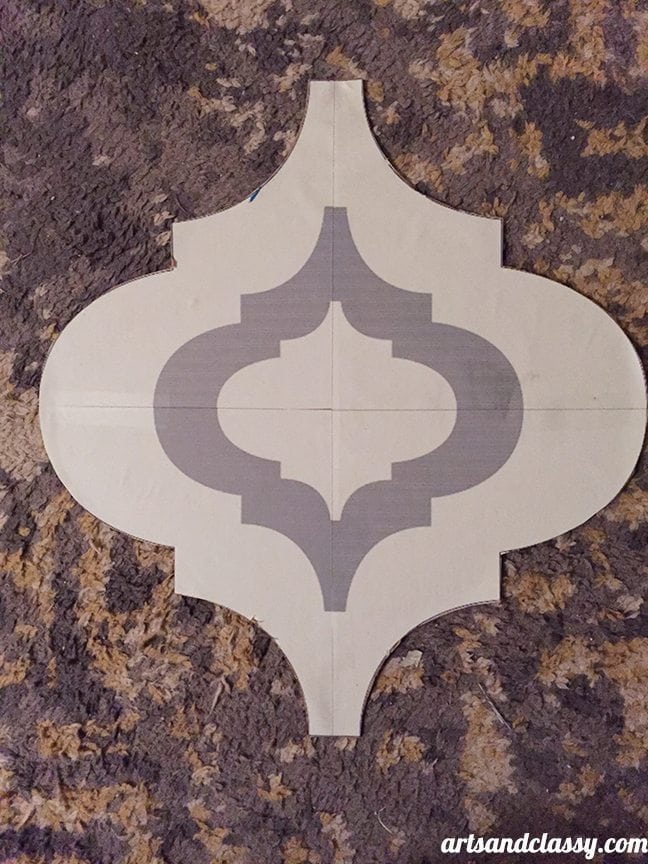
Step 9
Use a level taped to the stencil to make sure you are drawing the shape from the bottom of the wall upwards in a level formation. Trace the shape with a pencil. I began with a couple of shapes and worked my way up the wall and then horizontally.
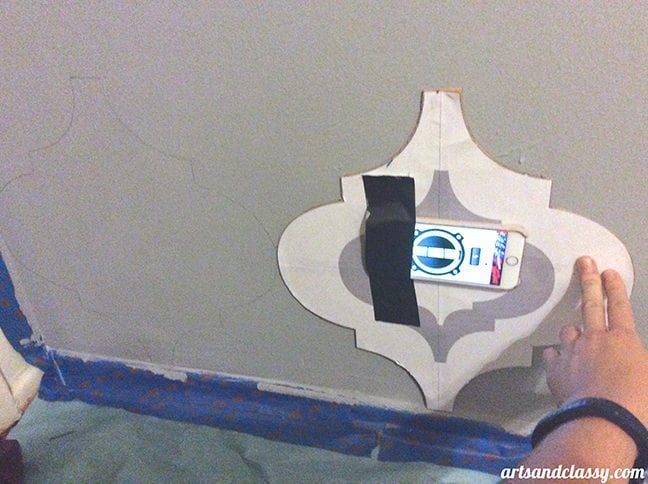
Step 10
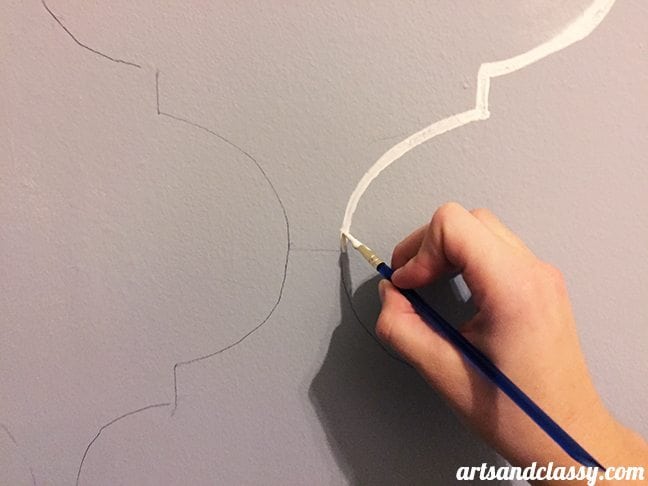
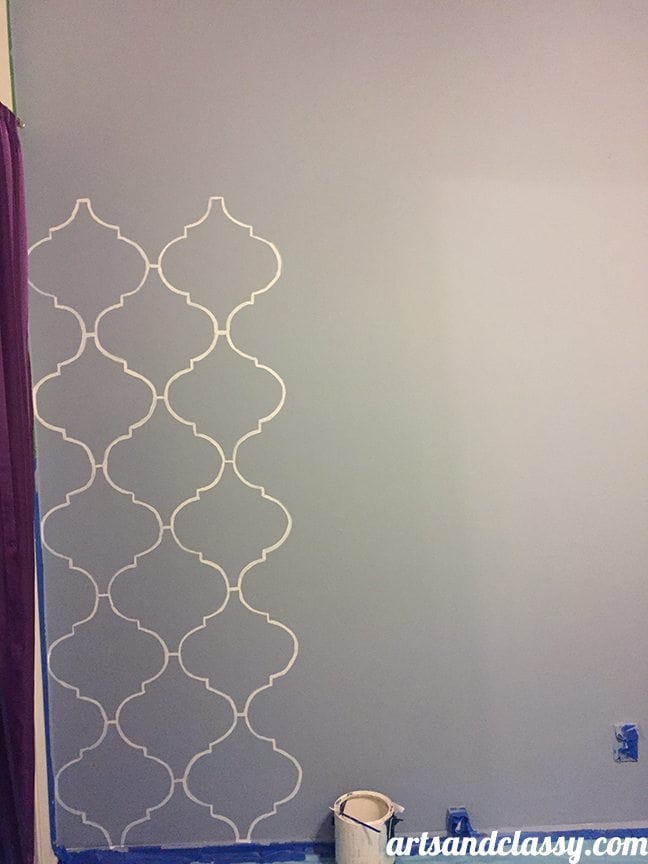
After the shapes have been drawn, you will take one of your small detailed artist paint brushes and begin hand painting in the shape. I really didn’t need to use the stencil as a guide once the shape was drawn, but you may want to use it to help with straight lines and curves.
Step 11
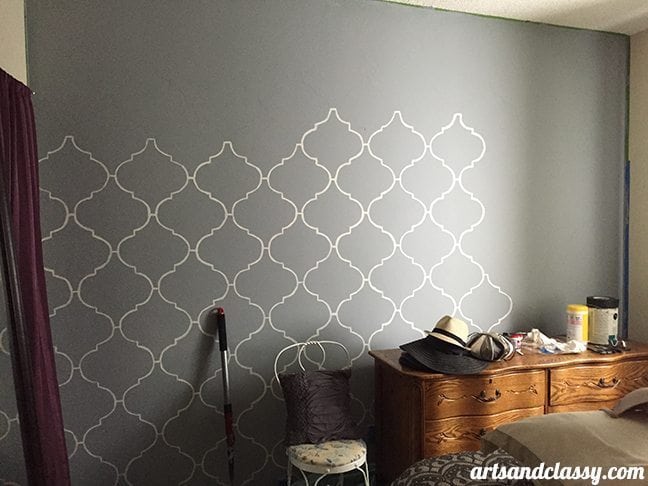
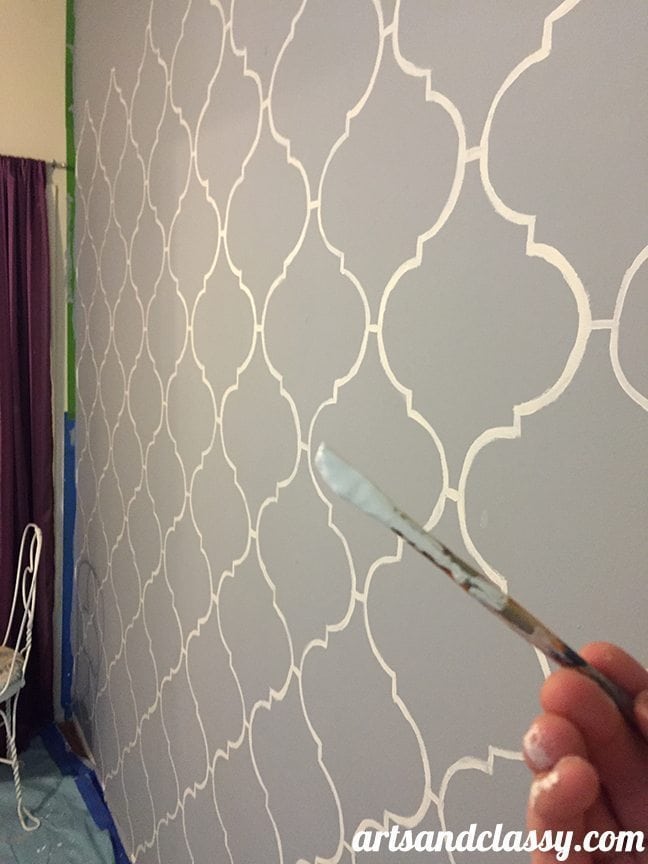
Repeat Step 10 until the wall is complete.
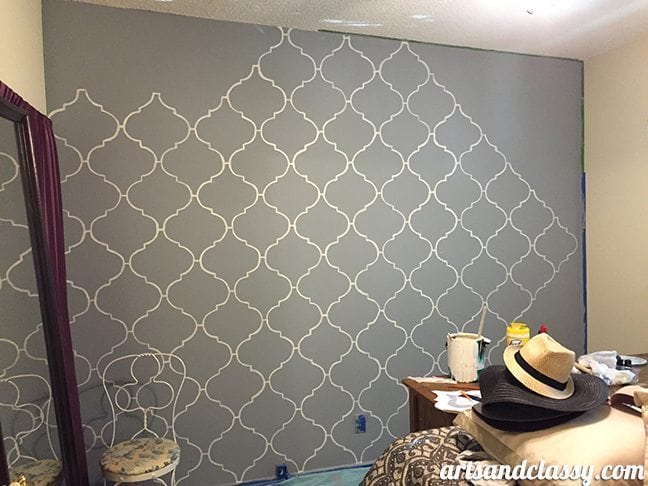
Step 12
Enjoy your new classy accent wall and celebrate with a cocktail after all your hard work!
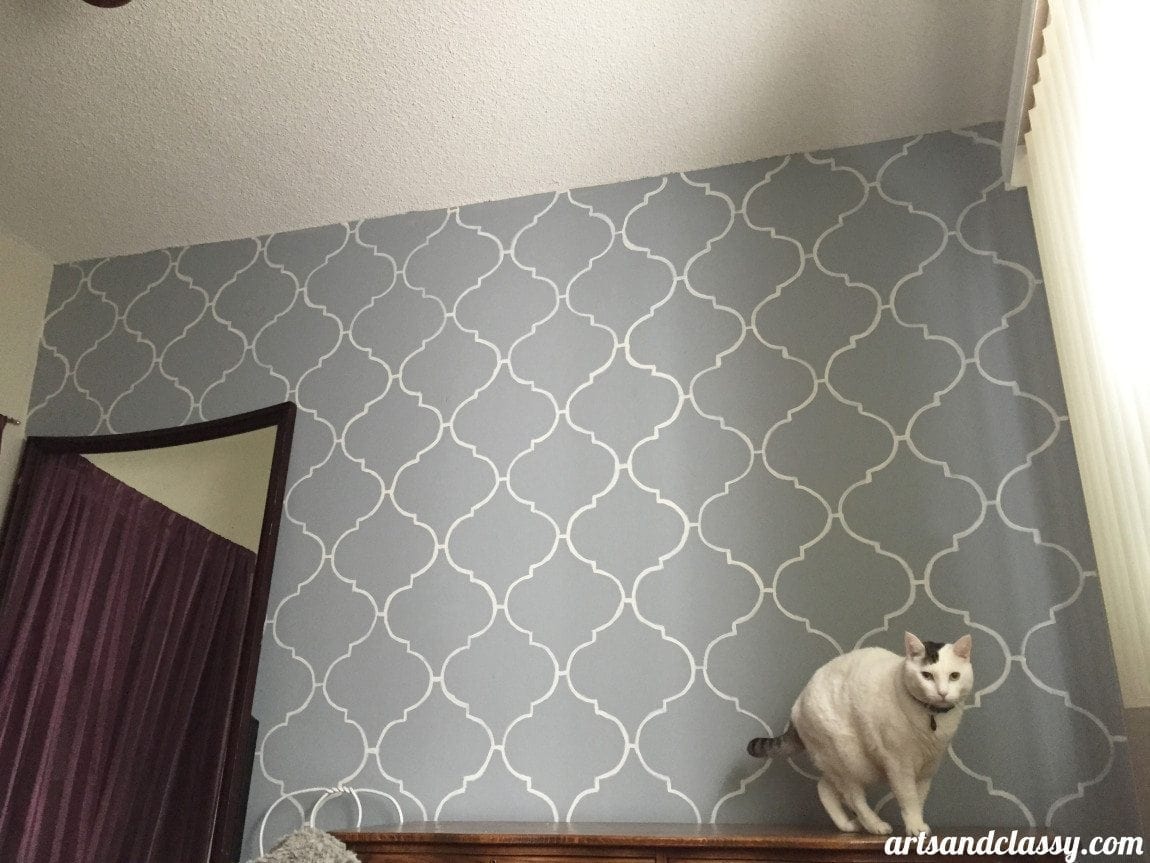
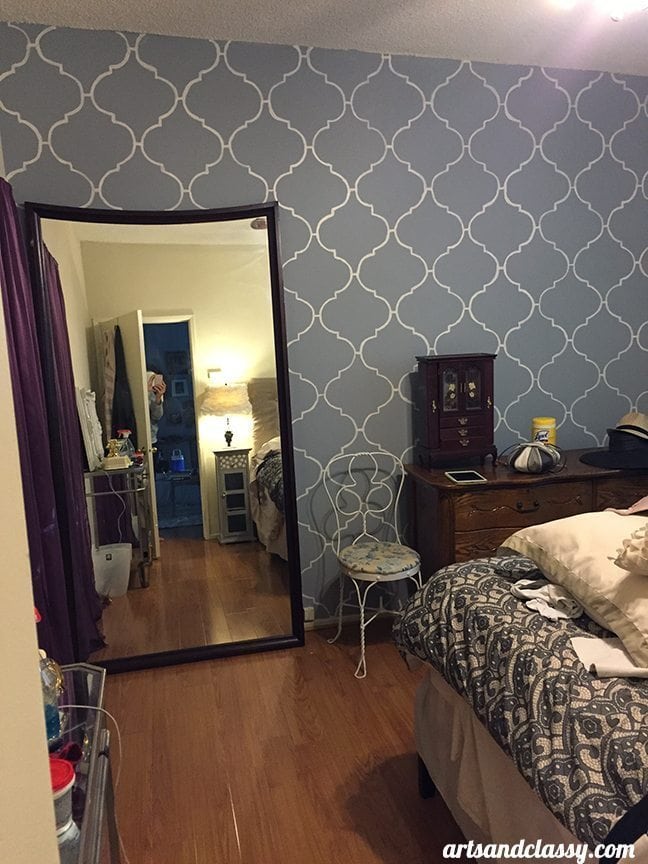
See I told you it wasn’t super hard! There is more work in the prep than the actual execution of this project. I am so totally and completely in love with this first change to my January Challenge bedroom and the price of this project was FREE. I already had all the supplies I needed. Perks of working in Art Department.
I think you all will enjoy the next few projects I have in store for you! Please comment below if you liked or have any questions about this project.
Want to download the stencil used for this project?



I can’t believe you hand painted that! Looks fantastic
Thank you so much Alisha!
Wow that’ gorgeous!!! What a project! Love it!
Thank you so much! I was super nervous about doing this project, but I am so happy with how it turned out. It’s great when what you vision comes out perfect!
Hi Meredith,
Your wall looks amazing. Do you have a link/file for the stencil you used so I don’t have to resize etc? I think you meant to include a link above, but it’s just text and doesn’t lead anywhere.
Thanks,
Elina
Hi Elina – I just double checked the post and I made sure the links were working properly. It should link to my dropbox account where you can download the JPG and PSD. If you still have trouble. Email me at artsandclassy@gmail.com and I will send the direct links to your email. Thanks!
Hi!!! Its so beautilfull , please i cant download the stencil , at the link only see text but doesnt lead anywhere.
Thanks!!!
Thanks so much for letting me know Sandra! I am working to resolve this now.
Beautiful. I am a new fan.
Great work Meridith.
Thanks for taking the time to let me know!!! I appreciate you!
Hey Meredith,
I cannot seem to get this to print off into 4 separate sheets, I don’t have photoshop. Any suggestions?
Hello there! My biggest recommendation would be to screen grab the stencil on your desktop in quarters and then print each. You might have to eyeball it. But it should line up once your print it.There should be 4 papers total. Let me know if this helps! Happy DIY-ing. 🙂
This looks amazing! How many hours prep was it and how many hours to actually paint the pattern on?
Hello. I would say for prep it was about an hour and for the actual process, about 10 hours.
You are an inspiration to me!!!
I am honored Darnell! Thank you so much for taking the time to share the love!! I appreciate you!
Hi, it’s a great idea!!! Super! Gould you please say what kind of paint did you used? Emulsion paint or enamel paint?
Thanks!!!
Hello there! I actually used acrylic enamel!